Advertisement
Quick Links
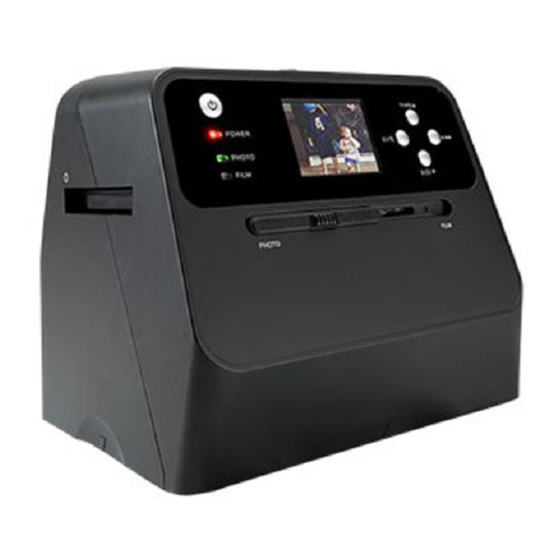
Thank you for purchasing the Sharper Image Rapid Photo Album Scanner.
Please take a moment to read this guide and save it for future reference.
INCLUDED PARTS
•
Rapid Photo Album Scanner
•
User's guide
•
135 Negative holder
•
135 Slide holder
•
Power adapter
•
USB cable
•
Memory card
•
Cleaning brush
PLUGGING IN THE SCANNER
This device must be plugged into a USB port or an AC outlet to function.
(A) Plug the Micro USB of the supplied USB cable to the USB connector of the scanner, and plug the
other USB end into the USB port of your computer/notebook.
(B) Connect the Micro USB wire to the power adaptor. Then, plug it into an AC outlet. Connect the
Micro USB terminal to the Micro USB connector of the scanner.
LED INDICATOR LIGHTS
Red LED on = Power is ON.
Red LED off = Power is OFF.
Green LED on = Photo scanning is enabled (paper photo or document).
Blue LED on = Film scanning is enabled (35mm slide or negative).
RAPID PHOTO ALBUM SCANNER
Item No. 205799
User's Guide
- 1 -
Advertisement

Related Manuals for Sharper Image 205799

Summary of Contents for Sharper Image 205799
- Page 1 RAPID PHOTO ALBUM SCANNER Item No. 205799 User’s Guide Thank you for purchasing the Sharper Image Rapid Photo Album Scanner. Please take a moment to read this guide and save it for future reference. INCLUDED PARTS • Rapid Photo Album Scanner •...
- Page 2 OPERATING YOUR ALBUM SCANNER 1. Insert an SD memory card into the SD Card Slot until the card locks in place. Push once again to release the card. This unit accepts only SD or SDHC card up to a maximum of 32GB. 2.
-
Page 3: Power Saving Mode
ADJUSTING THE EXPOSURE ( BRIGHTNESS ) The exposure value (“EV” or brightness) is set automatically. However, there may be times when you wish to make a photo lighter or darker. 1. Press the EV/Delete button to adjust exposure value. 1. Press UP or DOWN button to adjust the exposure compensation from +2EV to -2EV in 0.5 increments. -
Page 4: Specifications
PLAYBACK MODE ( CONT. ) 4. Press the Playback button again to start a slideshow. 5. Press the Playback button again to go back to the original screen. DELETE MODE / FORMATTING THE SD CARD 1. To Delete an image: Under Playback Mode, press the Delete button once, and then the UP button to select YES. -
Page 5: Icons And Indicators
SPECIFICATIONS ( CONT. ) PC Interface USB 2.0 USB Type Micro USB Type B Image Format Photo 3:2 Ratio 135 film 3:2 Ratio Light Source Photo: 24 white LEDs / Film: 3 white LEDs Power Power adaptor: 5V/1 amp. Net Weight Approximately 1050g Dimension 18.2 (H) x20.9 (W) x 16.2 (D) cm... -
Page 6: Pc System Requirements
PC SYSTEM REQUIREMENTS • Pentium® P4 1.6GHz or equivalent AMD Athlon • Free USB2.0 port • 512MB RAM • 500MB free hard disk space • 1024 x 768 pixel color monitor • CD-ROM drive • Windows® XP Service Pack II / Vista™, 32/64 bits •... -
Page 7: Warranty / Customer Service
WARRANTY / CUSTOMER SERVICE Sharper Image branded items purchased from SharperImage.com include a 1-year limited replacement warranty. For Customer Service, please call 1 (877) 210-3449. The SHARPER IMAGE® name and logo are registered trademarks.