Table of Contents
Advertisement
Quick Links
INSTRUCTION MANUAL
Orion
®
SpaceProbe
II 76mm
™
Equatorial Reflector
#10274
®
Customer Support:
www.OrionTelescopes.com/contactus
Corporate Offices:
89 Hangar Way, Watsonville CA 95076 – USA
Providing Exceptional Consumer Optical Products Since 1975
Copyright © 2017 Orion Telescopes & Binoculars
All Rights Reserved. No part of this product instruction or any of its contents may be reproduced, copied,
modified or adapted, without the prior written consent of Orion Telescopes & Binoculars.
IN 578 08/17
Advertisement
Table of Contents

Related Manuals for Orion SpaceProbe II 76mm


Summary of Contents for Orion SpaceProbe II 76mm
- Page 1 Copyright © 2017 Orion Telescopes & Binoculars All Rights Reserved. No part of this product instruction or any of its contents may be reproduced, copied, modified or adapted, without the prior written consent of Orion Telescopes & Binoculars. IN 578 08/17...
-
Page 2: Table Of Contents
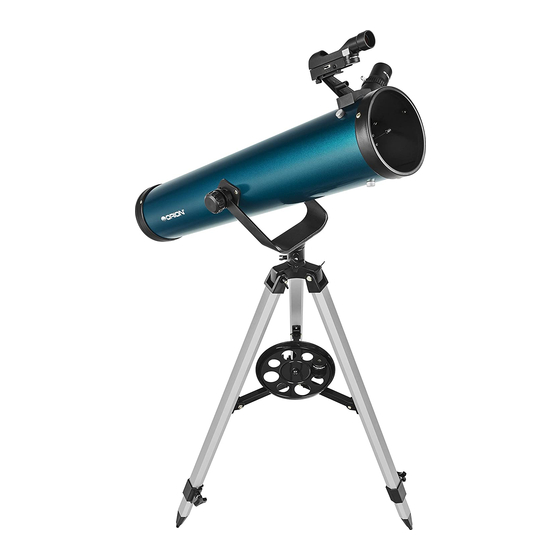
Orion telescope. Your new SpaceProbe II 76mm Equatorial Refl ector. is a terrific starter instrument for exploring the exotic wonders of the night sky. Designed to be lightweight and easy to use, it will provide many hours of enjoyment for the whole family. - Page 3 G/H/I Figure 1. The parts of the SpaceProbe II 76mm EQ telescope. Figure 2. The SpaceProbe II 76 EQ telescope fully assembled with key parts identified.
-
Page 4: G – Screws
9. To slide the counterweight onto the counterweight shaft, first remove the Philips screw and washer from the end of Wingnut the shaft. You can use the screwdriver tool (T) for this. Make Washer sure the counterweight lock knob (N) is loosened enough so that the metal pin inside the counterweight is clear of the shaft hole. -
Page 5: Preparing The Telescope For Operation
Washer Azimuth lock knob Figure 7. a) Install the equatorial mount onto the tripod mount platform, then secure it from the underside with azimuth lock knob. 1. First, remove the dust cap (Y) from the front of the tele- scope. 2. - Page 6 Lock knob Thumbscrew Slow-motion cable Groove Figure 9. Figure 10. Thread the counter- Gear shaft weight shaft into the declination counterweight, installed. housing. ing the power switch to ON (refer to Figure 18). The “1” position provides dim illumination while the “2” position Figure 12.
- Page 7 Tube ring (open) Wing nut Socket head bolts Washer Saddle Figure 14. Installing the tube ring onto the equatorial mount. Place open ring in saddle. Insert socket head screws through aligned holes in ring and saddle, then place a washer onto the screw followed by a wing nut. Then tighten wing nut. Balancing the Telescope 2.
-
Page 8: Understanding And Using The Equatorial Mount
loosen the lock knob on one or both axes and manually point the telescope, it should move without resistance and should not drift from where you point it. 4. Understanding and Using Thumbscrew the Equatorial Mount When you look at the night sky, you no doubt have noticed the stars appear to move slowly from east to west over time. - Page 9 Little Dipper (in Ursa Minor) N.C.P. Big Dipper (in Ursa Major) Polaris Cassiopeia Figure 21. To find Polaris in the night sky, look north and find the Big Dipper. Extend an imaginary line from the two "Pointer Stars" in the bowl of the Big Dipper. Go about five times the distance between those stars and you'll reach Polaris, which lies within 1°...
- Page 10 R.A. and Dec lock knobs should be tightened, not loose. When the object So, the coordinates for the Orion Nebula are: is visible in the finder scope, use the slow-motion controls to R.A. 5h 35.4m Dec. -5° 27’...
-
Page 11: Cooling The Telescope
Eyepiece Focal Length (mm) “Seeing” refers to the steadiness of the Earth’s atmosphere For example, the SpaceProbe II 76mm EQ has a focal length at a given time. In conditions of poor seeing, atmospheric of 700mm, which when used with the supplied 25mm eye-... -
Page 12: Focusing The Telescope
Orion, for instance, interesting objects to view with your telescope. Lunar craters, you won’t have much luck locating the Orion Nebula. A simple maria, and even mountain ranges can all be clearly seen from... -
Page 13: Useful Optional Accessories
Re ection of secondary mirror Figure 22. Collimating the optics. a) When the mirrors are properly aligned, the view down the focuser drawtube should look like this. b) If the optics are out of alignment, the view might look something like this (with a collimation cap or Cheshire eyepiece in place). -
Page 14: Aligning The Primary Mirror
Primary Mirror Center Mark tion of the secondary mirror is off-center. The tilt of the primary You may have noticed that your SpaceProbe II 76mm reflec- mirror is adjusted using the three pairs of collimation screws on the back end of the optical tube (Figure 24). Adjusting tor has a tiny ring (sticker) in the exact center of the primary mirror. -
Page 15: Telescope Care And Maintenance
. The Kellner eyepieces have barrels threaded to Focuser: Rack-and-pinion, accepts 1.25" accessories accept optional Orion 1.25” filters. A Moon filter is useful for cutting Eyepieces: 25mm and 10mm Kellner, antireflection coated, glare and revealing more detail on the lunar surface. - Page 16 One-Year Limited Warranty This Orion product is warranted against defects in materials or workmanship for a period of one year from the date of purchase. This warranty is for the benefit of the original retail purchaser only. During this warranty period Orion Telescopes &...