Table of Contents
Advertisement
Quick Links
Advertisement
Table of Contents

Summary of Contents for Navig8r NAVSPORT720
- Page 1 NAVSPORT720 USER GUIDE...
-
Page 2: Important Safety Instructions And Precautions
IMPORTANT SAFETY INSTRUCTIONS AND PRECAUTIONS Read all instructions carefully before use Retain this product manual for future reference. Use this product only in the manner described. Only use a water-dampened soft-cloth to clean the surface of the camera including the lens. -
Page 3: Accessories In The Box
ACCESSORIES IN THE BOX... -
Page 4: Product Connection And Buttons
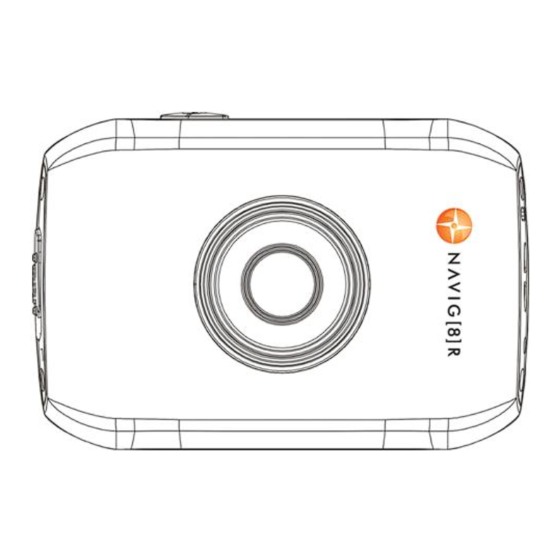
PRODUCT CONNECTION AND BUTTONS: Micro SD Card Slot Mode Switch Reset Lens USB Port LCD Screen Power Button Working Indicator Light Microphone Charging Indicator Light Shutter Button Wrist Strap Hole... -
Page 5: Charge The Built-In Lithium Battery
Charge the Built-in Lithium Battery Turn the camera off and connect the USB cable to the camera and to your power source (i.e. PC USB port or USB Mains Power Adaptor) The charging indicator light will be ON when charging and OFF when fully charged. -
Page 6: Handlebar Seat Post Mount
Handlebar Seat Post Mount -20 Screw “Screw Locking Wheel Tilt Knob Bar Clamp Bar Clamp Nuts Note 1: This camera does not have a standard tripod mount fastener. Note 2: Always use the supplied waterproof case or mounting adapter when connecting to other ¼”- screw fixture accessories (eg. -
Page 7: Helmet Mounting Kit
Helmet Mounting Kit Helmet Belt ¼” Screw Mount Locking Wheel Helmet Mount Tilt Knob Note: This bracket will only work with vented Helmets. Use the supplied strap to loop through the holes in your helmet and then through the long slots on the helmet mount. -
Page 8: Inserting The Micro Sd Card
Inserting the Micro SD Card Push the memory card into the card slot, as shown in the diagram below. The Micro SD card will “clicks into place”. To take the memory card out, gently press the end of the memory card inward using your fingernail until a click is heard. -
Page 9: Switch Between Function Modes
SWITCH BETWEEN FUNCTION MODES Picture mode: Digital Still Camera operation (To start recording press the shutter button or tap centre screen) Video mode: Record video (To start recording press the shutter button or tap centre screen) Vehicle-mounted mode: Cycle record video in 5 minute files (Crashcam function) (To start recording press the shutter button or tap centre screen) Picture mode... - Page 10 a. Select Resolution in Still Camera Mode (1/3/5MB) RECORDING b. Select Resolution in Except for three on-screen icon types, all icons are the Video Mode (HD/VGA) same across all three recording functions (Camera, Video and In-Car) moving clockwise from the top c.
-
Page 11: Playback Mode
PLAYBACK MODE The Playback mode is common for all file types and modes. For example from this one screen, you can scroll through all your JPG and AVI files recorded in both car and video mode. Quick Reference Guide: : Displays the current file being played back. In this case it is an AVI video file. : Displays the file number (X) and the total files in a folder (Y). -
Page 12: Technical Specifications
TECHNICAL SPECIFICATIONS Image sensor 1.3 million pixel (CMOS) Taking video Function mode Taking photos Vehicle-mounted mode Camera lens F3.1 f=9.3mm Zoom 4 X Digital Shutter Electronic LCD display screen 2.0-inch Touch Screen 1M(1280×1024), 3M (2048×1536), 5M Image resolution (2592×1944) VGA: 640x480 (60 frames/second) Video resolution 720P:1280x720... - Page 13 Warranty against Defects Laser Corporation Pty Ltd (“Laser”) warrants your new product to be free from defects in materials and workmanship for 12 months, from the date of purchase, provided that the product is used in accordance with accompanying recommendations or instructions where provided.