Advertisement
Quick Links
Installation
STEP 3
SCREW
1.
Remove 2 screws from the lower right
C (#1)
and left parts of outer panel, 1 screw
of each side and dispose them.
2.
Remove a SCREW C(#1) from back of
oven. Do not scrap SCREW C(#1)
STEP 4
1.
Place oven on the Duct Base.
Front
Duct Base
2.
Position Duct Side on the left of the
SCREW
oven inserting edge. Secure together
C (#1)
by using SCREW C provided in the kit
(2 ea) and SCREW C(#1).
NOTE
Please remove the double-sided tape
before inserting Duct Side.
Duct side
(
)MA-TK3080CK_AA_MA-TK3080CT_AA_DE68-04377A-00.indd 1-4
STEP 5
Slide the oven with Duct Base into
1.
cabinet until Duct Base touch the
front of cabinet.
2.
Plug the Power cord into the
electrical outlet.
3.
Secure together by using SCREW A
provided in the kit. (2 ea)
NOTE
Be aware when you put a oven into the
cabinet because cabinet may be moved.
Align the Center with cabinet
Back
After placing the Side Bracket to match
with holes, secure together by using
SCREW A provided in the kit. (4 ea)
Side Bracket
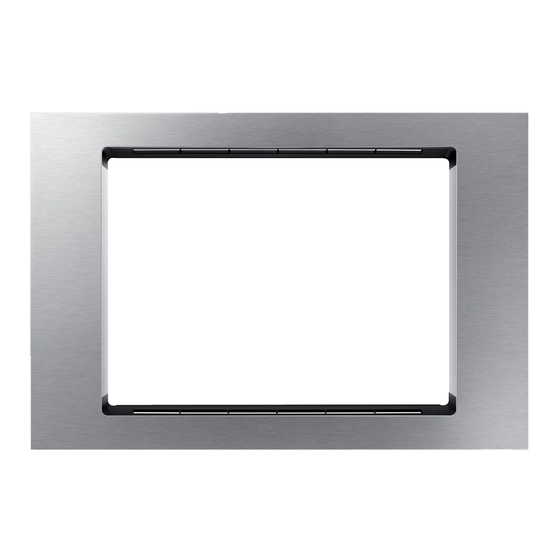
STEP 6
Press the Trim Frame into the opening
Trim Frame
until all sides snap into place.
Upper
Bottom
Open the oven door. Secure the Trim
Frame using SCREW B. (2 ea)
DE68-04377A-00
Installation Instructions
Built-in Trim Kit
(MA-TK3080CK/AA, MA-TK3080CT/AA)
2015-06-15
11:16:10
Advertisement

Related Manuals for Samsung MA-TK3080CK/AA


Summary of Contents for Samsung MA-TK3080CK/AA
-
Page 1: Installation Instructions
C (#1) and left parts of outer panel, 1 screw front of cabinet. (MA-TK3080CK/AA, MA-TK3080CT/AA) of each side and dispose them. Plug the Power cord into the Remove a SCREW C(#1) from back of Upper electrical outlet. - Page 2 BEFORE YOU BEGIN Parts included in the kits Installation Read these instructions completely and carefully. IMPORTANT STEP 1 STEP 2 - Save these instructions for local inspector's use. CUTOUT DIMENSIONS After placing the Template to match - Observe all governing codes and coordinates. with cabinet center line mark four Holes Height 18 3/4"...