Advertisement
Quick Links
Advertisement

Related Manuals for August Doorbell Cam Pro


Summary of Contents for August Doorbell Cam Pro
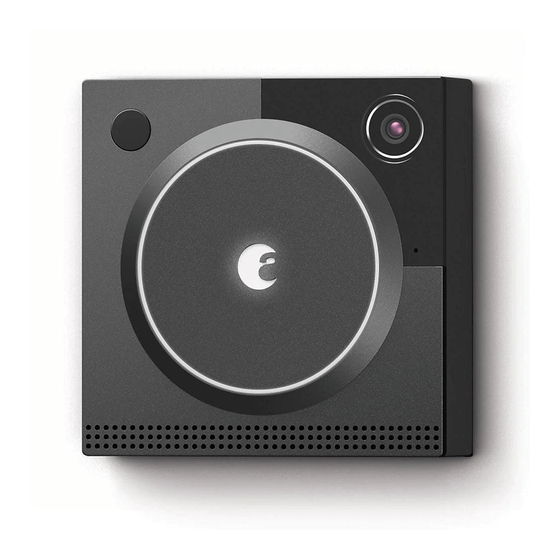
- Page 1 August Doorbell Cam Pro Installation Guide...
-
Page 2: Inside The Box
Inside the Box Wedge August Doorbell Cam Pro Mounting Plate Screws Two (2) Anchors Putty What you need Drill w/ drill bit set Phillips Screwdriver... - Page 3 Before You Begin Check doorbell chime type If your existing doorbell has a speaker, it's a digital chime. If it has a mechanical mechanism (usually in the form of two pistons that strike metallic keys), it's a compatible mechanical chime. You'll need to ensure that your doorbell is getting 16-24V from the transformer. Optimize your wireless connection For best performance, your Wi-Fi access point should be within 15-20ft of your door.
- Page 4 Plug one end of the included USB cable into the Setup Dock, and the other end into a power source such as a computer or smartphone charger. Place your Doorbell Cam Pro onto the dock and press the Reset button on the back. to power it on. Begin setup of your...
- Page 5 Determine your drill bit size If you’d prefer to have someone come and help you out, we partner with: Hellotech: https://www.hellotech.com/august Pro.com: https://pro.com/augusthomes...
-
Page 6: Turn Off Power
1. Test your current doorbell Confirm that your existing doorbell works by pressing it. This might sound obvious, but it never hurts to double check! August Doorbell Cam will only work properly when installed onto a working 12-24 volt wired doorbell system. - Page 7 Take the wedge and hold it flat against the wall where you want to install your August Doorbell Cam. You can hold the mounting plate against the top of the wedge, using its built-in level to properly position the wedge. Take a pen and press it firmly into the center of the two holes in the wedge to mark the wall.
-
Page 8: Drill Holes
5. Drill holes Drill holes into the two spots you marked on your wall. Refer to the chart below for the proper drill bit size and installation type for your mounting surface. 4. Mark holes for drilling... - Page 9 6. Screw (wedge/mounting plate) into the wall Wedge: Firmly holding the wedge against the wall where you drilled holes, take the two 1” screws included in the box and screw the mounting plate into the holes you previously drilled using a Phillips screwdriver. Mounting Plate: Firmly holding the mounting plate against the wall where you drilled holes, take the two 1”...
- Page 10 (Wedge only step, otherwise skip to #7) 6.5. Screw mounting plate onto the wedge Place the mounting plate onto the wedge, the notches on the back will align it into place when positioned properly. Use the smaller machine screws to attach the mounting plate to the wedge.
- Page 11 8. Clean up excess wire Carefully push the connected wires back into the existing hole in your wall until there is very little slack in the wire. 9. Seal wall with putty Take the putty provided in the box and press it over and around the hole in your wall. The putty should lay flat against the wall and the hole should be completely covered to protect the inside of your wall.
- Page 12 10. Slide unit onto mounting plate Place the Doorbell Cam onto the mounting plate, aligning the tabs at the bottom to the recesses at the bottom of the mounting plate, then sliding it down until it sits into place. Wedge Mounting Plate 11.
- Page 13 12. Test the doorbell Press the large circular button on the front of the device - if everything is wired correctly, you should hear your interior doorbell chime. 13. Tighten security screws (optional) If you would like to further secure your Doorbell Cam, use a small flathead screwdriver to tighten the small screws at the top of the doorbell.
- Page 14 Help Call 844-AUGUST1 (284-8781) or visit: august.com/support for answers. 01.18-R1...