TP-Link TL-WR940N Quick Installation Manual
Multi-mode router
Hide thumbs
Also See for TL-WR940N:
- User manual (131 pages) ,
- Installation manual (19 pages) ,
- Quick installation manual (2 pages)
Advertisement
Quick Links
Quick Installation Guide
Multi-mode Router
Meet all your needs.
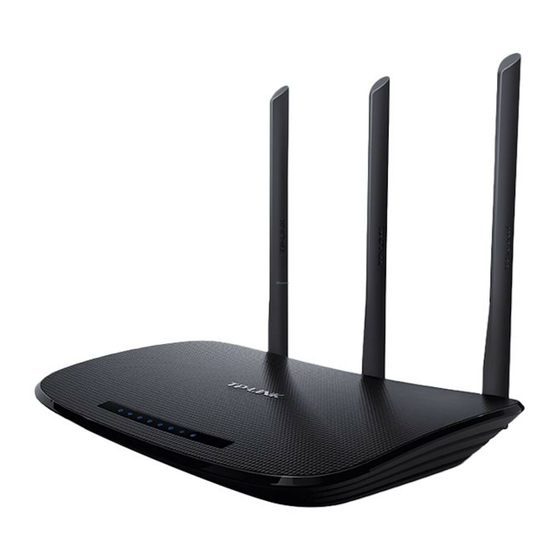
TL-WR940N
If your internet connection is through an Ethernet
cable from the wall, instead of through a modem,
connect the Ethernet cable directly to the router's
Internet port, and skip Step 1,2,3.
Confirm that the following LEDs are on and solid to verify
that the hardware connection is correct.
Power
Internet
Wi-Fi
On
On
On
Note: If the Wi-Fi LED is off, please
press and hold the Wi-Fi/WPS
button on the rear panel of the
router until it is on.
Power adapter
Connect the power adapter to the
router and turn on the router.
Configure the router
1. Connect your computer to the router (Wired or Wireless)
Wired
Turn off the Wi-Fi on your computer and connect it to the router via an
Ethernet cable.
Wireless
Connect your device to the router's Wi-Fi using the SSID (Network
Name) and Wireless Password printed on the label at the bottom of
the router.
Wireless Password/PIN:XXXXXXXX
SSID:TP-LINK_XXXX
Turn off the modem, and remove the
backup battery if it has one.
Turn on the modem and then wait
about 2 minutes for it to restart.
Router
Connect the modem to the router's
Internet port via an Ethernet cable.
2. Configure the router using a web browser
A
Launch a web browser, and enter
http://tplinkwifi.net or http://192.168.0.1 in the
address bar. Use admin for both username and
password, and then click Login.
Note: If the login window does not appear, please
refer to FAQ > Q1.
Click Next to start the Quick Setup.
Select Standard Wireless Router and follow the step-by-step
B
instructions of the Quick Setup to complete the initial configuration.
Note: If you are not sure of the WAN Connection Type, please click Auto-Detect.
Modem
http://tplinkwifi.net
admin
admin
Login
Advertisement

Related Manuals for TP-Link TL-WR940N


Summary of Contents for TP-Link TL-WR940N
- Page 1 Quick Installation Guide Multi-mode Router Meet all your needs. TL-WR940N Turn off the modem, and remove the backup battery if it has one. Turn on the modem and then wait If your internet connection is through an Ethernet about 2 minutes for it to restart.
-
Page 2: Access Point Mode
Q1. What should I do if the login window does not appear? Q3. How do I restore the router to its factory default settings? The TP-Link Tether app provides a simple, intuitive way to access and manage your router. If the computer is set to a static or fixed IP address, change the setting to obtain an IP With the router powered on, press and hold the Reset button on the back panel of the address and DNS server address automatically.