Table of Contents
Advertisement
Quick Links
Advertisement
Table of Contents

Summary of Contents for Nanit N111
-
Page 2: Table Of Contents
• Frequently Asked Questions-----------------------------26 • Limited Warranty------------------------------------------27 Download the nanit app Need some help? nanit.com/app support.nanit.com FCC and Industry Canada Compliance information: nanit.com/legal/compliance Watch an install video before trying it yourself: For all other things Nanit: nanit.com/install nanit.com Table of Contents... -
Page 3: Intro
However, to ensure your system lives up to its potential, your Nanit needs one last thing not found in the box: proper installation. Please follow the directions precisely. The next pages feature important setup instructions for how to safely attach Nanit to your nursery’s wall, how to use... -
Page 4: Safety
5. End Cap the plastic tray in your Nanit packaging. Do not allow children to play with them. TOOLS YOU’LL NEED/// • Use only the AC power supply included with your Nanit. 1. Power Drill 2. Screwdriver 3. Hammer with 3/16” Drill Bit... -
Page 5: Getting Started
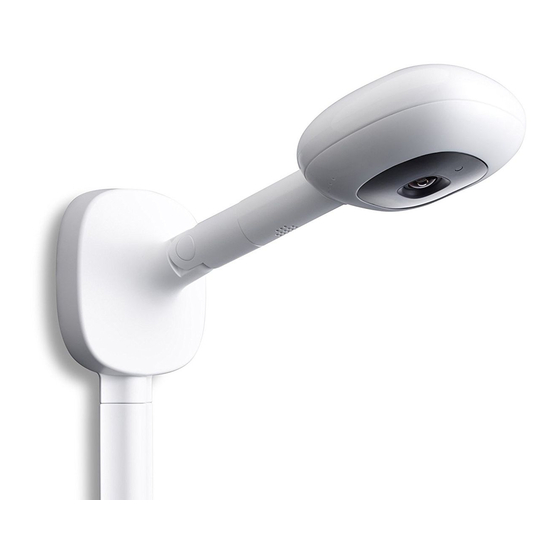
Place the Wall Mount down in an upright position Within less than a minute, you should see a flashing light and attach the Nanit Camera. When you feel a click, from the back of the camera. the camera is properly connected. - Page 6 GETTING STARTED/// Open the Nanit app and tap register to create Once your camera is successfully paired with your your account, or login if you already have one. Wi-Fi network, unplug the power adapter from your outlet and remove the Nanit Camera from the Wall Once you are logged in, follow the in-app instructions Mount for easier installation.
-
Page 7: Assembly
ASSEMBLY/// Ready? Great! Fold hatched area of the template. Use the mounting template Step on it to pull straight. to mark the anchor hole on the wall. Measure to the center of the crib using the template. Mark the centerline on the wall behind the crib. - Page 8 ASSEMBLY/// Drill a hole. Adjust wall bracket angle by using the included level. Use the anchor and the screw to hang the bracket. Mark the bottom 2 anchor holes. This will help us figure out where the rest of our holes should go! Adjust and find Drill a 3/16"...
- Page 9 ASSEMBLY/// Attach the mounting bracket to the wall The hard part’s over! using provided anchors and screws. It’s time to attach your Wall Mount. Drill 3/16" holes Place Wall Mount over bracket in the two marked spots and press against the wall FLUSH and insert the anchors until you see that it's touching...
- Page 10 ASSEMBLY/// Wipe the wall to remove dust from drilling. Then, attach 6 cable covers to the wall straight down. Check that cable cover looks straight vertically and press firmly on to the bottom of the cover. Peel o 2 tape backings Press the top first at the back of until it clicks.
- Page 11 ASSEMBLY/// Choose the left or right elbow joint Start to attach the horizontal cable covers. depending on where your power outlet is located. You’re in the home stretch! Attach the elbow joint. Peel o 2 tape backings at the back of the cable cover.
- Page 12 ASSEMBLY/// Repeat for remaining cable covers until complete. Attach the end cap. Check that cable cover looks straight horizontally and press firmly Peel o 2 tape backings on the end of the cover. at the back of the cable cover. Press firmly on to the Press and end of the end cap.
- Page 13 Plug the power adapter into your outlet. crib back in place. Once your crib is back in place, You should see your Live Stream return to the Nanit continue following the in-app instructions to make app within a minute.
-
Page 14: Removal Process
REMOVAL PROCESS/// Need to move or remove your Nanit? No problem. Due to the strength of the tape paint on the wall may peel o . (Apologies! A secure mount was important!) For each sections peel o the taped side first Pull out the camera while Unplug the power outlet. -
Page 15: Frequently Asked Questions
This is your sole and exclusive remedy can see it is a challenge, you can remove Nanit from its wall mount and drop it for breach of this Limited Warranty. Any Product that has either been repaired into the Multi-Stand (sold separately) to keep a close eye on baby. - Page 16 Nanit does not warrant that the operation of the product will be and all other items and pets in your home, resulting from your use of the product uninterrupted or error-free.
- Page 17 nanit.com...

