Table of Contents
Advertisement
Quick Links
TECHNICAL SPECIFICATIONS
Model Number: 7716
Rated Voltage: 220-110v
®
Rated Frequency: 50/60hz
Net Weight: 214 lbs Weight Capacity: 265 lbs
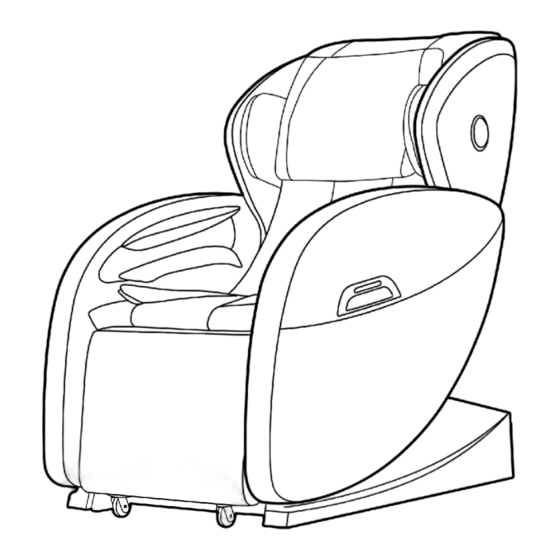
7716 MASSAGE CHAIR
WARRANTY
User Manual
CORE NINE's 7716 Massage Chair provides a standard two year parts and two
year in-home service warranty. A five year extended warranty for this chair may
be purchased on our website at www.corenineusa.com within 90 days of
purchasing your chair.
To register your massage chair, visit our website at www.corenineusa.com. Go to
the "Support" page and click on "Product Registration." Complete the required
fields, including your chair's serial number which is located on the back of your
chair near the power switch, and press SEND.
Consumers may contact their retailer for additional warranty and service
information.
© 2018 Core Nine Massage Technology
The images in this manual are for reference purposes and may not resemble the massage
chair design you purchased. Core Nine reserves the right to make changes to the information
in this document, including and without limitiation the specifications and product descriptions
at any time and without notice. No medical claims are warranted or implied by the use of
this product.
Advertisement
Table of Contents

Related Manuals for Core Nine 7716


Summary of Contents for Core Nine 7716
- Page 1 The images in this manual are for reference purposes and may not resemble the massage chair design you purchased. Core Nine reserves the right to make changes to the information in this document, including and without limitiation the specifications and product descriptions at any time and without notice.
-
Page 2: Table Of Contents
CONTENTS SAFETY PRECAUTIONS Thank you for purchasing the Core Nine Massage Technology 7716 Massage Chair. Please MEDICAL WARNING read the contents of this manual before using your chair and refer to it when needed. • Do not use this chair if you have a pacemaker or other medical electronic devices inside your body. -
Page 3: Prohibited Action
SAFETY PRECAUTIONS MASSAGE CHAIR COMPONENTS SAFETY PRECAUTIONS EXTERNAL STRUCTURE • Any modification, disassembly or maintainence of the chair by anyone other than an approved service professional will void the warranty. Contact your retail provider if your chair is in need of service. •... -
Page 4: Internal Structure
MASSAGE CHAIR COMPONENTS REMOTE CONTROL INSTRUCTIONS INTERNAL STRUCTURE Shoulder Air Bags Display Screen Massage Mechanism Armrest Air Bags Back Heat Seat Air Bags Calf Air Bags On/O Shoulder Position Auto Mode Adjustment Foot Air Bags Manual Mode Music Play/Pause Music Volume Up Massage Speed Foot Roller Air Bag Intensity... - Page 5 REMOTE CONTROL INSTRUCTIONS REMOTE CONTROL INSTRUCTIONS To ensure an accurate auto scan sensor detection, press your back and head rmly against the chair. The Manual Shoulder Height Adjustment Size Chart massage mechanism will roll to the bottom of your glutes and up to your head to customize your massage according to your size and shape.
- Page 6 REMOTE CONTROL INSTRUCTIONS MASSAGE CHAIR INSTALLATION Step 1: Carefully remove the massage chair from the carton. Feet Up: Press and hold this button to move the leg ottoman height up. Release the button Feet Up when you reach the desired position. Feet Down: Press and hold this button to move the leg ottoman height down.
-
Page 7: Massage Chair Installation
MASSAGE CHAIR INSTALLATION MASSAGE CHAIR INSTALLATION CAUTION: If your door width is less than 30 inches you will need to remove one armrest panel. Removing the armrest panel (continued) ! This step is not necessary if ! This step is not necessary if your door width is more than your door width is more than 30 inches. - Page 8 MASSAGE CHAIR INSTALLATION MASSAGE CHAIR INSTALLATION Step 2: Connect the power. CAUTION: Do not bend your knees while legrest is extending or retracting. Correct Demonstration: Connect the power cord to the back of the Keep knees strait while legrest is extending chair, then plug into a grounded outlet.
-
Page 9: Final Adjustments
CHAIR REQUIREMENTS & MOVING CLEANING, STORAGE & MAINTENANCE SPACE NEEDED CLEANING INSTRUCTIONS When the massage chair is fully reclined it requires 26 inches of space in front of it and 18 inches of space behind it. WARNING: • Turn the main power switch off and disconnect the power plug from the electrical outlet before cleaning 26”...