Table of Contents
Advertisement
Advertisement
Table of Contents

Related Manuals for Pioneer SX-10AE


Summary of Contents for Pioneer SX-10AE
- Page 1 SX-10AE STEREO RECEIVER Instruction Manual...
-
Page 2: Table Of Contents
> Before Start > Part Names > Install > Playback Setup | Others Table of Contents Before Start Before Start............. 2 What's in the box ............. 3 Part Names ............. 4 Part Names ............. 4 Install............... 8 Step1: Connect the Speakers ......... 8 Step2: Connect an other External Device .... -
Page 3: Before Start
> Before Start > Part Names > Install > Playback Setup | Others What's in the box 1. Main unit (1) 2. Remote controller (RC-963R) (1), batteries (AAA/R03) 3. FM indoor antenna (1) 4. AM indoor antenna (1) ≥ Instruction Manual (This document) (1) 0 Connect speakers with 4 ≠... -
Page 4: Part Names
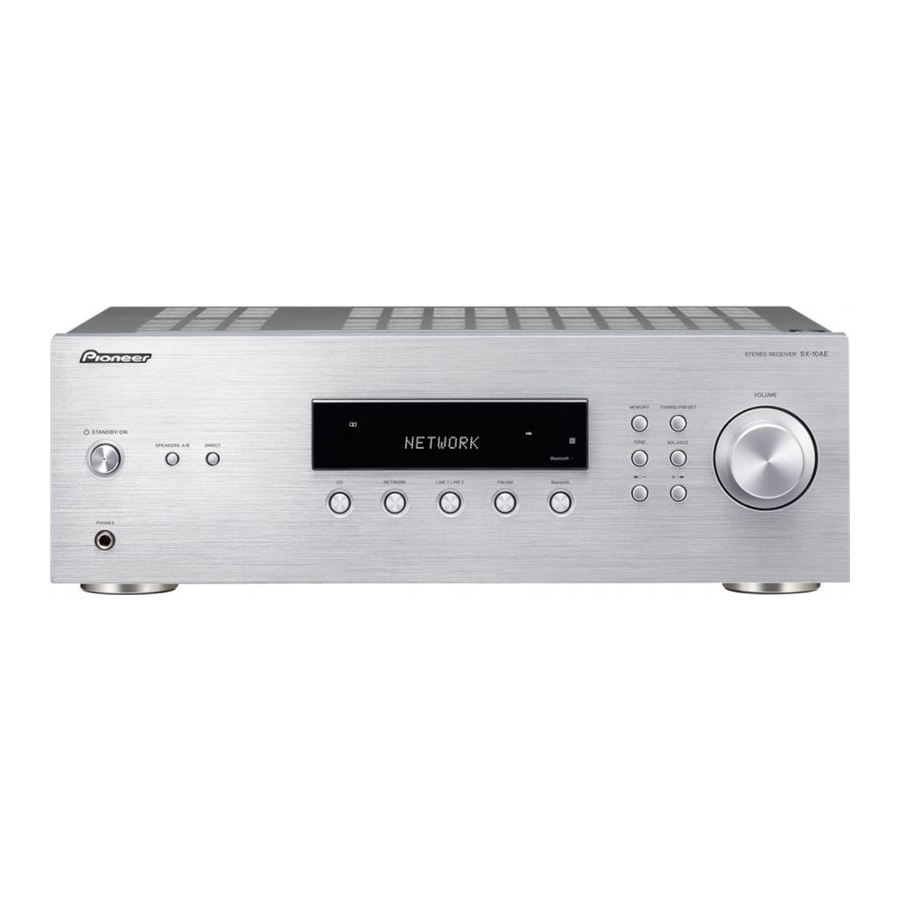
> Before Start > Part Names > Install > Playback Setup | Others Part Names Part Names Front Panel 8. TUNING/PRESET button: Switch between the TUNING mode, where you select a frequency to tune to a station, and the PRESET mode, where you select a preset station. -
Page 5: Install
> Before Start > Part Names > Install > Playback Setup | Others Display 1. The currently selected speaker system lights. 2. Lights when headphones are connected. 3. Lights in the following conditions. PRESET: PRESET mode has been selected with TUNING/PRESET on the main unit. - Page 6 > Before Start > Part Names > Install > Playback Setup | Others Rear Panel 1. FM UMBAL 75Ω/AM LOOP ANTENNA terminals: Connect the supplied FM indoor antenna and AM indoor antenna. 2. PRE OUT SUBWOOFER jack: Connect a powered subwoofer with a subwoofer cable. 3.
- Page 7 > Before Start > Part Names > Install > Playback Setup | Others Remote Controller 1. Í STANDBY/ON button 2. SLEEP button: Set the sleep timer (P20). 3. INPUT SELECTOR buttons: Switches the input to be played. ...
-
Page 8: Step1: Connect The Speakers
> Before Start > Part Names > Install > Playback Setup | Others Step1: Connect the Speakers Install You can connect two systems, Speaker A and Speaker B, as the Speaker System. When connecting only one set, connect to the SPEAKERS A terminals. With one set, use speakers with 4 ≠... -
Page 9: Step2: Connect An Other External Device
> Before Start > Part Names > Install > Playback Setup | Others Step2: Connect an other External Device AUDIO IN connection Connect an other external device with an analog audio cable. Network Audio Player a Analog Audio Cable... -
Page 10: Step3: Connect Other Cables
> Before Start > Part Names > Install > Playback Setup | Others Step3: Connect Other Cables Antenna Hookup Move the antenna around while playing the radio to find the (North American (European and position with the best reception. models) Australian models) Power Cord Hookup The power cord must be connected only after all other... -
Page 11: Playing Audio From A Connected Device
> Before Start > Part Names > Install > Playback Setup | Others Playing Audio from a Connected Device Playback Basic Operations You can play the audio from other external devices such as CD players through this unit. Perform the following procedure when the unit is on. -
Page 12: Bluetooth ® Playback
If a password is requested, sound produced on this unit may slightly enter "0000". be behind the sound played on the 0 This unit is displayed as "Pioneer SX- BLUETOOTH wireless technology 10AE". enabled device. 0 To connect another BLUETOOTH... -
Page 13: Listening To The Am/Fm Radio
> Before Start > Part Names > Install > Playback Setup | Others Listening to the AM/FM Radio continuously if the button is held down and stops when the button is released. Tuning into Stations by Frequency It allows you to directly enter the frequency of the radio station you want to listen to. - Page 14 > Before Start > Part Names > Install > Playback Setup | Others ∫ Using RDS (European and M (Middle of the road music) / Light M (Light classics) / Classics (Serious Australian models) classics) / Other M (Other music) / Weather / Finance / Children RDS stands for Radio Data System and is (Children’s programmes) / Social...
-
Page 15: Registering A Station
> Before Start > Part Names > Install > Playback Setup | Others Registering a Station You can register up to 40 of your favorite Selecting a Preset Radio Station radio stations. 1. Press AM or FM (a) on the remote Registering controller. -
Page 16: Naming Radio Stations Registered As Presets
> Before Start > Part Names > Install > Playback Setup | Others Naming Radio Stations Registered as Presets Characters that can be entered You can enter names of up to 8 characters 1. After pressing AM or FM on the remote for the stations you have preset. -
Page 17: Adjusting The Sound Quality
> Before Start > Part Names > Install > Playback Setup | Others Adjusting the Sound Quality ∫ BASS (a) By pressing BASS, TREBLE, etc. on the increments. (default value: 0) remote controller during play, you can Enhance or moderate the bass range of the adjust frequently used settings, such as the speakers. -
Page 18: Setup
> Before Start > Part Names > Install > Playback Setup | Others Setup Menu Setup The unit allows you to configure advanced settings to provide you with an even better experience. 1. Press SETUP (b) on the remote controller. AutoStandby 2. - Page 19 > Before Start > Part Names > Install > Playback Setup | Others "4 ohm": When any of the connected speakers have 4 ≠ or more to less than 6 ≠ impedance, or when speaker systems are connected to both of the SPEAKERS A/B Bluetooth terminals "6 ohm (default value)": When the connected speakers all have 6 ≠...
- Page 20 > Before Start > Part Names > Install > Playback Setup | Others Device Displays the name of the BLUETOOTH wireless technology enabled device connected to the unit. 0 The name is not displayed when "Stat" is "Ready" or "Pairing". Stat Displays the status of the BLUETOOTH wireless technology enabled device connected to the unit.
-
Page 21: Troubleshooting
> Before Start > Part Names > Install > Playback Setup | Others Troubleshooting Others Before starting the procedure ∫ Power No sound from an other connected external device 0 Change the input selector on this unit to the position of Problems may be solved by simply turning the power on/off Cannot turn on the unit the terminal to which the other external device is... -
Page 22: Remote Controller
> Before Start > Part Names > Install > Playback Setup | Others technology enabled device may be effective. ∫ Remote Controller 0 The BLUETOOTH wireless technology enabled devices must support the A2DP profile. 0 Make sure that the batteries are installed with the correct 0 Radio wave interference may occur in the vicinity of polarity. -
Page 23: General Specifications
> Before Start > Part Names > Install > Playback Setup | Others General Specifications Amplifier (Audio) section General Headphone Rated Output 60 mW (32 ≠, 1 kHz, 10%THD) Rated Output Power (FTC) (North American) Power Supply 0 With 8 ohm loads, both channels driven, from 20 - AC 120 V, 60 Hz (North American) Tuner Section 20,000 Hz;... - Page 24 ® The BLUETOOTH word mark and logos are registered trademarks owned by Bluetooth SIG, Inc. All other trademarks are the property of their respective owners. / Toutes les autres marques commerciales sont la propriété de leurs détenteurs respectifs. / El resto de marcas comerciales son propiedad de sus respectivos propietarios.
- Page 28 © 2017 Onkyo & Pioneer Corporation. All rights reserved. F1707-0 © 2017 Onkyo & Pioneer Corporation. Tous droits de reproduction et de traduction réservés. “Pioneer” is a trademark of Pioneer Corporation, and is used under license. Printed in Malaysia / Imprimé en Malaisie...