Table of Contents
Advertisement
THANK YOU!
We are grateful for your purchase of HYT product. We believe this easy–to-use radio will
provide you with clear and reliable communications
at peak
efficiency. This HYT portable
two-way radio is a precision device. Treat it with care, and you will enjoy years of reliable
operation.
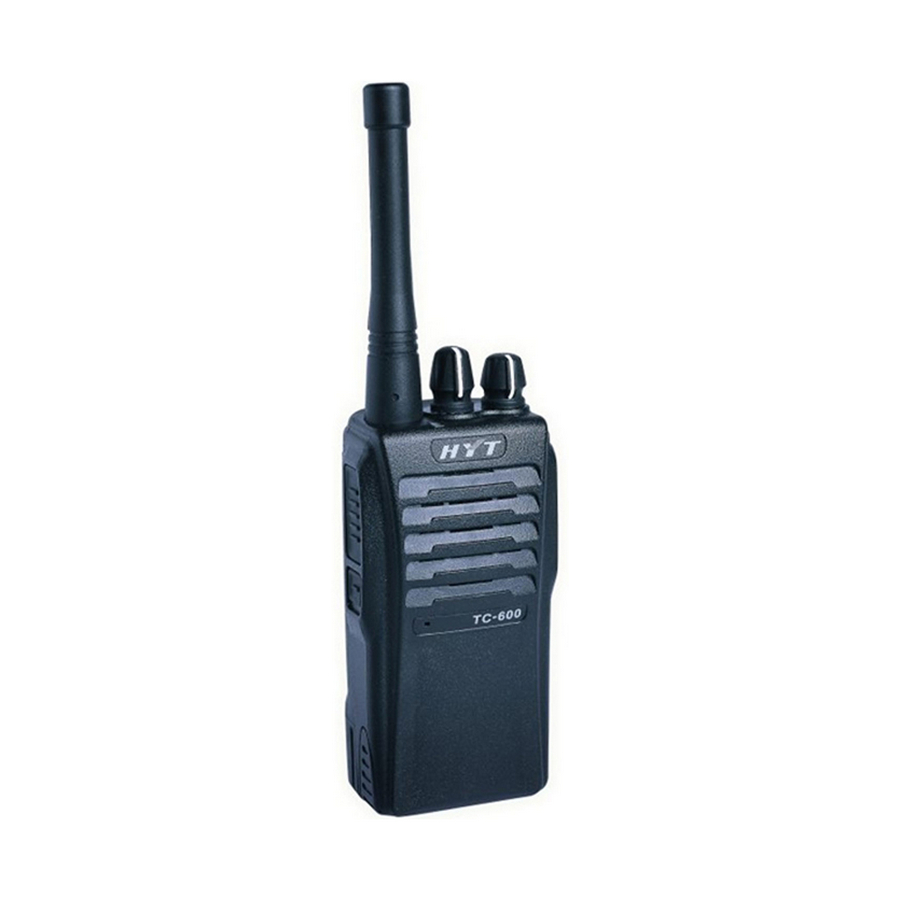
MODELS COVERED IN THIS MANUAL
TC-600 VHF Two-way Radio
1
Advertisement
Table of Contents

Related Manuals for HYT TC-600


Summary of Contents for HYT TC-600
- Page 1 THANK YOU! We are grateful for your purchase of HYT product. We believe this easy–to-use radio will provide you with clear and reliable communications at peak efficiency. This HYT portable two-way radio is a precision device. Treat it with care, and you will enjoy years of reliable operation.
-
Page 2: Table Of Contents
Contents User Safety, Training, and General Information Compliance with RF Energy Exposure Standards FCC Compliance Precautions Product Inspection Battery Information Accessory Installation Radio Overview Features and Operation Basic Operations Time-Out-Timer (TOT) Battery Save Low Battery Alert Monitor Programmable Function Key High/Low Power Compatible Channel Bandwidth 2-Tone Encode &... -
Page 3: User Safety, Training, And General Information
BEFORE USING YOUR HYT PORTABLE TWO-WAY RADIO. Compliance with RF Energy Exposure Standards Your HYT two-way radio is designed and tested to comply with a number of national and international standards and guidelines (listed below) regarding human exposure to radio frequency electromagnetic energy. -
Page 4: Approved Accessories
Use of non- HYT -approved batteries may exceed FCC RF exposure guidelines. Approved Accessories For a list of HYT approved accessories, see the accessories page of this user manual or visit the following website which lists approved accessories: http://www.HYT.com.cn FCC Compliance This equipment has been tested and found to comply with the limits for a Class B digital device, pursuant to part 15 of the FCC Rules. - Page 5 THANK YOU! We are grateful for your purchase of HYT product. We believe this easy–to-use radio will provide you with clear and reliable communications at peak efficiency. This HYT portable two-way radio is a precision device. Treat it with care, and you will enjoy years of reliable operation.
- Page 6 Precautions • Only qualified technicians are allowed to maintain this product. • Do not use the radio or charge a battery in explosive areas such as coal gas, dust, steam, etc. • Switch OFF the radio while refueling or parking at gas station. •...
-
Page 7: Product Inspection
Product Inspection Please carefully unpack the radio. Before use, it is recommended that you inspect the product as follows. First check the shipping carton for any signs of damage. Confirm the supplied product against the packing slip to assure accuracy. If any items are missing or have been damaged during shipment, please contact your dealer immediately. -
Page 8: Battery Information
Battery Information Battery Charging Information The battery is not charged at the factory. Batteries must be fully charged before initial use or if they have not been used for some period of time. The battery capacity will be optimum only after being charged / discharged for two or three times. -
Page 9: Accessory Installation
Accessory Installation Attaching the Battery 1. Turn off the radio. 2. Insert the tabs at the bottom of the battery into the slots at the bottom of the radio chassis. 3. Press the top of the battery towards the radio until a “click” is heard. (See Figure 1) ②... - Page 10 ① ② ③ (Fig. 2) Attaching the Antenna 1. Align the threaded end of the antenna with the radio’s antenna connector. 2. Turn the antenna clockwise to tighten. (See Figure 3) Removing the Antenna 1.Turn the antenna counterclockwise until you can remove it. (See Figure 3) Attach Remove 安装...
- Page 11 ① (Fig. 4) Removing the Belt Clip 1. Press the belt clip tab upwards until it releases. 2. Slide the belt clip upwards to remove it. (See Figure 5) Note: remove the battery pack prior to removing the belt clip. ②...
-
Page 12: Radio Overview
Radio Overview (1) Antenna Used to transmit/receive signals. (2) LED Indicator... - Page 13 The radio LED glows red during transmission and green during reception; The LED flashes red when battery voltage is low. (3) Channel Selector Knob (4) Power/Volume Control Knob Rotate the knob clockwise until a “click” is heard to turn the radio on, fully counter clockwise until a “click”...
-
Page 14: Features And Operation
Features and Operation Basic Operations 1. Turn on the radio: Turn the Power/Volume Control Knob clockwise until a “click” is heard. 2. Adjust the volume: Turn the Power/Volume Control Knob to adjust the volume. When function key is programmed with monitor feature, turn the knob while holding down the function key to adjust the volume to a comfortable level. -
Page 15: Battery Save
The Time-Out-Timer (TOT) is used to prevent someone from using the same channel for a long time and to prevent the radio from damage due to continuous transmission. If the transmission exceeds the preset time (it’s set by your dealer), transmission will be inhibited and a beep tone will sound. -
Page 16: Monitor
Monitor This feature is enabled/disabled by your dealer. In receive mode, press preprogrammed MONI key to monitor activities on the current channel. This operation is especially useful for adjusting volume level or receiving a weak signal. The LED indicator glows green in monitor mode. Programmable Function Key This key can be programmed as a shortcut to Monitor or High/Low Power feature, or set inactive through the programming software. -
Page 17: Dtmf Ani
DTMF ANI This feature is enabled/disabled by your dealer. DTMF ANI is encoded by PTT ID. Each radio is assigned with one ANI code consisting of BOT ID (Beginning of Transmission) EOT ID (End of Transmission). Each channel can be programmed by PC programming software to transmit/not transmit ANI code in transmit mode. -
Page 18: Busy Channel Lockout
priority channel periodically while stopping on a non-priority channel. When there is any activity on the priority channel, the radio will automatically switch to the priority channel for communications. ■ Scan Revert Channel If the radio is scanning and you press the [PTT] key, it will transmit on the preprogrammed revert channel. -
Page 19: Care And Cleaning
Care and Cleaning ◇ Do not carry your radio by the antenna or remote microphone; ◇ Wipe the battery contacts with a lint-free cloth to remove dirt, grease, or other material that may prevent good electrical connection; ◇ When not in use, keep the accessory jacks covered with the protective caps; ◇... -
Page 20: Frequency Chart
Earholder Style Ear Microphone EH-M3 Switching Power Supply Remote Speaker Microphone SM-06M01 Frequency Chart Model: Serial Number: Channel Transmit Transmit Receive Receive Frequency CTCSS/DCS Frequency CTCSS/DCS... - Page 21 HYT endeavors to achieve the accuracy and completeness of this manual. All the above specifications and design are subject to change by HYT without notice. All the reproduction and translation of this manual without authorization of HYT is not allowed.