Table of Contents
Advertisement
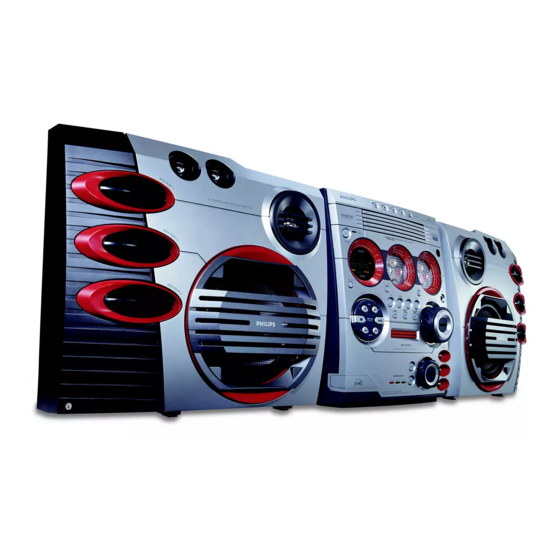
M587
M587
Mini Hi-Fi System
FW
FW
Need help? Call us!
Return
Philips representatives are ready to help you with
your Warranty
any questions about your new product. We can guide you
Registration Card
within 10 days
through Connections, First-time Setup, or any of the Features.
We want you to start enjoying your new product right away!
CALL US BEFORE YOU CONSIDER
RETURNING THE PRODUCT!
1-800-531-0039
or
Visit us on the web at www.philips.com
Advertisement
Table of Contents

Related Manuals for Philips FWM587


Summary of Contents for Philips FWM587
- Page 1 M587 M587 Mini Hi-Fi System Need help? Call us! Return Philips representatives are ready to help you with your Warranty any questions about your new product. We can guide you Registration Card within 10 days through Connections, First-time Setup, or any of the Features.
- Page 2 Canada English: This digital apparatus does not exceed the Class B limits for radio noise emissions from digital apparatus as set out in the Radio Interference Regulations of the Canadian Department of Communications. Français: Cet appareil numérique n'émet pas de bruits radioélectriques dépassant les limites applicables aux appareils numériques de Classe B prescrites dans le Règlement sur le Brouillage...
- Page 4 Return your Warranty Registration card today to ensure you receive all the benefits you’re entitled to. • Once your Philips purchase is registered, you’ r e eligible to receive all the privileges of owning a Philips product. Warranty Verification Registering your product...
- Page 5 As a member of the Philips “family,” you’re entitled to protection by one of the most comprehensive warranties and outstanding service networks in the industry.
-
Page 6: Important Safety Instructions
IMPORTANT SAFETY INSTRUCTIONS Read these instructions. Keep these instructions. Heed all warnings. Follow all instructions. Do not use this apparatus near water. Clean only with dry cloth. Do not block any ventilation openings. Install in accordance with the manufacturer's instructions. Do not install the system near any heat sources such as radiators, heat registers, stoves, or... - Page 7 Index English ------------------------------------------------ 8 Français -------------------------------------------- 30 Español --------------------------------------------- 52...
-
Page 8: Table Of Contents
Contents General Information Supplied accessories ... 9 Environmental information ... 9 Care and safety information ... 9 Functional Overview Main unit and remote control ... 10–11 Control buttons available on the remote control only ... 11 Connections Step 1: Connecting FM/ AM antennas ... 13 Step 2: Connecting the speakers ... -
Page 9: General Information
Refer to the type plate on the rear of the system for identification and supply ratings. Supplied accessories (page 3 – P1) – Remote control and two AA batteries. – AM loop antenna – FM wire antenna – Video cinch cable (yellow) –... -
Page 10: Functional Overview
Functional Overview Main unit and remote control ECO POWER indicator – Lights up when the system is in the Eco Power standby mode. STANDBY ON B – Switches to the Eco Power standby mode or turns on the system. – *Switches to standby mode. -
Page 11: Control Buttons Available On The Remote Control Only
PLAY•PAUSE É Å – CD: starts/pauses playback. (only on the main unit) – TUNER: *enters Plug & Play mode and/or starts preset radio station installation. MAX SOUND (MAX ON/OFF) – Turns on/off the optimal mix of various sound features. MIX IT (GAME MIX IT) –... -
Page 12: Connections
Connections VOLTAGE SELECTOR 110V- 127V 220V- 240V NOT FOR ALL VERSIONS Game console... -
Page 13: Step 1: Connecting Fm/Am Antennas
Warning! – Use only the supplied speakers. The combination of the main unit and speakers provides the best sound. Using other speakers can damage the unit and sound quality will be negatively affected. – Never make or change connections with the power switched on. –... -
Page 14: Step 5: Inserting Batteries Into The Remote Control
Connections Step 5: Inserting batteries into the remote control Open the battery compartment cover. Insert two batteries type R06 or AA, following the indications (+-) inside the compartment. Close the cover. Using the remote control to operate the system Aim the remote control directly at the remote sensor (iR) on the main unit. -
Page 15: Gameport Operations
About Gameport Gameport allows you to connect your game console to this mini system which enables you to enjoy a total game immersion experience through powerful sound output. Preparation before use rear panel front panel Connect your game console’s video and audio output to the GAMEPORT video and audio inputs respectively (refer to “Connections - Connecting to game console). -
Page 16: Basic Operations
Basic Operations Switching on/off Switching to active mode ● Press CD, TUNER, or AUX. Switching to the Eco Power standby mode ● Press B. ➜ ECO POWER button lights up. ➜ The display screen will go blank. Switching to standby mode (view clock) ●... -
Page 17: Dimming System's Display Screen
Dimming the system’s display You can select the desired brightness for the display panel. ● In any active mode, press DIM on the remote control or DIM MODE on the system repeatedly to turn on/off dim mode. ➜ is shown, except for DIM OFF mode. Volume control ●... -
Page 18: Disc Operations
Disc Operations IMPORTANT! – This system is designed for regular discs. Therefore, do not use any accessories such as disc stabiliser rings or disc treatment sheets, etc., as offered on the market, because they may jam the changer mechanism. – Do not load more than one disc onto each tray. -
Page 19: Playing An Mp3 Disc
Playing an MP3 disc REPEAT Load an MP3 disc. ➜ The disc reading time may exceed 10 seconds due to the large number of songs compiled into one disc. ➜ “AXX TYYY” is displayed. XX is the current album number and YYY is the current title number. -
Page 20: Programming The Disc Tracks
Disc Operations Programming the disc tracks Programming tracks is possible when playback is stopped. Up to 99 tracks can be stored in the memory in any order. IMPORTANT! It is only possible to programme from the current selected disc tray. Load the desired discs into the disc trays (refer to “Loading discs”). -
Page 21: Tuner Operations
IMPORTANT! Make sure the FM and AM antennas are connected. Tuning to radio stations Press TUNER to enter tuner mode. To select another waveband (FM or AM), press TUNER again. Press and hold à or á until the frequency indication starts to change, then release. ➜... -
Page 22: Timer Operations
Timer Operations Setting the timer The system can switch on to the CD or TUNER mode automatically at a preset time, serving as an alarm to wake you up. IMPORTANT! – Before setting the timer, ensure that the clock is set correctly. –... -
Page 23: Setting The Sleep Timer
Timer Operations Setting the sleep timer The sleep timer enables the system to switch to Eco Power standby mode automatically at a preset time. Press SLEEP repeatedly until it reaches the desired preset turn-off time. ➜ Following options are available (time in minutes): 15 ™... -
Page 24: Specifications
Specifications AMPLIFIER Output power ... 400 W total power ... 2 x 200 W RMS* ... 2 x 160 W FTC* Signal-to-noise ratio ... ≥ 62 dBA (IEC) Frequency response ... 63 – 16000 Hz, ≤–3 dB Input sensitivity AUX In ... 640 m V Gameport ... -
Page 25: Troubleshooting
Do not open the system as there is a risk of electric shock. If a fault occurs, first check the points listed below before taking the system for repair. If you are unable to remedy a problem by following these hints, consult your dealer or Philips for help. - Page 26 RENEWED 90 DAY LIMITED WARRANTY...