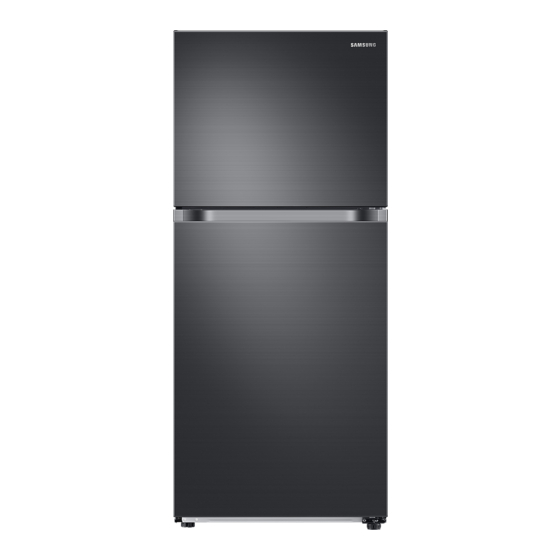
Samsung RT18M SERIES Installation Manual
Free standing appliance
Hide thumbs
Also See for RT18M SERIES:
- User manual (192 pages) ,
- Installation manual (64 pages) ,
- User manual (68 pages)
Summary of Contents for Samsung RT18M SERIES
-
Page 1: Installation Manual
Refrigerator Installation manual RT18M*/RT21M* Free Standing Appliance Untitled-6 1 2017-01-26 12:01:01... -
Page 2: Table Of Contents
Contents Safety information Important safety symbols and precautions: State of California Proposition 65 Warning (US only) Severe warning signs for transportation and site Installation Connect the water line Install the Auto Ice Maker Troubleshooting Auto Ice Maker Warranty (USA) Warranty Information (CANADA) Limited Warranty for Original Purchaser Obligation to the Original Owner Exclusions of the Warranty... -
Page 3: Safety Information
Safety information Important safety symbols and precautions: WARNING Hazards or unsafe practices that may result in severe personal injury or death. CAUTION Hazards or unsafe practices that may result in minor personal injury or property damage. These warning signs are here to prevent injury to you and others. Please follow them carefully. -
Page 4: Installation
Installation Connect the water line Connect the water line to the ice maker. For the ice maker to operate properly, a water pressure of 20-125 psi is required. After you have connected the water line, make sure the water storage tank inside the refrigerator is properly filled. CAUTION Do not reuse an old hose set. - Page 5 To assemble the water line installation kit 1. Shut off the main water source. 2. Insert the pipe clamp (B) and the shut- off valve (C) into the cold water line (A). 3. Connect the water line installation kit (A) to the shut-off valve (B). To connect the water line to the refrigerator WARNING Make sure to connect the water line only to a potable water source.
- Page 6 Installation A. Refrigerator B. Household water supply line 01 Compression nut ( ”) (Not supplied) 02 Ferrule (Not supplied) 03 Copper tubing (Not supplied) 04 Plastic tubing (Assembled) 05 Compression fitting (Not supplied) 06 Molded end (Bulb) 07 Compression nut (B) ( ”) (Not supplied) 08 Plastic tubing (A) (Not supplied)
- Page 7 The water filter and the water filter installation kit containing necessary parts illustrated in this section are not provided. You must purchase the water filter and the water filter installation kit at a local Samsung service center. To connect to the water supply line...
- Page 8 3. Turn the water line on and check for leaks. CAUTION • Use only potable water. • The filter cartridge is not provided. You must purchase it at a local Samsung service center. • When moving the refrigerator for line connection, use caution so that you don't step on the power cord or water line (for the ice maker).
-
Page 9: Install The Auto Ice Maker
Install the Auto Ice Maker To purchase a new auto ice maker (part type : RA-TIMO63PP/AA), visit the Samsung website (www.samsung.com) or contact your retailer. Ice maker kit Ice maker Ice bucket Tools required (not provided) Phillips screwdriver English Untitled-6 9... - Page 10 Installation To install the ice maker kit WARNING To prevent electrical shock, make sure the refrigerator is turned off before installation. 1. See the figure on the left, and then locate the cover on the inner upper corner of the main unit. 2.
- Page 11 5. Tighten the provided screws (x2) to attach the ice maker firmly to the refrigerator. - Make sure the screw holes are aligned with each other before tightening the screws. 6. Put the ice bucket on the shelf as shown. By design, the ice bucket is supposed to sit behind the ice maker.
-
Page 12: Troubleshooting
Troubleshooting Auto Ice Maker Symptom Possible causes Solution • The freezer room is not cold • Make sure the cold air outlet enough. is not clogged. • Make sure the ice maker is turned on. Press and hold Power Freeze for 3 •... -
Page 13: Warranty (Usa)
SAMSUNG or its designated service center with the benefit of tracking information, as SAMSUNG is not responsible for any damage or loss to the product while in transit. In the case of replacements, ownership of the original product, parts or components will be transferred to SAMSUNG and SAMSUNG will not return the original product, parts or components to you. - Page 14 OR INABILITY TO USE THIS PRODUCT, REGARDLESS OF THE LEGAL THEORY ON WHICH THE CLAIM IS BASED, AND EVEN IF SAMSUNG HAS BEEN ADVISED OF THE POSSIBILTY OF SUCH DAMAGES; NOR SHALL RECOVERY OF ANY KIND AGAINST SAMSUNG BE GREATER IN AMOUNT THAN THE PURCHASE PRICE OF THE PRODUCT SOLD BY SAMSUNG AND CAUSING THE ALLEGED DAMAGE.
-
Page 15: Warranty Information (Canada)
All warranty repairs or replacements must be performed by a SECA Authorized Service Center. (To find the nearest SECA Service Center, call 1-800-SAMSUNG (7267864) or visit our web site at www.samsung.com/ca) Obligation to the Original Owner The original dated sales receipt must be retained by the customer and is the only acceptable proof of purchase. - Page 16 How-to Videos and Live Shows * Requires reader to be installed on your smartphone Contact SAMSUNG WORLD WIDE If you have any questions or comments relating to Samsung products, please contact the SAMSUNG Customer Care Center. Country Contact Center Web Site 1-800-SAMSUNG (726-7864) U.S.A...


