
Related Manuals for Swann SI12010N


Summary of Contents for Swann SI12010N
- Page 1 Steam Generator Model: SI12010N Helpline 0871 200 0003 v1.0 SI12010N_IM.indd 1 13/05/2015 16:20...
- Page 2 IMPORTANT INFORMATION - RETAIN FOR FUTURE USE When using any electrical appliance, basic safety precautions should always be followed including the following: • Always ensure that the voltage on the rating label corresponds to the mains voltage in your home •...
-
Page 3: Technical Data
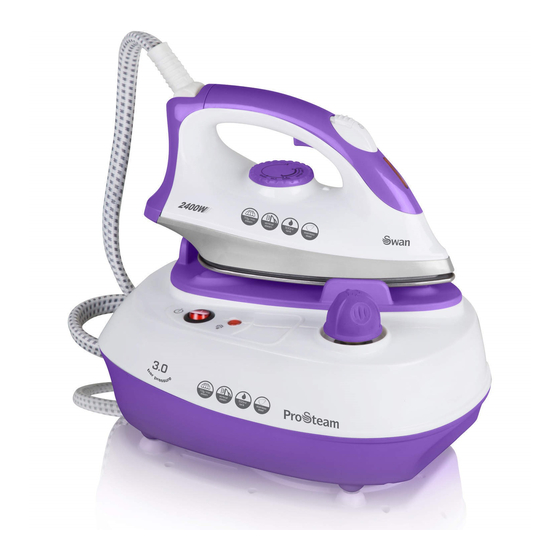
Only place the unit complete with base on a stand that is designed to withstand the weight. Some lightweight ironing boards may be unsuitable. In this case, place on separate counter top. TECHNICAL DATA Description: Steam Generator Model: SI12010N Input Voltage: 220-240V Frequency: 50/60Hz Power consumption: 2000-2400 Watts CAUTION: SURFACES BECOME HOT DURING USE SI12010N_IM.indd 3... - Page 4 PARTS 1. Steam/cable tube 2. Power cord with plug (British standard plug on this model) 3. power switch on/off button 4. Steam ready / empty water tank indicator light 5. Iron stand 6. Boiler filter cap 7. Iron thermostat control 8.
-
Page 5: Prepare The Appliance For Use
HOW TO USE Synthetic Wool Silk Cotton Nylon Silk Rayon Cotton, Synthetic Wool Cotton Linen Acrylic Polyester Linen Acetate Use a press cloth Dry iron on the and steam iron opposite side of Steam Ironing Steam Ironing on the opposite the fabric. -
Page 6: Steam Ironing
HOW TO USE CONTROLS • When used for the first time, the appliance may give off smoke and an odour for several minutes. This is caused by heating and subsequent drying of the sealers used in assembling the steam generator and iron. This will only happen one time. DRY IRONING (Just don’t press the steam button!) 1. -
Page 7: Filling The Boiler
HOW TO USE FILLING THE BOILER 1. Make sure the supply cord is unplugged from the main socket. 2. Do not open the filler cap while using the appliance or before the water is completely used up (when the iron stops producing steam indicates that the tank is empty). -
Page 8: How To Use
HOW TO USE EMPTYING AND STORING • Disconnect the appliance from the mains socket and allow the appliance to cool down for 60 minutes at least. • After use, pour out all the remaining water. Take care when removing the filler cap as described on page 7 •... -
Page 9: Warranty
DOCUMENTATION We Swan Products Ltd declare that this product conforms to the following product legislation in accordance with the following directive(s): • 2004/108/EC The EMC Directive (the Electromagnetic Compatibility Directive). • 2006/95EC. The LVD Directive (Low Voltage Directive). • 2011-65-EU. The RoHS directive (Restriction of Hazardous Substances Directive) •... -
Page 10: Disposal Of Unit
BS PLUG The wires in the mains lead are coloured in accordance with the following code: BLUE NEUTRAL BROWN LIVE GREEN/YELLOW EARTH As the colours of the wire in the mains lead of this appliance may not correspond with the colour markings identifying the terminals on your plug, proceed as follows: The wire which is coloured BLUE must be connected to the terminal which is marked with the letter N or coloured black. - Page 11 SWAN BRAND HERITAGE Did you know... In 1933 most homes were heating their irons over t he gas r ing or s till putting hot coal i n them. This Swan i ron was basically a n element w ith a handle, which plugged straight into a light bulb socket.
- Page 12 www.swan-brand.co.uk 2 year Est. 1 931 GUARANTEE Scan this QR code We love we’re proud Find us on Facebook to hear about what we do of our quality our story * on selected products Copyright © Swan Products Ltd. PO Box 3117, Stoke-on-Trent ST4 9GD SI12010N_IM.indd 12 13/05/2015 16:20...