Table of Contents
Advertisement
Quick Links
Advertisement
Table of Contents

Related Manuals for Bosch DKS968D


Summary of Contents for Bosch DKS968D
- Page 1 Operating and Installation Manual for Cooker Hoods DKS968D...
- Page 2 Preface Thank you for choosing Bosch cooking appliance. Before using your appliance for the first time, please read these instructions for use carefully. They contain important information concerning your personal safety as well as on use and care of the appliance.
-
Page 3: Table Of Contents
Table of Contents Key Information Packaging of New Cooker Hood Disposal of Used Cooker Hood Before You Begin Product Introduction Technical Parameters Product Standards Safety Precautions Operating Instruction Getting familiar with Your New Cooker Hood Control Panel and Operating Instruction Installation Instruction Safety Precautions Installation Position and Height... -
Page 4: Key Information
Key Information Packaging of You will receive your new appliance in a protective shipping carton. All packaging materials are New Cooker Hood environment friendly and recyclable. Please contribute to a better environment friendly manner. Do not let children play with the appliance or the packaging material. -
Page 5: Product Introduction
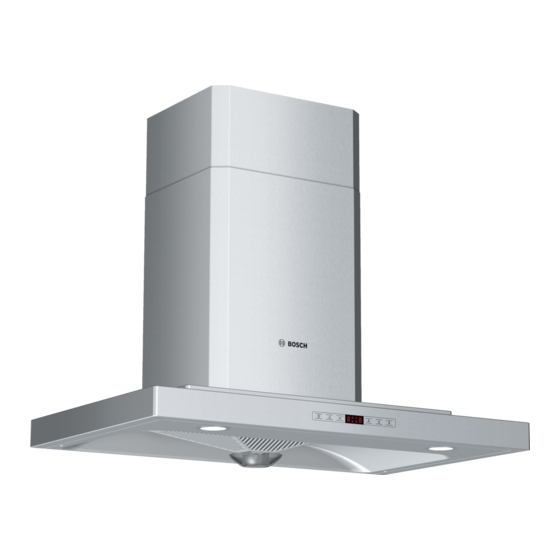
Product Introduction Technical Parameters DKS968D Product Model Appearance Rated Voltage 220-240V~50Hz Input Power Motor 150W Light 2X20W Self Cleaning Air Volume m /min 14.5±1 Static Pressure Pa ≥300(max) ≤69 (sound power grade) Noise dB(A) 26.6 Net Weight (kg) Dimension Length... - Page 6 Product Introduction Overheated fat or oil is highly inflammable. Only prepare food cooked in fat or oil when cooking can be fully supervised. Under no circumstances attempt to extinguish burning fat or oil with water. Choke the fire using a lid or fire blanket.
-
Page 7: Operating Instruction
Operating Instruction Getting Familiar with Your New Cooker Hood DKS968D 1. Outer duct 2. Screen 3. Inner frame 4. Filter frame 5. Oil collector 6. Front panel 7. Lamp 8. Switch Control Panel and Operating Instruction 1. "Fan Power " button: to turn on or turn off the fan and also to turn off the lamp. - Page 8 Operating Instruction Turn on and off the fan Turn on the fan: Press the “Fan Power ” for the first time. Then the fan runs at the maximum speed 3. The right display screen displays 3. Turn off the fan: Press the “Fan Power ”...
- Page 9 Operating Instruction Linkage working: If you turn on the cooker, the cooker hood will automatically start at speed 3. If you turn off the cooker, the cooker hood will be automatically turned off in 3 minutes. When the linkage function is enabled, you can still turn on or turn off the lamp, adjust the fan speed, enable the delay function, turn on or turn off the cooker hood, enable the automatic...
- Page 10 Operating Instruction The self cleaning runs for 30 minutes during which the screen displays the count-down time. After the clean is complete, the screen shows that the clean ends. If you hold down the button for 3 seconds after the self cleaning has already run for 10 minutes, you stop the clean in advance.
-
Page 11: Safety Precautions
Installation Instruction Safety Precautions Read these instructions carefully and keep them in a safe place. Safety during use can only be ensured if the appliance is fitted correctly according to these installation instructions. The installer is responsible for ensuring that the appliance operates perfectly at the point of installation. -
Page 12: Installation Position And Height
Please read the dimensions shown in the figure before using the adjustable cover. The adjustable cover is fixed on the wall by using fixing brackets via screws. Product Model DKS968D Dimension A(mm) 4 5 m m 3 0 0 m... -
Page 13: Installation Of Fasteners
Insert the accessory wall plug into the drilling holes and fix the fasteners (fixing brackets and mounting rails) onto the wall with the accessory fixing screws. Product Model DKS968D Dimension B(mm) Note: The lower edge of dimension B is the bottom point of... -
Page 14: Fixing Cooker Hood
Installation Instruction Fixing Cooker Hood Hang the cooker hood on to the fixing brackets on the wall. Make sure the cooker hood does not shake or hook off. Keep the cooker hood horizontal. Install the accessory fixing screws in the notch as shown in the figure to prevent the cooker hood falling off from the mounting rails. -
Page 15: Installation Instruction
Installation Instruction 5. If you need to connect the exhausted pipe to the common chimney duct, DO NOT deeply insert the exhausted pipe into the common chimney duct in case the resistance increases when exhausting. 6. If you need to connect the exhausted pipe directly outside the wall, a shutter (purchase additionally) is recommended to be mounted at one end of the exhausted pipe to prevent the external wind from... -
Page 16: Cleaning Maintenance And Repair
Cleaning Maintenance and Repair After installation, clean the surface of the cooker hood. Test Run Insert the electric plug of the cooker hood into the receptacle. Test run operation is performed according to "Operating Instruction". Cleaning and Maintaining Pull off the electric plug before cleaning or maintaining the cooker hood. -
Page 17: Trouble Shooting
Cleaning Maintenance and Repair When two third of the oil collector is filled up, the oil collector should be cleaned to avoid any oil spills. Detach the oil collector according to the figure. Caution!!! The cooker hood may cause a fire, if the oil collector Oil Collector is not cleaned according to the methods mentioned in the operation instruction. -
Page 18: Changing The Halogen Bulb
Cleaning Maintenance and Repair Changing the halogen Steps to change the halogen bulb. bulb 1. Switch off the extractor hood and isolate by pulling out the main plug or switching off the disconnector on the installation side. Caution!!! When switched on, the halogen bulb become very hot. Even for some time after the bulbs have been switched off there is still a risk of burns. - Page 19 Customer Service Tips Considerable injuries may be caused by faulty repairs. Repairs to the appliance must only be carried out by a trained technician. If a repair is required, please call the after-sales service. When cleaning things around the cooker hood (such as ceiling, cabinet) which may touch the hood, please wear protection glove or take other protection measures to prevent injuries.
- Page 21 Material number: 9000597293 Edition: PDC02 Revision date: 2011.04 Guarantee: The guarantee conditions for this appliance are as defined by our representative in the country in which it is sold. Details regarding these conditions can be obtained from the dealer from whom the appliance was purchased.