Advertisement
Advertisement
Table of Contents

Related Manuals for Zeiss AxioObserver D1


Summary of Contents for Zeiss AxioObserver D1
-
Page 2: Start-Up Procedure
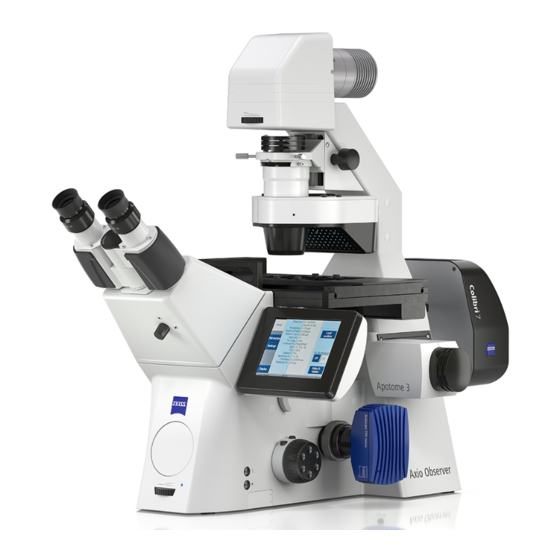
Zeiss AxioObserver.D1 Microscope Room: 3164A Start Up Procedure 1. Remove dust cover from microscope 2. Toggle FluoArc Lamp switch ON 3. Toggle Power Bar switch ON 4. Turn Microscope ON ‐ by pressing power button located on left side of microscope 5. Turn ON computer 6. Log on to: Observer User account (no password) 7. Open Program: AxioVision Rel. 4.8 Shut Down Procedure 1. If used oil, gently remove oil from objective using neatly folded dry lens paper ... - Page 3 Microscope Quick Guide Zeiss AxioObserver.D1 Microscope Guide Room: 3164A Start Up Procedure 1. Remove dust cover from microscope 2 Toggle FluoArc Lamp switch ON 3 Toggle Power Bar switch ON 4 Turn Microscope ON ‐ by pressing power button located on left side of microscope 5 Turn ON computer 6 Log on to: Observer User account (no password) 7 Open Program: AxioVision Rel. 4.8 Configuring Imaging Setup 1. If not already visible, open the Workarea window 2. From the Workarea menu, double‐click on Multidimensional Acquisition to expand list, and then select Multidimensional Acquisition. 3. Under the tab, click Load button. Select the appropriate experiment set‐up depending on what channels you want to image (ie All Channels). 4. Select the colors tab 5. You can activate/deactivate channels by right‐mouse clicking on the channel number Set Sample on Stage and Focus ...
- Page 4 4. Repeat exposure time measurement for each channel, however, adjust the fine focus for only one channel ie the most important one 5. To capture your final image, press the button located at the bottom of the C tab. Post‐Acquisition Adjustments Brightness/Contrast 1. Temporarily turn off the pseudo‐coloring of the displayed image by pressing the button. Each channel is displayed in black/white; you can view one channel at a time. 2. Click on the properties button found below the image 3. While under Display tab of properties window, click the Min/Max button, or under your image, press the button. 4. You can make further adjustments using the displayed histogram (ie move top of line left, and bottom of line right) ‐ NOTE: do not adjust the Gamma 5. Repeat for each channel 6. Press the button Adding a Scale bar 1. To add a scale bar, press the button, or Annotations from the main menu and select Scale bar. 2. Drag cursor along image to get desired scale bar size Saving Files 1. From the main menu, select File Save as 2.
- Page 5 Microscope Controls Objective NA Display Screen Objective Contrast Method Objective Type HAL Lamp Voltage Objective Magnification TL Shutter (open) RL Shutter (closed) Condenser Contrast Method Reflector Transmitted Light Controls Diaphragm Control Turns HAL Lamp on/off Located on bottom right Condenser contrast of microscope method Located on bottom front of microscope Condenser aperture control Controls HAL lamp ...
- Page 6 Objectives Zeiss AxioObserver.D1 Microscope Objectives Room: 3164A 1 2 3 Plan‐Apochromat A‐Plan 10x LD Plan‐NeoFluar 20x 20x 0.25 Ph1 0.4 Korr Ph2 ‐ M27 0.8 M27 Magnification 10x 20x 20x Numerical Aperture 0.25 0.4 0.8 Working Distance (mm) 4.2 7.9 at coverglass 0.75 0.55 Coverglass (mm) 0.17 0‐1.5 0.17 Immersion None None None Long Distance (LD) ‐ ...
- Page 7 Plan‐NeoFluar 100x 1.3 Oil Ph3 100x 1.3 0.2 0.17 Oil ICS **** **** **** *** ‐ ‐ Ph3 000000‐1031‐171 ...
-
Page 8: Filter Sets
Filter Sets Zeiss Axio Observer D1 Microscope Filters Room 3164A 1. Transmitted Light 2. Filter Set 34 (DAPI/BFP) Excitation: BP 390/22 Beam Splitter: FT 420 Emission: BP 460/50 3. Filter Set 38 (Cy2/GFP) Excitation: BP 470/40 Beam Splitter: FT 495 Emission: BP 525/50 4. Filter Set 46 HE (YFP) Excitation: BP 500/25 ... -
Page 9: Filter Set
Filter set ... - Page 10 ...
- Page 11 https://www.micro‐shop.zeiss.com/?p=us&f=f ...
- Page 12 Attention Users!! FluoArc Lamp: The FluoArc lamp must be on for at least 30 minutes before being turned off AND must not be turned on again within 1 hour of being turned off. 1. When starting, before you turn on the FluoArc lamp, make sure it has been OFF for at least 1 hour from previous use. When finishing, before you turn off the FluoArc lamp, make sure it has been ON for at least 30 minutes. Oil on Objectives: If you used an oil objective, please remember to wipe oil off with dry Lens Paper. Do not use ethanol! Booking Time: You are allowed to sign up for a maximum of 3 hours per day. Please make sure you only book time that you need. You are responsible for showing up for your time booked. A $10.00 fee applies if you did not show up for booked time. Log Book: All users must log the time spent on the station as well as the time the fluorescence lamp was turned on/off in the log book. Save Data: Your Save all of your work in D:/ drive, your lab‐folder, your folder. Files found on the Desktop or in the C:/ drive will be deleted daily. You are responsible for backing‐up your own data at all times. Do not rely on this computer as storage for your data. Once you have backed‐up your files elsewhere, please delete your files from this computer. ...
- Page 13 Computer: This computer is to be used only for image acquisition. No other work is permitted!! Immersion Oil Rules: Always keep immersion oil bottle closed. This prevents water evaporation and maintains the integrity of the oil Keep oil bottle clean. Oil should never be found along the sides of the bottle or around the neck Apply only a small amount of oil to your coverslip Oil droplet Coverslip Always load your sample on the microscope stage with the objective lowered to the lowest focus position Oil should never reach the outer rim of the objectives. The felt protectors should never become saturated with oil Always remove oil using dry Lens Paper from the objective when changing slides. Re‐apply a small amount of new oil to the new slide If you are imaging a sample using an oil objective, do not toggle between objectives. Image with that objective only! When done, thoroughly wipe off oil objective using Lens Paper Do not get oil on any air objectives! ...