Table of Contents
Advertisement
Advertisement
Table of Contents

Related Manuals for Pyle PPBCM9


Summary of Contents for Pyle PPBCM9
- Page 1 Body-Cam User Manual PPBCM9...
-
Page 2: Table Of Contents
Warning: 1. Be careful not to use this product in strong magnetic fields, which may cause image interference or cause product fault. 2. Be careful not to direct sunlight for a long time the lens when using this product outdoors, which may cause damage to the lens of the light-sensitive devices; 3. -
Page 4: Content
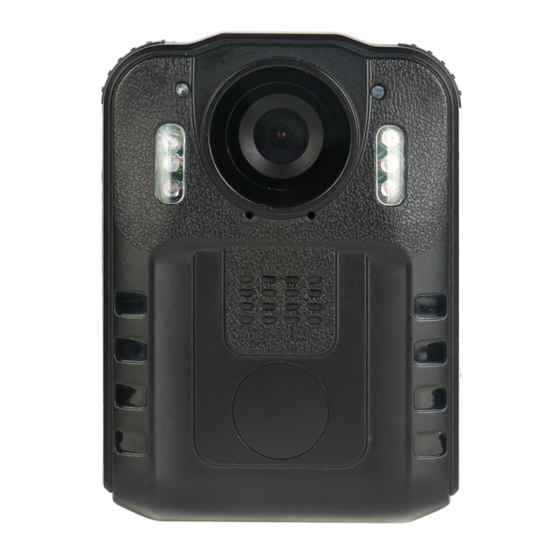
I. User Guide 1. Structure High-powered HD Lens infrared night vision Speaker USB/TV port 360°rotating clip Photo Video/Confirm OK/Menu Audio Reset Up/Infrared HD 2” LCD Down Power on/off... -
Page 5: Lcd Display
2. LCD display ① Storage card capacity will show you how much recording time you have left before the card is full. ② Mode icon will show you what mode you have the camera in (photo, video, etc) ③ Video resolution ④... -
Page 6: Basic Operation
Please refer to this picture, connect the camera with the PC via the USB cable to charge it. The battery charging status can be seen from the LCD icon (power-on charging) or from the indicator lights (power-off charging), while charging, the LED is shining blue, when fully charged, the LED will turn off. -
Page 7: System Settings
3. System settings Press “OK” button,enter “menu setting”. ① Video resolution: Press the “Confirm” button to enter the options list, press ‘Up’/’Down’ to choose the resolution, then press the “Confirm” button to confirm it. ② Photo resolution: Press the “Confirm” button to enter options list, press ‘Up’/’Down’... -
Page 8: Video
⑧ Frequency setting: Press the “Confirm” button to enter options list, press ‘Up’/’Down’ to choose the “50”/“60HZ”, then press the “Confirm” button to confirm it. ⑨ Battery saving mode: Press the “Confirm” button to enter options list, press ‘Up’/’Down’ to choose the “on”/”off”, then press the “Confirm” button to confirm it. -
Page 9: Photo
5. Photo In the power on standby mode, press “Photo” button to take a picture and the picture will be save, camera return back to standby state. Each press the photo button, the camera will take one picture and save to SD card. 6. -
Page 10: Restart
“Up”/”Down” button to choose operation, delete, format,playback card. 1. 1 Delete: Press the “Confirm” button to enter file delete mode, press “Up” / ”Down” button to choose the delete settings. 1. 2 SD card format: Press the “Confirm” button to enter format mode, press “Up”... -
Page 11: Remote Control Operation
10. Remote control operation (optional function) The machine can be optional remote control, and remote operation can take pictures and video more convenient and more humane. As instructed below: ① 【 】 key: Photo/Camera button. Press once to take a photo. In video mode, press the key to capture. -
Page 12: Specification
III. Specification Specification Video input Built-in lens resolution up to 1920*1080 LCD display 2. 0” 16:9 TFT LCD Lens angle 170 degree wide angle Focus 0. 3~∞ CMOS sensor 1/4" Color CMOS sensor Body size (length×width×height) 3.26'' x 2.6'' x 1.1'' Photo JPG format resolution up to 8M pixel Video recording 1920×1080;1280×720;848×480;640×480... -
Page 13: Troubleshooting And Handling
Troubleshooting and handling Device won’t turn on 1. Please connect the charger to equipment, charging 2 hours later, then check the problem; 2. Please check the charger and the connecting line is normal; 3. Please press the reset key to restore the device to factory settings, and then check to the problem;...