Table of Contents
Advertisement
Quick Links
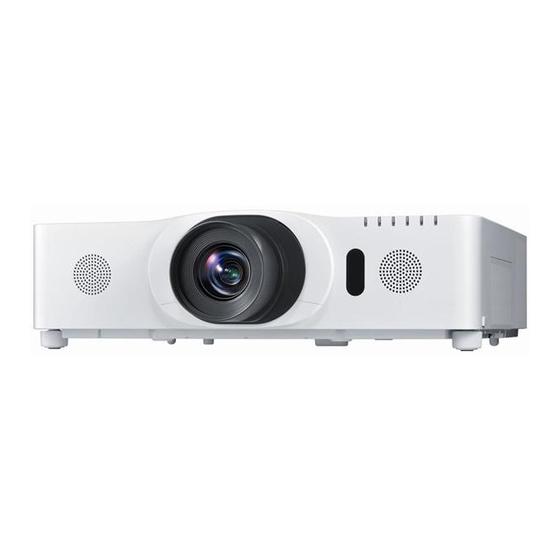
Projector
8975WUA/8979WUA
User's Manual (concise)
Thank you for purchasing this projector.
Please read through this manual before using this product, in order to use safely
and utilize well the product.
WARNING
product. After reading them, store them in a safe place for future reference.
NOTE
In this manual, unless any comments are accompanied, "the manuals"
means all the documents provided with this product, and "the product" means this
projector and all the accessories came with the projector.
Contents
............................................ 2
Important safety instruction ..............................2
Regulatory notices .............................. 3
About Electro-Magnetic Interference ................3
Contents of package........................... 4
Preparing for the remote control ......... 5
Arrangement ....................................... 6
Connecting with your devices ............. 7
430-8975WUA-8979WUA-Concise-00
Connecting power supply ................... 8
Turning on the power .......................... 9
Adjusting the projector's elevator ..... 10
Adjusting the lens position ................ 10
Displaying the picture ....................... 11
Turning off the power ........................ 12
Replacing the lamp ........................... 13
Using the CD manual ....................... 17
............... 8
- Warranty and after-service ........... 20
................................... 18
.. 15
1
Advertisement
Table of Contents

Related Manuals for Dukane 8979WUA


Summary of Contents for Dukane 8979WUA
-
Page 1: Table Of Contents
Projector 8975WUA/8979WUA User's Manual (concise) Thank you for purchasing this projector. Please read through this manual before using this product, in order to use safely and utilize well the product. WARNING product. After reading them, store them in a safe place for future reference. -
Page 2: Entries And Graphical Symbols Explanation
First of all Entries and graphical symbols explanation The following entries and graphical symbols are used for the manuals and the product as follows, for safety purpose. Please know their meanings beforehand, and heed them. WARNING This entry warns of a risk of serious personal injury or even death. CAUTION This entry warns of a risk of personal injury or physical damage. -
Page 3: Regulatory Notices
Regulatory notices About Electro-Magnetic Interference This is a Class A product. In a domestic environment this product may cause radio interference in which case the user may be required to take adequate measures. This product may cause interference if used in residential areas. Such use must be avoided unless the user takes special measures to reduce electromagnetic emissions to prevent interference to the reception of radio and television broadcasts. -
Page 4: About Waste Electrical And Electronic Equipment
(2) Power cord (3) Computer cable (4) Lens cover Information sheet www. (6) Security label (7) See Dukane web site (8) Adapter cover WARNING not to put in the mouth. If swallowed, consult a physician immediately for emergency treatment. NOTE to use the original packing materials when moving the projector. -
Page 5: Preparing For The Remote Control
Preparing for the remote control Please insert the batteries into the remote control before using it. If the remote control starts to malfunction, try to replace the batteries. If you will not use the remote control for long period, remove the batteries from the remote control and store them in a safe place. -
Page 6: Arrangement
Arrangement Refer to table T-1 at the back of this manual as well as the following to determine the screen size and projection distance. The values shown in the table are calculated for a full size screen. Ⓗ × Ⓥ : Screen size ⓐ... -
Page 7: Connecting With Your Devices
Connecting with your devices the required accessories, such as a cable in accord with the signal of the device. Consult your dealer when the required accessory did not come with the product or the accessory is damaged. After making sure that the projector and the devices are turned off, perform the gures F-1 to F-4 at back of this manual. -
Page 8: Connecting Power Supply
Fastening the adapter cover sure to connect the adapter to the further USB TYPE A port from the LAN port and use the supplied adapter cover. Loosen the screw (marked with triangle) on the bottom left of the USB TYPE A ports. Insert the tab of the cover into the hole at the upper right of the USB TYPE A ports in the direction of the arrow. -
Page 9: Turning On The Power
Turning on the power projector and the outlet. POWER indicator Make sure that the POWER indicator is lighted in steady orange. Then remove the ON button lens cover. Press the STANDBY/ON button on the projector or the ON button on the remote control. -
Page 10: Adjusting The Projector's Elevator
Adjusting the projector’s elevator When the place to put the projector is slightly uneven to the left or right, use the elevator feet to place the projector horizontally. Using the feet can also tilt the projector in order to project at a suitable angle to the screen, elevating the front side of the projector within 9 degrees. -
Page 11: Displaying The Picture
Displaying the picture Activate your signal source. Turn the signal VOL + / - source on, and make it send the signal to the buttons projector. Press the INPUT button on the projector. Each time you press the button, the projector switches its input port in turn. -
Page 12: Turning Off The Power
Turning off the power POWER indicator Press the STANDBY/ON button on the STANDBY projector or the STANDBY button on button the remote control. The message “Power off?” will appear on the screen for about 5 seconds. Press the STANDBY/ON or STANDBY button again while the message appears. -
Page 13: Replacing The Lamp
Type number : 456-8971 <8975WUA> 456-8977 <8979WUA> Turn the projector off, and unplug the power cord. Allow the projector to cool for at least 45 minutes. - Page 14 Replacing the lamp (continued) HIGH VOLTAGE HIGH TEMPERATURE HIGH PRESSURE WARNING The projector uses a high-pressure mercury glass lamp. The lamp can break with a loud bang, or burn out, if jolted or scratched, handled while hot, or worn over time. Note that each lamp has a different lifetime, and some may burst or burn out soon after you start using them.
- Page 15 Please check and cle purchasing a new one. Type number : UX38242 Turn the projector off, and unplug the power down. Use a vacuum cleaner on and around the take it off. Press up slightly the bottom side knobs off. Extra knobs of the projector and the outer side of the...
- Page 16 in the EASY MENU. (1) Press the MENU button to display a menu. cursor buttons, then press the cursor (or the ENTER / the RESET) button. A dialog will appear. WARNING projector. the projector. NOTE or turn off the projector, to prevent the internal heat level rising.
-
Page 17: Using The Cd Manual
Using the manuals See the Dukane web site.“Downloads” for these models. There it provides the latest version manuals and links to the available software. DUKANE CORP AV SERVICE DEPT 2900 Dukane Drive St Charles, IL 60174 800-676-2487 / 630-762-4032 Fax 630-584-5156 avservice@dukane.com... - Page 18 Speaker 8975WUA: AC100-120 V: 5.0 A, AC220-240 V: 2.5 A Power supply/ Rated current 8979WUA: AC100-120 V: 5.5 A, AC220-240 V: 2.8 A 8975WUA: AC100-120 V: 500 W, AC220-240 V: 480 W Power consumption 8979WUA: AC100-120 V: 550 W, AC220-240 V: 520 W 0 ~ 45 °C (Operating)
- Page 19 UL-705 (Ultra long throw lens) USB wireless adapter: Note: The Dukane models described in this document are manufactured by Hitachi and use the same firmware, software programs, control code, and accessory parts. The equivalent Dukane to Hitachi models are; 8975WUA...
-
Page 20: Troubleshooting - Warranty And After-Service
If this does not resolve the problem, please consult your dealer or service company. They will tell you what warranty condition is applied. for this projector. DUKANE CORP AV SERVICE DEPT 2900 Dukane Drive St Charles, IL 60174 800-676-2487 / 630-762-4032 Fax 630-584-5156 avservice@dukane.com... -
Page 21: Projector Bottom
Ⓗ x Ⓥ : Screen size ⓐ : Projection distance Projector top ( from the front of the projector unit) ⓑ , ⓒ : Screen height Projector bottom with ML-703 (1920 x 1200, ±10%) 16 : 10 4 : 3 Screen Projection Screen... - Page 22 Computer Computer External device Access point wireless adapter (optional) storage device...
- Page 23 VCR/DVD/Blu-ray Disc player Speakers Monitor Another projector (Wired) Remote control...
- Page 24 498mm 135mm 147mm See Dukane Web site for manuals. DUKANE CORP AV SERVICE DEPT 2900 Dukane Drive St Charles, IL 60174 800-676-2487 / 630-762-4032 Fax 630-584-5156 avservice@dukane.com www.dukaneav.com 430-8975WUA-8979WUA-Concise-00...