Table of Contents
Advertisement
Operating Instructions
LED TV
32-inch model
49-inch model
English
Thank you for purchasing this Panasonic product.
Please read these instructions carefully before operating
this product and retain them for future reference.
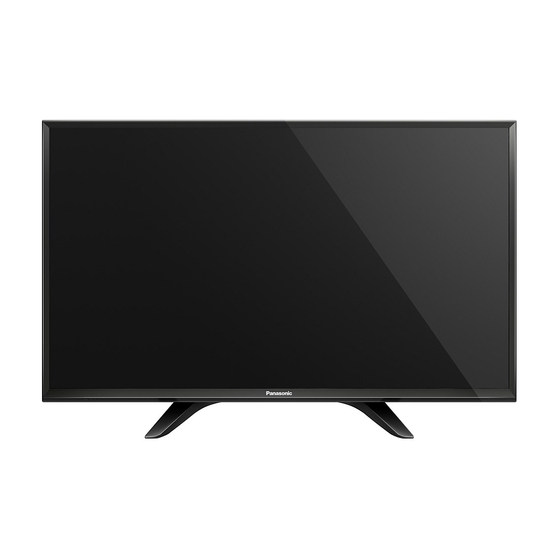
The images shown in this manual are for illustrative
purposes only.
Some illustrations are presented as conceptual images
and may be different from the actual products.
Illustrations shown may be different between models
and countries.
The illustrations for 49-inch model is used in this
manual unless otherwise mentioned.
Transport only in upright position
Australia
TH-32D400A
TH-32D400Z
TH-49D400A
TH-49D400Z
Model No.
New Zealand
EEA
TQB4GC1473
Advertisement
Table of Contents

Related Manuals for Panasonic TH-32D400A


Summary of Contents for Panasonic TH-32D400A
- Page 1 LED TV 32-inch model 49-inch model English Thank you for purchasing this Panasonic product. Please read these instructions carefully before operating this product and retain them for future reference. The images shown in this manual are for illustrative purposes only.
-
Page 2: Table Of Contents
Additional information may be obtained from MPEG LA, LLC. Troubleshooting ··································· 20 See http://www.mpegla.com. Maintenance ········································· 21 Panasonic does not guarantee operation and Specifications······································· 21 performance of peripheral devices made by other manufacturers; and we disclaim any liability or damage Warranty (Australia) ······························ 23 arising from operation and/or performance from usage of such other maker’s peripheral devices. -
Page 3: Safety Precautions
During setup, make sure that all screws are securely ● Do not use an unapproved pedestal / mounting tightened. equipment. Be sure to ask your local Panasonic dealer ● Ensure that the TV does not suffer any impact during to perform the setup or installation of approved wall- installation of the pedestal. -
Page 4: Setting Up The Tv
■ Setting Up the TV Ventilation Caution Allow sufficient space (at least 10 cm) around the TV in order to help prevent excessive heat, which could lead Supplied accessories to early failure of some electronic components. Accessories may not be placed all together. Take care not to throw them away unintentionally. - Page 5 Attaching the pedestal 49-inch model 32-inch model Preventing the TV from falling over It is recommended to secure the pedestal to a furniture as shown to prevent the TV from falling over. ● This information is designed to reduce the risk of injuries caused by the TV falling over.
-
Page 6: Connecting The Tv
Inserting remote’s batteries Connecting the TV Press the hook and ● Please ensure the TV is disconnected from the mains lift the cover socket / power point before attaching or disconnecting any RF / AV leads. ● External equipment and cables are for illustrative purposes only and not supplied with this TV. - Page 7 Connections DTV Recorder / PVR / VCR Aerial and mains lead Aerial “F” type Antenna Splitter RG6Q Fly Lead RG6Q Fly Lead RF cable RG6Q Fly Lead Antenna Socket Wall Plate Mains lead (supplied) DTV Recorder / PVR / VCR ●...
-
Page 8: Initial Setup
Scanning starts. Speaker system [Automatic Channel Search] Amplifier with [Auto Tuning] speaker system Example: Automatic Channel Search Status: Scanning... HDMI cable Analogue : 0 Digital : 1 Scan ● Use HDMI 2 for connecting an amplifier that has ARC (Audio Return Channel) function. EXIT For an amplifier without ARC function, use DIGITAL AUDIO OUT. -
Page 9: Operating The Tv
Operating the TV Using the remote control POWER MEDIA PLAYER INPUT Using the TV controls MENU TEXT STTL GUIDE INFO EXIT OPTION RETURN Indicators on the TV 5 6 7 ASPECT MUTE Changes the input mode Displays [Main Menu] when press and hold for 3 seconds ●... -
Page 10: Using Tv Guide / Freeview Guide
Using TV Guide / Input mode selection ● TV - switches to TV input mode (Digital TV or Analogue TV). Freeview Guide ● AV - displays [Input Selection] screen (p. 11) or press repeatedly to select the input mode. TV Guide (p. -
Page 11: Watching External Inputs
Using Media Player Display the Freeview Guide. Media Player allows you to enjoy photo, music or video (Each press will toggle the screen between the GUIDE recorded on a USB Flash Memory. Freeview Guide Listing and What’s on Now / ●... - Page 12 Music mode [Drive Select] For USB with partition, you can change to the other Media Player Music Folder view partition directly in the same mode. My Music_1 My Music_2 My Music_3 Follow the operation guide to perform available operations in each mode. ●...
-
Page 13: Using The Menu Functions
Change the setting. [Option Menu] ■ Example: [Video Setup Menu] ● Change the setting option – [Multi Audio]: Selects the sound tracks (if available) during video playback. Surround – [Subtitle]: Selects the subtitle (if available) during Select video playback. – [Aspect Change]: Selects the aspect mode during Access video playback. -
Page 14: Reset To Defaults
[P-NR] [Equaliser] Picture noise reduction function which reduces Adjusts the frequency level to suit your favourite sound unwanted picture noise and flicker noise in the quality. ● contoured parts of a picture. [Off] / [Min] / [Mid] / [Max] This function is available when [Mode] is set to [User]. ●... -
Page 15: Display Settings
[Normal] / [Hearing Impaired] / [Off] / [On] [Visually Impaired] – A Panasonic DVD Recorder will not turn off if it is still [Hearing Impaired]: Provides aids in understanding in the Rec mode. and enjoyment with Digital TV subtitles (depending on –... -
Page 16: System Menu
[System Menu] [Analogue Manual Tuning] ■ Sets analogue channel manually. [Shipping Condition] Example: Antenna Resets all settings, including tuning data, to the original condition. Analogue Manual Tuning – Access this function and follow the on-screen Searching Channels instructions to complete the procedures. –... - Page 17 [Skip] • You can set the characters by using the numeric and cursor buttons as follows: Skips or hides unwanted channels. ̺ 0 J K L 5 Select a channel, then reveal / hide. . ! : # 1 M N O 6 A B C 2 P Q R S 7 Skip...
-
Page 18: Additional Information
Performing [System Update] Information banner Example : Digital TV To update automatically Coronation Street 20:05 1080i HD Set [Auto Download] and [Auto Install] to [Yes]. 20:00-21:00 Dolby Digital - 3/2, ST ◄ ► Exit info Setup Manual OAD Download Auto Download Channel position and name Auto Install Programme details... - Page 19 Supports only USB1.1 or USB2.0 standard. available. Maximum USB capacity supported is 16GB. This TV supports this container recorded with USB Hub or card adapter is not supported. Panasonic products. For details, read the manual of Note the products. ■ ●...
-
Page 20: Troubleshooting
Sound signal reception may be deteriorated. instructions. If the problem still persists, please contact your local Sound output via HDMI connection is Panasonic dealer for assistance. unusual. Set the sound setting of the connected equipment to Screen “2ch L.PCM”. -
Page 21: Maintenance
Specifications First, remove the mains plug from the socket Model no. outlet. 32-inch model Regular care TH-32D400A ● Gently wipe the surface of the display panel, cabinet TH-32D400Z and pedestal by using a soft cloth. ● Wipe the mains plug with a dry cloth at regular 49-inch model intervals. - Page 22 At least three (3) years from delivery of this product, 20 W (10 W + 10 W) Panasonic Corporation will give to any third party who contacts us at the contact information provided below, for a charge no more than our cost of physically...
-
Page 23: Warranty (Australia)
If there is a major failure in regard to the product which cannot be remedied then you must notify us within a reasonable period by contacting the Panasonic Customer Care Centre. If the failure in the product is not a major failure then Panasonic may choose to repair or replace the product and will do so in a reasonable period of time from receiving notice from you. -
Page 24: Warranty (New Zealand)
WARRANTY - New Zealand only NEW ZEALAND Distributed in New Zealand by Panasonic New Zealand Limited 350 Te Irirangi Drive East Tamaki, Private Bag 14911, Panmure Auckland Tel. 09 272 0100 Customer Care Center Email: Customerservice@nz.panasonic.com www.panasonic.co.nz Information on Disposal in other Countries Customer’s Record...