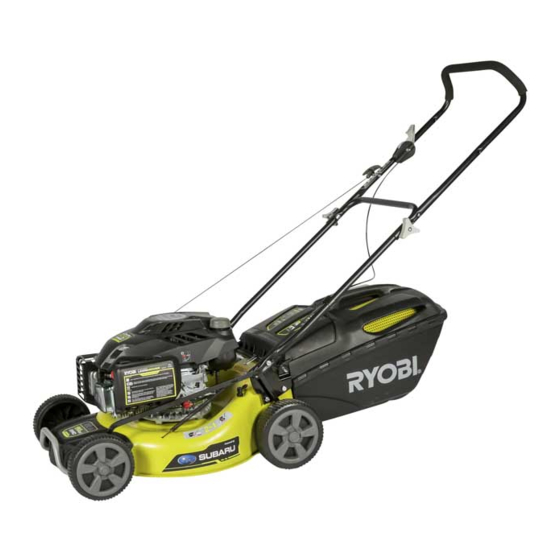
Summary of Contents for Ryobi RLM4619SMB
- Page 1 RLM4619SMB PETROL LAWN MOWER Original Instructions Important! It is essential that you read the instructions in this manual before assembling, operating and maintaining this machine.
-
Page 2: General Safety Rules
Thank you for buying a Ryobi lawn mower. Exercise extreme caution when changing direction on slopes. Your new lawn mower has been engineered and ■ Do not mow near drop-offs, ditches, excessively steep manufacturer to Ryobi’s high standard for dependability, slopes, or embankments. - Page 3 ■ Check the grass catcher frequently for wear , holes product or deterioration. This can cause objects to be thrown ● after striking a foreign object; inspect the appliance towards the operator. for damage and make repairs as necessary before restarting and operating the machine.
- Page 4 SYMBOLS Important: Some of the following symbols may be used on this product. Please study them and learn their meaning. Proper interpretation of these symbols will allow you to operate the product better and safer. SYMBOLS EXPLANATION Precautions that involve your safety. To reduce the risk of injury, user must read and understand operator’s manual before using this product.
- Page 5 Push the primer bulb 3 times. Set the throttle lever to max down against the handle. Pull the starter cord until the engine runs. The rear grass catcher Mulching plug option The guaranteed sound power level is 98 dB. The guaranteed sound pressure level is 86 dB. Regulatory Compliance Mark (RCM).
-
Page 6: Intended Use
INTENDED USE WARNING This product is intended for domestic lawn mowing. The To avoid serious personal injury, do not attempt cutting blade should rotate approximately parallel to the to use this product until you read thoroughly and ground over which it is being wheeled. All four wheels understand completely the operator’s manual. -
Page 7: Operation
15. Lock nut INSTALLING THE MULCHING PLUG (FOR MULCHING 16. Washer OPERATION) 17. Blade disc See figure 3. 18. Wave washer NOTE: When using the mulching plug, do not install the 19. Blade grass catcher. 20. Bolt ■ Lift and hold up the rear discharge door. 21. -
Page 8: Filling The Tank
FUELLING AND REFUELLING the engine and should not be used. To add engine oil: WARNING ■ Be sure mower is level and area around oil cap/ dipstick is clean. Always handle petrol with care; it is highly flammable. ■ Remove the cap and seal from oil bottle. ■... - Page 9 the handle), proceed with mowing. ■ Feed bolt through hole A for a higher handle height (on both sides) Starting warm engine ■ Feed bolt through hole B for a lower handle height (on With warm or hot starts (engine has been running in both sides) the last 10 minutes), the engine may not restart readily.
-
Page 10: Maintenance
■ Lift the rear discharge door. ■ Connect a female water hose connector (not supplied) to the male hose connector on the mower deck. ■ Grasp grass catcher by its handle and lift to remove from mower. ■ Turn on the water supply. ■... -
Page 11: Replacing Wheels
Bunnings special orders desk: - 17150Z03011000. ■ Remove the nuts, washers, blades, wave washers and (Ryobi part number for Australia and New Zealand) bolts from the disc. ■ Reinstall the cleaned or new air filter element into the ■... -
Page 12: Spark Plug Maintenance
Bunnings Special orders desk – 30010Z0201200. ■ Fold the lower handle forward, making sure not to (Ryobi part number for Australia and New Zealand). bend or kink the control cables. ■ Measure plug gap. The correct gap is 0.028 − 0.031 in. -
Page 13: Troubleshooting
TROUBLESHOOTING PROBLEM POSSIBLE CAUSE SOLUTION Handle not in cor- Handle positioned incorrectly. Check to be sure that lower part of handle is pushed fully back rect position. and snapped into proper position. Handle knobs not tightened. Tighten handle knobs. M o w e r n o t No petrol. - Page 16 Techtronic Industries (Australia) Pty. Ltd. Level 1, 660 Doncaster Road Doncaster, VIC 3108, Australia Techtronic Industries New Zealand Ltd. 18-26 Amelia Earhart Avenue Mangere, Auckland 2022, New Zealand 20140626v1...


