Table of Contents
Advertisement
Advertisement
Table of Contents

Summary of Contents for Nektar GX49
- Page 1 Nektar Impact GX49 & GX61 User Guide...
-
Page 2: Table Of Contents
Impact firmware, software and documentation are the property of Nektar Technology, Inc and subject to a License Agreement. © 2016 Nektar Technology, Inc. All specifications subject to change without notice. Nektar is a trademark of Nektar Technology, Inc. Bitwig 8-Track is a trademark of Bitwig GmbH, registered in Germany. and other countries Nektar Impact GX49 &... -
Page 3: Introduction
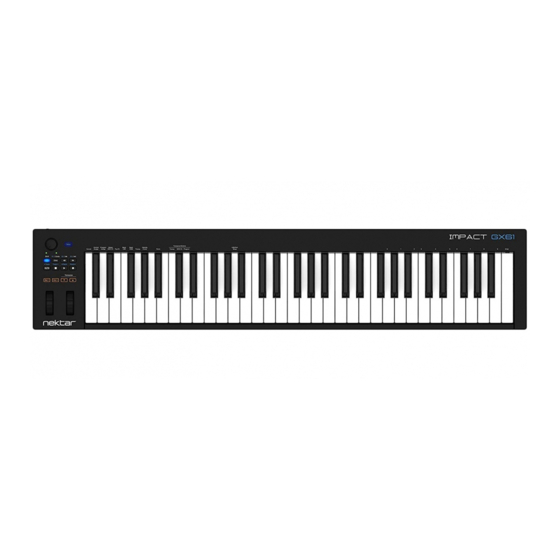
Nektar Impact GX. Throughout this guide we refer to Impact GX49 however all text is applicable to Impact GX 61 as well. The two models are identical with the exception of the amount of keys. -
Page 4: Getting Started
Using Impact GX49 as a Generic USB MIDI Controller You do not need to register your Impact GX49 in order to use your controller as a generic USB MIDI controller. It will work as a USB class device on OS X, Windows, iOS and Linux. -
Page 5: Keyboard & Real-Time Controls
Keyboard & Real-Time Controls The Impact GX49 features a 49 note (61 note on GX61) keyboard. Each key is velocity sensitive so you can play expressively with the instrument. There are 4 different velocity curves for the keyboard so you can chose a less or more dynamic curve to suit your playing style. -
Page 6: Transport Buttons And Potentiometer
The Transport and navigation buttons are located above the Octave and Transpose buttons. The buttons are used for DAW control in conjunction with the Impact GX DAW integration files. If you plan to use your Impact GX49 with a supported DAW, make sure to download the files you need, by first creating a Nektar user account as described on page 4. -
Page 7: Setup Menu
The chart below provides an overview of menus assigned to each key. Menu keys are the same for both Impact GX49 and GX61 but value entry using the keyboard is one octave higher on GX61. Refer to the screen printing on the unit to see which keys to press to enter values. -
Page 8: Cancel
Enter the program number you want (from 0 to 127) using the white number keys spanning G3–B4 (G4-B5 on GX61). Press Enter (C5). This will send the message immediately and exit Setup. Nektar Impact GX49 & GX61 User Guide www.nektartech.com... -
Page 9: Sending A Bank Lsb Message
Enter the value corresponding to the velocity curve you want (1 to 7) using the white number keys spanning G3–B4 (G4- B5 on GX61). Press Enter (C5). This will change the velocity curve setting immediately and exit Setup. www.nektartech.com Nektar Impact GX49 & GX61 User Guide... -
Page 10: Panic
Press the key on your GX keyboard (C2-D2) that corresponds to the function you want to assign to the buttons. Press Enter (C5). This will accept the change and exit Setup. Function Value range Transpose -/+ 12 MIDI Channel 1-16 MIDI Program Change 0-127 Nektar Impact GX49 & GX61 User Guide www.nektartech.com... -
Page 11: Transport Control Without Nektar Daw Integration
Press the numeric key to enter 3 Press Enter (C5). This will accept the change and exit Setup. Provided your DAW is set up to receive MMC, you can now control transport functions from the GX49. The buttons are assigned as follows Button... - Page 12 Designed by Nektar Technology, Inc, California Made in China Nektar Impact GX49 & GX61 User Guide www.nektartech.com...