Cisco WAP371 Quick Start Manual
Hide thumbs
Also See for WAP371:
- Administration manual (166 pages) ,
- Quick start manual (38 pages) ,
- Manual (5 pages)
Table of Contents
Advertisement
Advertisement
Table of Contents

Related Manuals for Cisco WAP371


Summary of Contents for Cisco WAP371
-
Page 1: Quick Start Guide
Quick Start Guide Cisco WAP371 Wireless Access Point... -
Page 2: Before You Begin
Welcome Thank you for choosing the Cisco WAP371 Wireless Access Point. The Cisco WAP371 is an indoor dual radio 802.11ac + 802.11n access point. This guide is designed to familiarize you with the general layout of the access point, describe how to deploy the device in your network, and describe how to configure the device. -
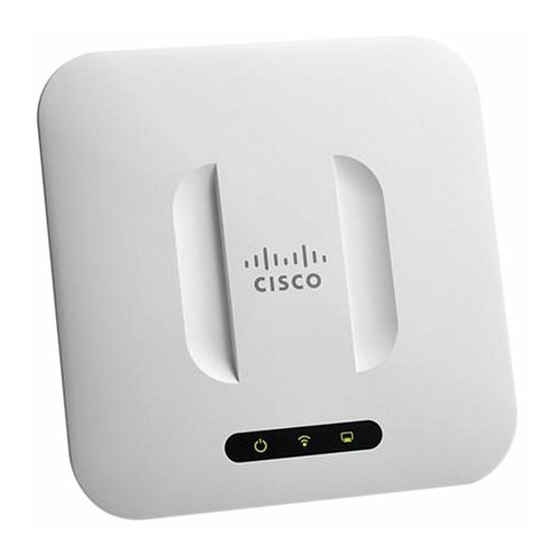
Page 3: Front Panel
Subnetwork Mask 255.255.255.0 If you are using a Cisco RV Series router, the default range for the DHCP assigned address is from 192.168.1.100 to 192.168.1.254. Any device connecting to the same LAN will be assigned an IP address in this range. -
Page 4: Mounting The Cisco Wap371 Wireless-Ac/ N Dual Radio Access Point With Single Point Setup
Wall and Ceiling Mounting The Cisco WAP371 device can be wall or ceiling-mounted. A mounting kit is packaged with your device. The kit is designed to install your device to the wall or the ceiling. -
Page 5: Connecting The Cisco Wap371 Wireless-Ac/N Dual Radio Access Point With Single Point Setup
Cisco is not responsible for damages incurred by insecure wall or ceiling mounting. To mount the Cisco WAP 371 device to a wall or ceiling: Determine where you want to mount the device. Verify that the surface is smooth, flat, dry, and sturdy. - Page 6 After installation, all lights should be active. Refer to Verifying the Hardware Installation, page 6 for details about the different lights on each switch. Cisco WAP371 Wireless Access Point...
-
Page 7: Verifying The Hardware Installation
GE Ethernet link is active. Solid Amber FE Ethernet link is active. Flashing The WAP 371 is transmitting or receiving data. If you need help resolving a problem, visit the Cisco Support Community at www.cisco.com/go/smallbizsupport. Cisco WAP371 Wireless Access Point... -
Page 8: Getting Started With The Configuration
In the Address field, enter the default DHCP address and press the Enter key. Enter the default user name of cisco and password of cisco in the User Name and Password fields. Click Login. The Wireless Access Point Setup Wizard appears. -
Page 9: Troubleshooting
To use ping on a computer running Windows: Verify that the Cisco WAP371 is powered on and the lights indicate the appropriate links. Locate the device’s IP address. While there are different ways to locate your device’s IP address, this procedure uses Cisco FindIT. - Page 10 The most likely cause of connectivity failure is an incorrect IP address. The Web browser may be pointing to the wrong IP address, or your computer may be configured with an IP address that is not in the same subnet as the device. Cisco WAP371 Wireless Access Point...
-
Page 11: Rebooting The Devices Or Returning Them To Their Factory Default Settings
Factory Default Settings To reboot your device: • If the Cisco WAP371 uses a power adapter, with the power on, use the POWER button to reboot the device. The POWER button only functions when the Cisco WAP371 uses a power adapter. -
Page 12: Where To Go From Here
For EU lot 26 related test result, please check this web page: www.cisco.com/go/eu-lot26- results Cisco Firmware www.cisco.com/go/smallbizfirmware Downloads Select a link to download firmware for Cisco Products. No login is required. Cisco Open Source www.cisco.com/go/ Requests smallbiz_opensource_request Cisco Partner Central www.cisco.com/web/partners/sell/smb... - Page 13 Cisco and the Cisco logo are trademarks or registered trademarks of Cisco and/or its affiliates in the U.S. and other countries. To view a list of Cisco trademarks, go to this URL: www.cisco.com/go/trademarks. Third-party trademarks mentioned are the property of their respective owners.
- Page 14 Cisco WAP371 Wireless Access Point...