Pioneer XDJ-R1 Operation Manual
Hide thumbs
Also See for XDJ-R1:
- Quick start manual (84 pages) ,
- Service manual (79 pages) ,
- Operating instructions manual (38 pages)
Table of Contents
Advertisement
Quick Links
Advertisement
Table of Contents

Related Manuals for Pioneer XDJ-R1


Summary of Contents for Pioneer XDJ-R1
- Page 1 VirtualDJ 8 – Pioneer XDJ-R1...
-
Page 2: Table Of Contents
E. Loops..........................11 HotCues & Sampler ...................... 11 Front & Rear ......................12 Advanced Audio Setup ......................13 Mixer Modes ......................... 13 Inputs ............................ 14 Recording ..........................15 Limited Edition ........................16 Useful links ..........................19 VirtualDJ 8 – Pioneer XDJ-R1... -
Page 3: Installation
Drivers (for Windows only): Install the latest Pioneer ASIO drivers from http://www.pioneerdj.com/en/support/software/xdj-r1/#drivers No driver is required for Mac OSX computers. Mac OS standard audio driver will be automatically installed when the XDJ-R1 is connected to your Mac with a USB cable. VirtualDJ 8 Setup Download... -
Page 4: Advanced Setup
AUDIO tab of Config to provide that. Alternative Audio setups can be applied in the same window. See Advanced Audio Setup. For further software settings please refer to the User Guides of VirtualDJ 8. http://www.virtualdj.com/wiki/PDFManuals.html VirtualDJ 8 – Pioneer XDJ-R1... -
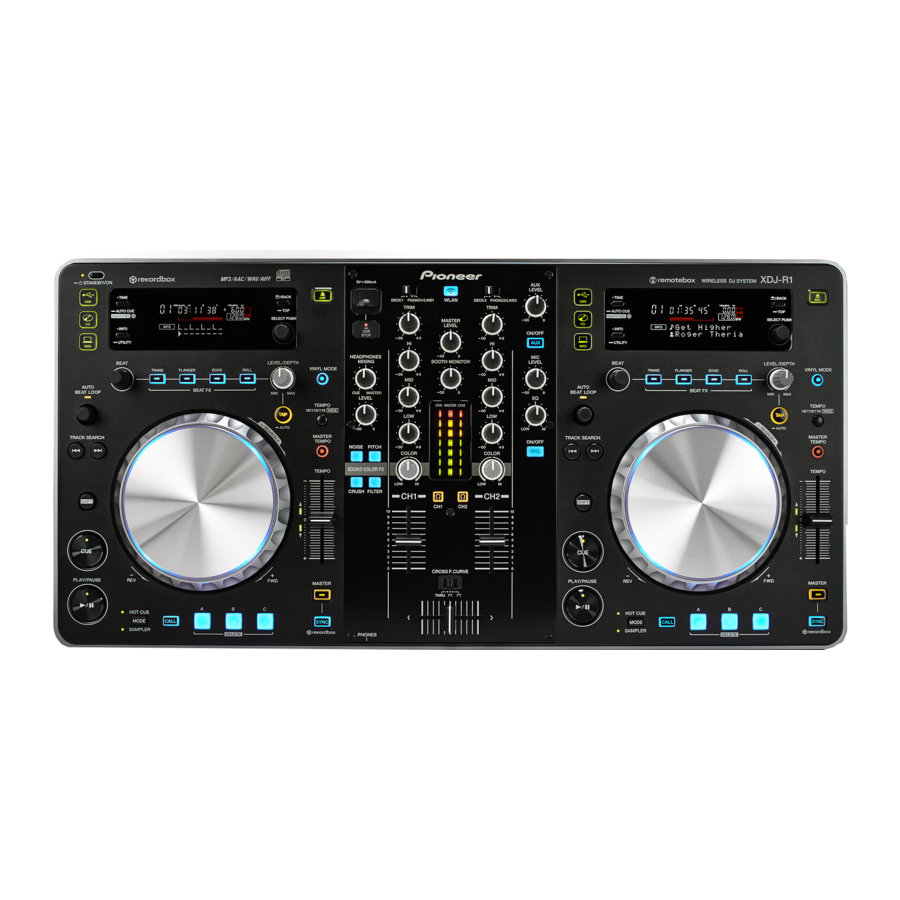
Page 5: Controls
Controls Pioneer XDJ-R1 layout SHIFT. Hold this button down to access secondary functions of the XDJ-R1 as described further down in this manual. M. OPERATION MODES: Select the Source for each side of the XDJ-R1 between USB, CD and MIDI modes. -
Page 6: Mixer
6. EQ LOW: Adjusts the low (bass) frequencies of the left or right deck. 7. EQ MID: Adjusts the middle (mid) frequencies of the left or right deck. 8. EQ HI: Adjusts the high (treble) frequencies of the left or right deck. VirtualDJ 8 – Pioneer XDJ-R1... -
Page 7: Browser & Lcd Display
17. TIME: Use this button to toggle the Left and Right assigned decks. The Left side of the XDJ-R1 will toggle between Decks 1 and 3 (A and C) and the right side will toggle between decks 3 and 4 (B and D). The assigned deck will be displayed at the LCD screen each time. -
Page 8: Transport & Tempo Controls
C. Transport & Tempo Controls 20. PLAY: Plays-Pauses the track. Hold SHIFT down and then use this button to Stutter Play the track from the Cue position. VirtualDJ 8 – Pioneer XDJ-R1... -
Page 9: Effects
D. Effects The Effects section of the XDJ-R1 provides the ability to select and apply a VirtualDJ Effect on each one of the left/right decks and at the same time apply up to 3 pre-selected ones (Flanger, Echo and Loop Roll). - Page 10 VirtualDJ is used (Loop Roll is assigned at the 4 Effect slot- not available in the default skins), therefore is it advised to use the tailored skin of the XDJ-R1. Effects section – XDJ-R1 LE skin VirtualDJ 8 – Pioneer XDJ-R1...
-
Page 11: Loops
Sampler Bank of VirtualDJ. If the selected bank has less than 4 samples, both sides of the XDJ-R1 will control the same samples. If the selected Sampler bank has more than 3 samples, the left side of the XDJ-R1 will control samples 1 to 3 and the right VirtualDJ 8 – Pioneer XDJ-R1... -
Page 12: Front & Rear
45. MIC INPUT. Connect a 1/4" microphone to this input. This input's audio signal is routed directly to the Master Output of the XDJ-R1 and its level is controlled by the MIC LEVEL knob at the top panel. 46. AUX IN. Connect an external audio source to this Input and control its Input level by the AUX LEVEL knob at the top panel. -
Page 13: Advanced Audio Setup
48. USB. This USB connection sends and receives audio and control information from a connected computer. 49. AC POWER: Use the included power cable to connect the XDJ-R1 to a power outlet. The unit is powered on/off by the button at the top panel. -
Page 14: Inputs
AUX Input: Connect any analogue/media source, such as a (MP3, Media Player, iPod etc) at the rear panel of the XDJ-R1 and use the AUX LEVEL knob at the top to adjust its Volume. The signal of this Input is directly routed to the Master Output of the XDJ-R1, as long as the AUX ON/OFF button is turned on. -
Page 15: Recording
MIC Input: Connect a Microphone at the rear panel of the XDJ-R1 and use the MIC LEVEL knob at the top to adjust its Volume and the MIC EQ knob to control its Tone. The signal of the Microphone Input is directly routed to the Master Output of the XDJ-R1, as long as the MIC ON/OFF button is turned on. -
Page 16: Limited Edition
Audio Setup - Recording Microphone Limited Edition The XDJ-R1 is bundled with VirtualDJ 8 LE (Limited Edition). The Limited Edition has no time limit in use, and the XDJ-R1 will control VirtualDJ based on the pre-assigned actions. Some features of VirtualDJ will not be available in Limited Edition. See the comparison chart at http://www.virtualdj.com/products/virtualdj/comparison.html... - Page 17 The tailored skin of the XDJ-R1 will be automatically used. Use the 2-4 DECKS button at the top of the skin to toggle between the 2 and 4 Decks views. XDJ-R1 LE skin – 2 Decks view XDJ-R1 LE skin – 4 Decks view...
- Page 18 SHIFT+BROWSE (19) knob is pushed Browser Zoom button on the XDJ-R1. The tailored skin of the XDJ-R1 is also available for download from our Add-ons page http://www.virtualdj.com/plugins/ for the users who own a License and need to use this skin without installing VirtualDJ 8 LE.
-
Page 19: Useful Links
Pioneer DJ Support Center: http://pioneerdj.com/support/ Pioneer XDJ-R1 product page: http://www.pioneerdj.com/en/product/all-in-one-system/xdj- r1/black/overview/ Pioneer XDJ-R1 Support page (manuals & software): http://www.pioneerdj.com/en/product/all-in-one-system/xdj-r1/black/support/#info Hardware Integration Department 2016 - ATOMIX PRODUCTIONS Reproduction of this manual in full or in part without written permission from Atomix Productions is prohibited.