Table of Contents
Advertisement
Advertisement
Table of Contents

Related Manuals for Planet KVM-200


Summary of Contents for Planet KVM-200
-
Page 2: Table Of Contents
TABLE OF CONTENTS Chapter 1 Introduction ........3 1.1 Features............3 1.2 Package Contents.......... 4 1.3 Technical Specifications......... 4 Chapter 2 Installation ......... 5 2.1 System Requirements Specifications..... 5 2.2 Product Details..........5 2.3 Hardware Installation ........7 Chapter 3 Operation ........... 9 3.1 Select PC through push buttons .... -
Page 3: Chapter 1 Introduction
KVM switch can save your MONEY, TIME, SPACE, EQUIPMENT and POWER. Control multiple PCs from one keyboard, mouse and VGA monitor. PLANET KVM switch is loaded with features such as hot-key, front panel push button and auto scan control. It complete... -
Page 4: Package Contents
1.2 Package Contents KVM-200 KVM-400 ♦ ♦ 2-port KVM switch 4-port KVM switch ♦ ♦ User’s manual User’s manual 1.3 Technical Specifications Model KVM - 200 KVM - 400 PC Port Console Port MAX PC Connections PC Port PS/2 Keyboard mini-Din 6 pin... -
Page 5: Chapter 2 Installation
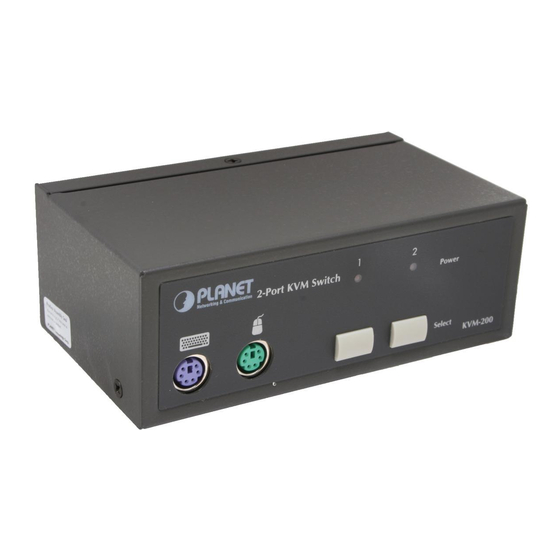
PS/2 cable male to male for Mouse Optional USB-PS2 adapter is required if connect to computer with only USB keyboard/mouse interface. 2.2 Product Details Front panel & Rear panel of KVM-200: Computer power on/off status Power 2-Port KVM Switch Select KVM-200... - Page 6 Connect to computer’s VGA port Monitor DC 9V Option Optional power adapter Connector to computer’s PS/2 keyboard/mouse port Front panel & Rear panel of KVM-400: Computer is selected On Line 4-Port KVM Switch Power Select KVM-400 DC 9V Reset Option...
-
Page 7: Hardware Installation
Reset the KVM switch 2.3 Hardware Installation Before installation, please make sure all of peripherals and computers have been turned off. Step 1 Connecting Monitor to the KVM switch Connect a VGA cable (15-pin HDDB Male / Male) with the Male side to both of the Monitor and the rear panel of the KVM switch unit. - Page 8 Note: Please do not switch the PC port (i.e. Do not press the push button of KVM switch or run hot key) during the computers are under boot-up process.
- Page 9 This page intentionally left blank!
-
Page 10: Chapter 3 Operation
Chapter 3 Operation 3.1 Select PC through push buttons KVM-200 / KVM-400 has separate push buttons on the panel. Press each button to select respective PC port. KVM-400 has also On Line LED for each PCs. When you select one of four PCs and it is powered on, the selected port On Line LED is lit. - Page 11 Scroll Scroll 1(or Select PC port directly Lock Lock 2,3,4) Beeper On (Factory Scroll Scroll Lock Lock default off) Note: To get out of Auto Scan Mode, Press any key or SPACE bar.
-
Page 12: Chapter 4 Troubleshooting
Chapter 4 Troubleshooting Ensure that all cables are well seated. Label all of cables with the number for each respective computer to avoid confusion. KVM switch draws the power from keyboard port of computers. If the computer like laptop computer, notebook computer or the other computer cannot support enough power to KVM switch, please add a DC 9V, 500mA to the power jack. - Page 13 6. Notebook computer: Before powering on notebook computer, we recommend the user to connect the notebook to computer port ( not link to console directly ) first and then boot it up. If notebook computer has been boot up already and then the user connect it to KVM switch, please use Hot Key command to link both of them together.
- Page 14 EM-KVM24V1...