Table of Contents
Advertisement
Advertisement
Table of Contents

Related Manuals for HANNspree SN14TP1


Summary of Contents for HANNspree SN14TP1
- Page 1 HANN HANN Spad SN14TP1(HSG1351) User’s Manual...
-
Page 2: Table Of Contents
Contents Precautions ........................4 Declaration ........................5 What’s in the box ......................6 1. Product Overview...................... 7 Front View ........................7 Back View........................8 2. Initial Operation ......................9 Managing and Charging the Battery................9 Connecting to the Wi-Fi Network................10 Connecting PC and Data Transmission ..............12 Use Micro SD card ....................12 3. -
Page 3: Control Information
The highest CE SAR value for the device is 1.81 W/Kg. Recycling information Hannspree attaches great importance to our environmental policy, and firmly believe that we can better protect the "health" of the earth by properly disposing and recycling the industrial technological equipment that has reached service life. -
Page 4: Preventing Hearing Loss
This device have been tested to comply with the Sound Pressure Level requirement laid down in the applicable EN 50332-1 and/or EN 50332-2 standards. Trademark Notice: Hannspree products incorporate High-Definition Multimedia Interface (HDMI technology. The terms HDMI and HDMI High-Definition Multimedia Interface, and the HDMI Logo are trademarks or registered trademarks of HDMI Licensing LLC in the United States and other countries. -
Page 5: Precautions
Do not attempt to replace the battery of your HannsPad yourself, you may damage the battery and this could cause overheating and injury. The lithium-ion battery in you HannsPad should be replaced only by HANNspree or a HANNspree Authorized Service Provider, and must be recycled or disposed of separately from household waste. Do not incinerate the battery. -
Page 6: Declaration
Declaration 1. The information in this manual may not, except under written license by The Company, be copied, transmitted, distributed, or stored. 2. Although efforts have been made for the correctness and completeness during the preparation of the manual, there is no guarantee that this manual is free from any error or omission. -
Page 7: What's In The Box
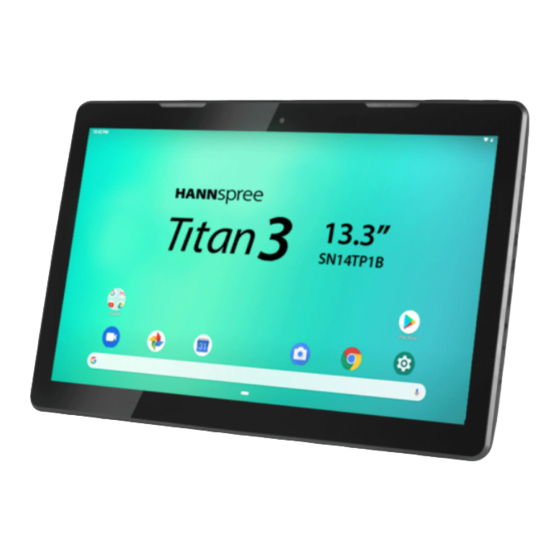
What’s in the box Check Supplied Items Tablet PC SN14TP1(HSG1351) NOTE: • The included adapter head may vary depending on the region. • The illustrations in this document may appear differently from your model. This Quick Start Guide and a Warranty card are also included. -
Page 8: Product Overview
1. Product Overview 1.1 Front View Item Description Front Camera For video chatting or taking self-portrait pictures. Volume Keys Press to adjust the volume Power Key ‧Press and hold to turn the device on or off. ‧Press to turn the backlight on/off and put the device into sleep mode. -
Page 9: Back View
1.2 Back View Item Description Rear Camera For taking pictures or recording videos. Reset Hole Insert a small pin or other sharp object into the reset hole to reset the Tablet PC. Micro SD Card Slot Insert a Micro card for additional storage space. Micro USB Port Connects to a host device using the supplied USB cable. -
Page 10: Initial Operation
2. Initial Operation 2.1 Managing and Charging the Battery Before using the tablet PC for the first time, fully charge the battery. This tablet PC has a built-in polymer battery; use only the dedicated charger to charge the device. In order to prolong the service life of the device, use the device until the battery is depleted before charging the battery the first two times. -
Page 11: Connecting To The Wi-Fi Network
2.2 Connecting to the Wi-Fi Network A Wi-Fi connection makes it easy to connect to the Internet. Once you have successfully connected to a Wi-Fi network, the device will automatically connect to the network when you are within range. To configure the Wi-Fi connection, do the following: 1. - Page 12 5. If prompted, enter the password to connect to the AP. NOTE: • The password entry is required only when connecting to the AP for the first time. • To make the Wi-Fi password visible while typing it, select the “Show password” checkbox. 6.
-
Page 13: Connecting Pc And Data Transmission
2.3 Connecting PC and Data Transmission Use the supplied USB cable, connect the device to the PC to transfer data or power up the device. NOTE: USB charging only supports 500mA. If the battery power is lower than 4%, the device cannot be turned 2.4 Use Micro SD card After connecting the device to a PC, you will find two removable disks, the front one is the built-in-memory disk, the other one is the Micro SD card disk. -
Page 14: The Android Interface
3. The Android Interface 3.1 Home Screen After powering on the device, the locked Home screen is displayed. After you unlock the screen, the main Home screen appears. The following describes the main touch screen area and some tips on how to use the touch screen. Item Description Status Bar... -
Page 15: Customizing The Home Screen Panels
Item Description Navigation Back key Tap to return to the previous screen. Home key Tap to return to the Home screen. Shortcut key Tap to view the most-recently accessed applications. • To access the specific application, tap directly on the icon. •... -
Page 16: Creating Application Folders
3.4 Creating Application Folders You can combine several similar applications in a folder. Simply, drag one application icon over another application icon and release it. A folder is automatically created. 4. System Firmware Update Android devices automatically receive over-the-air (OTA) updates. To manually check for a firmware update, select Settings >... -
Page 17: Product Specifications
5. Product Specifications Operating System Android 5.1 Platform Processor RK3368 Cortex-A53 Octa 1.5 GHz Memory 2 GB Storage Storage 16 GB Flash Brightness LCD Panel with LED backlight, 210 cd/m Resolution 13.3 inch, 1920x1080 Display Type Capacitive type Sensor (points) Multi touch WLAN WLAN(802.11 b/g/n) -
Page 18: Appendix
6. Appendix Warranty and Service Warranty and service and related information, please refer to, the warranty card or Hannspree support site below for further help and support with your device including how to install software updates if available and much more: http://www.hannspree.eu/...