Advertisement
Quick Links
MX60 Installation Guide
This document describes how to install and set up the MX60 security
appliance. Additional reference documents are available online at:
www.meraki.com/library/products.
MX60 Overview
The Meraki MX60 is an enterprise security appliance designed for
distributed deployments that require remote administration. It is ideal for
network administrators who demand both ease of deployment and a
state-of-the-art feature set. This appliance provides the following new
features:
• USB port, to support approved 3G/4G cards for failover to cellular
networks.
• Support for four LAN connections
• Wall screws and anchors for mounting drywall surface, either
vertically or horizontally
Package contents
In addition to the MX60, the following are provided.
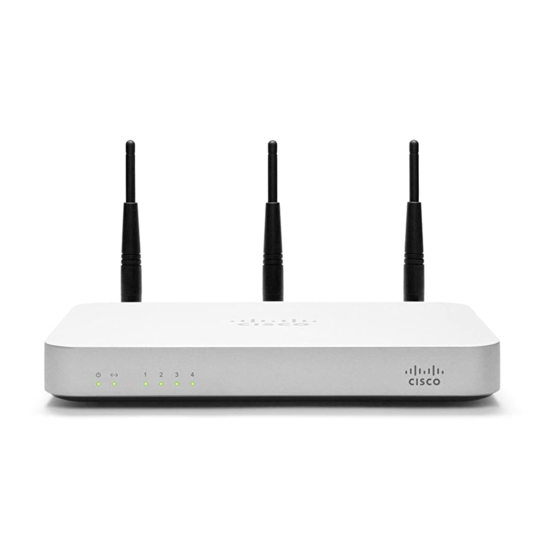
The MX60 front panel
1
Advertisement

Summary of Contents for Cisco MERAKI mx60
-
Page 1: Package Contents
Additional reference documents are available online at: www.meraki.com/library/products. MX60 Overview The Meraki MX60 is an enterprise security appliance designed for distributed deployments that require remote administration. It is ideal for network administrators who demand both ease of deployment and a state-of-the-art feature set. - Page 2 Ports and Status Indicators The MX60 uses LEDs to inform the user of the device's status. When the device powers on, all the Internet LEDs flash twice. Additional functions are described below, from left to right. Item Function LED Status Meaning Power Solid orange...
- Page 3 Additional functions on the back panel are described below, from left to right. Insert a paper clip if a reset is required. • A brief, momentary press: To delete a downloaded configuration and reboot. Reset button • Press and hold for more than 10 sec: To force the unit into a full factory reset.
-
Page 4: Connecting To Wan
Please note that the serial number is located on the product label at the bottom panel of MX60 Mounting hardware The supplied wall screws and anchors allow you to mount the appliance on a drywall surface, either vertically or horizontally. The distance between the holes you drill should be 5-1/8 inches (13 cm). •... -
Page 5: Web Proxy Settings
Setting VLANs If your WAN uplink is on a trunk port, choose VLAN tagging > Use VLAN tagging and enter the appropriate value for VLAN ID for your network. Setting up secondary WAN interface (dual WAN) You can toggle the LAN1 port between LAN and Internet, through Uplink configuration under the Local status tab. Setting PPPoE PPPoE authentication may be required if you are connecting MX device to a DSL circuit.


