Yaesu FTM-3100R Operating Manual
Hide thumbs
Also See for FTM-3100R:
- Operating manual (36 pages) ,
- Advanced manual (33 pages) ,
- Quick manual (2 pages)

Related Manuals for Yaesu FTM-3100R


Summary of Contents for Yaesu FTM-3100R
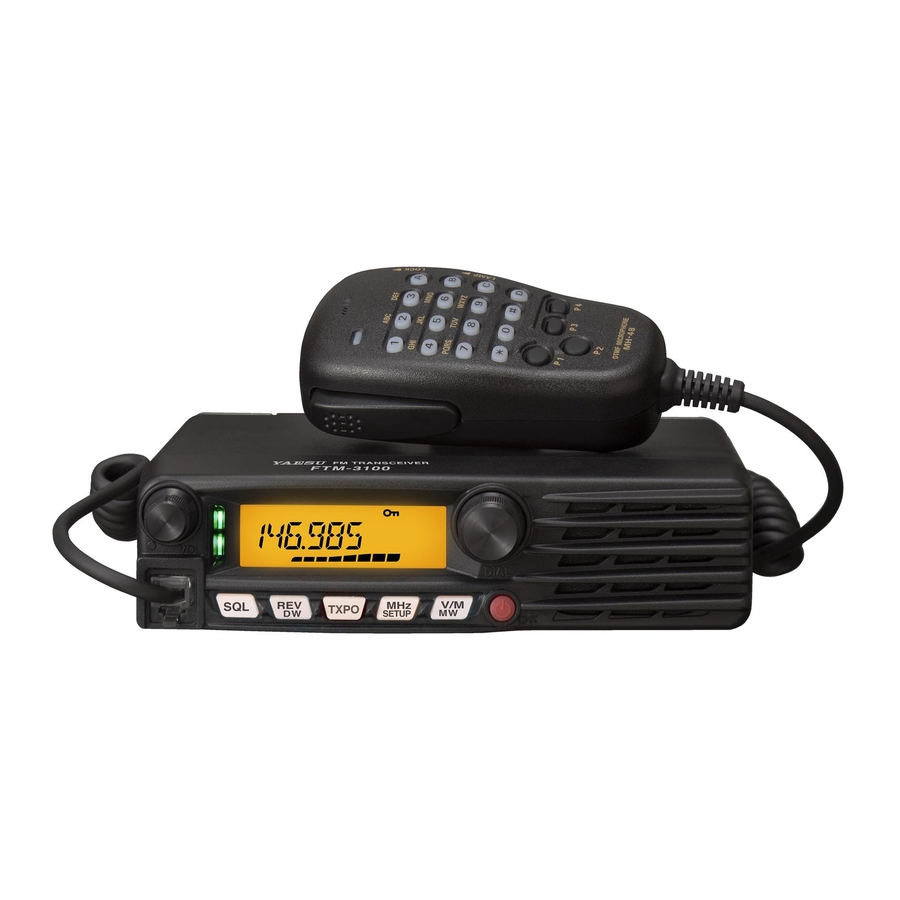
- Page 1 FTM-3100R Operating Manual VHF FM TRANSCEIVER DIAL M H z V / M TXPO SETUP...
-
Page 2: Table Of Contents
Contents FTM-3100R Quick Reference Guide ......3 Memory Operation ..........22 Introduction ............... 4 Memory Storage ............ 22 Features of this radio ..........4 Split Memory ............22 Accessories & Options ..........5 Naming a Memory Channel ........ 22 Supplied Accessories ..........5 Memory Recall ............ -
Page 3: Ftm-3100R Quick Reference Guide
FTM-3100R Quick Reference Guide VOL Knob Frequency DIAL Knob Adjusts the audio Selects the operating Frequency. volume level. DIAL M H z V / M TXPO SETUP Power Switch Press and hold for one second. Transmission Switch ... -
Page 4: Introduction
S-Meter, thus reduc- ing guesswork in setting the squelch threshold. Congratulations on your purchase of the FTM-3100R. Whether this is your first rig, or if Yaesu equipment is already the backbone of your station, the Yaesu organization is com- mitted to ensuring your enjoyment of this high-performance transceiver. -
Page 5: Accessories & Options
Operating Manual Safty Guide Warranty Card Spare fuse (25 A) USB cable Optional Accessories MH-42C6J Microphone MH-48A6JA DTMF Microphone MEK-2 Mic Extension Kit MLS-100 High-Power External Speaker FP-1023 AC Power Supply (USA market only) FP-1030A AC Power Supply FTM-3100R Operating Manual... -
Page 6: Installation
Installation Connecting the Microphone Connect the supplied MH-48A6JA microphone to the FTM-3100R. Plug the microphone connector into the MIC jack on the front panel until it clicks. Note: When disconnecting the microphone, pull the cable while pressing the connector latch. -
Page 7: Mobile Installation
Installation Mobile Installation The FTM-3100R must only be installed in vehicles having a 13.8 Volt negative ground electrical system. Mount the transceiver where the display, controls, and microphone are easily accessible, using the supplied mounting bracket. The transceiver may be installed in almost any location, but should not be positioned near a heating vent nor anywhere where it might interfere with driving (either visually or mechanically). -
Page 8: Power Connection
Warning! Never apply AC power to the power cable of the FTM-3100R, nor DC voltage greater than 15.8 Volts. When replacing the fuse, only use a 25-A fuse. Failure to observe these safety precautions will void the Limited Warranty on this product. -
Page 9: Base Station Installation
Installation Base Station Installation The FTM-3100R is ideal for base station use as well as in mobile installations. The FTM- 3100R is specifically designed to integrate into your station easily, using the following information as a reference. AC Power Supplies Operation of the FTM-3100R from an AC line requires a power source capable of pro- viding at least 20 Amps continuously at 13.8 Volts DC. -
Page 10: Front Panel Controls & Switches
• Allows setting the operating band frequency. Turning clockwise increases the frequency, whereas turning counterclockwise de- creases the frequency. • Allows selecting the desired items for setup, memory registration, group monitoring operation, etc. MIC Jack Connect the provided microphone cable. FTM-3100R Operating Manual... - Page 11 During split-frequency operation, such as through a repeater, this key reverses the transmit and receive frequencies. Press and hold the key in for over one second to activate the Dual Watch feature. Note: For details, refer to the Advanced Manual (download from the Yaesu website). [ TXPO ] key ...
-
Page 12: Microphone Switches
You can reprogram the [ P1 ] , [ P2 ] , [ P3 ] , and [ P4 ] buttons for other functions, if desired. Note: For details, refer to the Advanced Manual (download from the Yaesu website). MIC ... -
Page 13: Rear Panel Connectors
DATA Jack Use this jack when updating the firmware. When a new firmware update for the FTM- 3100R is available, go to the YAESU website to download the programming data and update the FTM-3100R to its newest state. Cooling Fan ... -
Page 14: Basic Operation
This feature al- lows setting the squelch so that only signals exceeding a certain S-meter level will open the squelch. For de- tails, refer to the Advanced Manual (download from the Yaesu website). FTM-3100R Operating Manual... -
Page 15: Frequency Navigation
To enter 146.000 MHz, press [ 1 ] à [ 4 ] à [ 6 ] à [ # ] Channel Step Selection The frequency tuning step of the DIAL and the microphone [ UP ] / [ DWN ] keys can be changed. Note: See Setup Menu Item “35 STEP” on page 30 FTM-3100R Operating Manual... -
Page 16: Transmission
Note: Keep the microphone about 5 cm away from your mouth. The sensitivity (gain) of the microphone can be adjusted. For details, refer to the Advanced Manual (download from the Yaesu website). 3. Release PTT. The transmit mode/status indicator turns off and the transceiver returns to the receive mode. -
Page 17: Adjusting The Transmit Power
To cancel key-lock, press the [ Power ( Lock )] M H z V / M TXPO SETUP key again. To select which keys are locked, use the Setup Menu Item “16 LOCK” see page 30 for details. FTM-3100R Operating Manual... -
Page 18: Advanced Operation
Advanced Operation Repeater Operation The FTM-3100R includes the ARS (Automatic Repeater Shift) function, which permits communication through repeaters automatically, by simply setting the receiver to the re- peater frequency. 1. Tune to the repeater frequency. 2. Press the PTT to transmit. -
Page 19: Weather Broadcast Reception
Advanced Operation Weather Broadcast Reception The FTM-3100R includes a unique feature which allows reception of weather broadcasts in the 160 MHz frequency range. Ten standard Weather Broadcast channels are preload- ed into a special memory bank. To listen to a Weather Broadcast Channel: 1. -
Page 20: Ctcss Operation
Note: For details, refer to the Advanced Manual (download from the Yaesu website). DCS Operation This radio is equipped with a DCS (Digital Coded Squelch) function that allows audio to be heard only when signals containing the corresponding DCS code are received. -
Page 21: Dcs Search
Note: For details, refer to the Advanced Manual (download from the Yaesu website). Split Tone Operation The FTM-3100R can be operated in a “Split Tone” configuration that enables operation on repeaters using a mix of both CTCSS and DCS control via the Setup menu. -
Page 22: Memory Operation
Memory Operation The FTM-3100R provides a wide variety of memory system resources. These include: r 199 “basic” memory channels, numbered “1” through “199”. r A “Home” channel, providing storage and quick recall of one prime frequency. r 10 sets of band-edge memories, also known as “Programmable Memory Scan” chan- nels, labeled “L0/U0”... -
Page 23: Memory Recall
Moving Memory Data to the VFO Data stored on memory channels can easily be moved to the VFO. Note: For details, refer to the Advanced Manual (download from the Yaesu website). Memory Only Mode Once memory channel programming has been completed, you may place the radio in a “Memory Only”... -
Page 24: Masking Memories
2. Press and hold the [ V/M ( MW )] key for one second, and then press the [ REV ( DW )] key. The overwrite confirmation screen appears. 3. Press the [ REV ( DW )] key. The home channel frequency is overwritten. FTM-3100R Operating Manual... -
Page 25: Scanning
Scan Resume Options Select which of the three resume scan modes is to be performed after the scanning stops. Note: For details, refer to the Advanced Manual (download from the Yaesu website). Memory Skip Scanning Memory channels which you do not want to receive can be skipped during scanning. -
Page 26: Reset Procedure/Clone
(press any other key to cancel the Reset procedure). Clone The FTM-3100R includes a convenient “Clone” feature, which allows the memory and configuration data from one transceiver to be transferred to another FTM-3100R. This can be particularly useful when configuring a number of transceivers for a public service operation. -
Page 27: Miscellaneous Settings
Programming the Key Assignments Default FTM-3100R key functions have been assigned to the Microphone [ P1 ] / [ P2 ] / [ P3 ] / [ P4 ] keys at the factory. The user may change these key function assignments, if quick access to another function is desired. -
Page 28: Displaying The Supply Voltage
Note: See Setup Menu Item “36 TEMP” on page 30. Band Edge Beeper The FTM-3100R will automatically “beep” when the receiver’s band edge is encountered during scanning (either in standard VFO scanning or during PMS operation). You may additionally enable this feature (band edge beeper) when the frequency reaches the band edge while selecting the VFO frequency manually, using the DIAL knob. -
Page 29: Setup (Menu) Mode
Setup (Menu) Mode The FTM-3100R Setup (Menu) mode, already described in parts of many previous chapters, is easy to activate and setup. The Menus may be used to configure many of transceiver parameters, some of which have not been detailed previously. Use the following procedure to activate the Setup (Menu) mode: 1. - Page 30 67.0 to 254.1 (Hz) 100.0 HZ 38: TOT Sets the Time-Out Timer. 0.5 to 10.0 (MIN)/OFF 3.0 MIN Enables/Disables the receiver audio out- 39: TS MUTE put while the Tone Search or DCS Search ON/OFF Scanner is activated. FTM-3100R Operating Manual...
- Page 31 Selects the audio output level of the 43: WX VOL NOR VOL/MAX VOL NOR VOL Weather Alert. Reduction of the Microphone Gain/Devia- 44: W/N DEV WIDE/NARROW WIDE tion and receiver bandwidth. ø: Depends on the transceiver version. FTM-3100R Operating Manual...
-
Page 32: Maintenance
Caution: Never attempt to use a fuse that is not of the specified rating 2. Open the fuse holder as shown in the dia- gram on the right. 3. Remove the blown fuse. 4. Attach the new fuse. 5. Close the fuse holder. FTM-3100R Operating Manual... -
Page 33: Specifications
0.22 μV (Ham band, narrow) Selectivity (–6/–60dB): 12 kHz/28 kHz Maximum AF Output: 3 W @ 13.8 V, 10% THD Rated values are at normal temperature and pressure. Ratings and specifications are subject to change without notice. FTM-3100R Operating Manual... - Page 34 1. Changes or modifications to this device that are not expressly approved by YAESU MUSEN could void the user’s authorization to operate this device. 2. This device complies with part 15 of the FCC Rules. Operation is subject to the following two conditions: (1) This device may not cause harmful interference, and (2) this device must accept any interference including received, interference that may cause undesired operation.
- Page 36 Copyright 2016 YAESU MUSEN CO., LTD. All rights reserved. No portion of this manual may be reproduced without the permission of YAESU MUSEN CO., LTD. YAESU MUSEN CO., LTD. Tennozu Parkside Building 2-5-8 Higashi-Shinagawa, Shinagawa-ku, Tokyo 140-0002 Japan Printed in Japan...