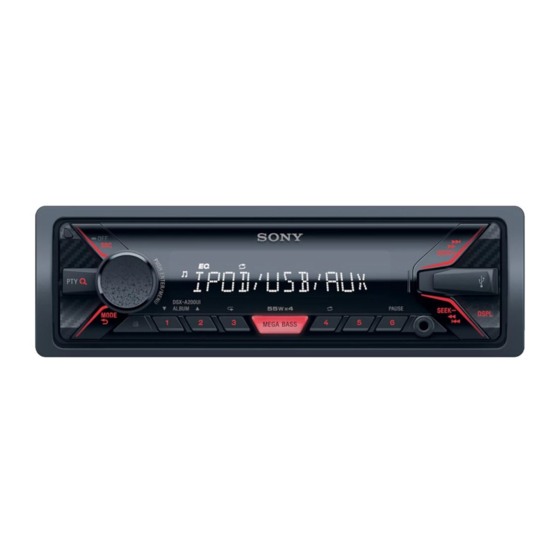
Sony DSX-A200UI Operating Instructions Manual
Fm/am digital media player
Hide thumbs
Also See for DSX-A200UI:
- Operating instructions manual (112 pages) ,
- Operating instructions manual (56 pages)
Table of Contents

Related Manuals for Sony DSX-A200UI


Summary of Contents for Sony DSX-A200UI
- Page 1 4-576-780-31(1) FM/AM Operating Instructions Digital Media Player To cancel the demonstration (DEMO) display, see page 11. To switch the FM/AM tuning step, see page 6. For the connection/installation, see page 19. DSX-A200UI...
- Page 2 OFF until the display disappears each time you turn the ignition off. Disclaimer regarding services offered by third parties Services offered by third parties may be changed, suspended, or terminated without prior notice. Sony does not bear any responsibility in these sorts of situations.
-
Page 3: Table Of Contents
Connection/Installation Table of Contents Cautions ........19 Guide to Parts and Controls . -
Page 4: Guide To Parts And Controls
Guide to Parts and Controls Main unit Front panel release button PTY (program type) Select PTY in RDS. SRC (source) (browse) (page 9, 10) Turn on the power. Enter the browse mode during playback. Change the source. ... -
Page 5: Getting Started
AUX input jack DSPL (display) Getting Started Press to change display items. SCRL (scroll) Detaching the Front Panel Press and hold to scroll a display item. USB port You can detach the front panel of this unit to prevent theft. -
Page 6: Switching The Fm/Am Tuning Step
Switching the FM/AM Tuning Connecting a USB Device Step Turn down the volume on the unit. Set the FM/AM tuning step of your country. This Connect the USB device to the unit. setting appears only while the source is off and To connect an iPod/iPhone, use the USB the clock is displayed. -
Page 7: Listening To The Radio
To match the volume level of the connected device to other sources Start playback of the portable audio device at a Listening to the Radio moderate volume, and set your usual listening volume on the unit. Listening to the Radio Press MENU, then select [SET SOUND] ... -
Page 8: Using Radio Data System (Rds)
Receiving the stored stations Playback Select the band, then press a number button (1 to 6). Playing a USB Device In these Operating Instructions, “iPod” is used as a Using Radio Data System (RDS) general reference for the iPod functions on an iPod and iPhone, unless otherwise specified by the text or illustrations. -
Page 9: Searching And Playing Tracks
Caution for iPhone Rotate the control dial to select the When you connect an iPhone via USB, phone call desired search category, then press it to volume is controlled by the iPhone, not the unit. Do confirm. not inadvertently increase the volume on the unit during a call, as a sudden loud sound may result Repeat step 2 to search the desired track. -
Page 10: Listening To Pandora
Available Operations in Listening to Pandora® Pandora® Pandora® is available to stream music through your iPhone. You can control Pandora® on a USB- “Thumbs” feedback connected iPhone from this unit. Pandora® is only available in certain countries. “Thumbs Up” or “Thumbs Down” feedback allows Please visit you to personalize stations. -
Page 11: Settings
General Setup (GENERAL) Settings DEMO (demonstration) Activates the demonstration: [ON], [OFF]. Canceling the DEMO Mode CLOCK-ADJ (clock adjust) (page 6) You can cancel the demonstration display which appears when the source is off and the clock is TUNER-STP (tuner step) (page 6) displayed. -
Page 12: Sound Setup (Sound)
Sound Setup (SOUND) Display Setup (DISPLAY) This setup menu is available when any source is BLK OUT (black out) selected. Turns off the illumination automatically for any source (e.g., during radio reception, etc.) if no EQ5 PRESET operation is performed for 5 seconds: [ON], Selects an equalizer curve from 10 equalizer [OFF]. -
Page 13: Additional Information
If you have any questions or problems concerning your unit that are not covered in this manual, consult your nearest Sony dealer. About iPod You can connect to the following iPod models. Update your iPod devices to the latest software before use. -
Page 14: Maintenance
531 – 1,602 kHz (at 9 kHz step) Maintenance 530 – 1,710 kHz (at 10 kHz step) AM tuning step: 9 kHz/10 kHz switchable Cleaning the connectors Antenna (aerial) terminal: The unit may not function properly if the External antenna (aerial) connector connectors between the unit and the front panel Sensitivity: 26 μV are not clean. - Page 15 Redistributions of source code must retain the Mounting dimensions: Approx. 182 mm × 53 mm × 102 mm above copyright notice, this list of conditions and in × 2 in × 4 in) (w/h/d) the following disclaimer. Mass: Approx. 0.7 kg (1 lb 9 oz) ...
-
Page 16: Troubleshooting
The display disappears while the unit is Troubleshooting operating. [BLK OUT] (black out) is set to [B.OUT-ON] The following checklist will help you remedy (page 12). problems you may encounter with your unit. Before going through the checklist below, check The display/illumination flashes. - Page 17 USB device playback READ: Now reading information. Wait until reading is complete and playback You cannot play items via a USB hub. starts automatically. This may take some time This unit cannot recognize USB devices via a USB depending on the file organization.
- Page 18 Disconnect the device, log into your Pandora® account, then connect the device again. UPDATE PAN: An old version of Pandora® is connected. Update the Pandora® application to the latest version. If these solutions do not help improve the situation, consult your nearest Sony dealer.
-
Page 19: Connection/Installation
Parts List for Installation Connection/Installation Cautions Run all ground (earth) leads to a common ground (earth) point. × 2 Do not get the leads trapped under a screw, or caught in moving parts (e.g., seat railing). ... -
Page 20: Connection
Connection Power amplifier* White White/black striped Front speaker* Gray Gray/black striped Green Green/black striped Rear speaker* Purple Purple/black striped Black Yellow For details, see “Making connections” (page 21). Blue/white striped from a wired remote control (not supplied)* from a car antenna (aerial) *1 Not supplied *3 RCA pin cord (not supplied) *2 Speaker impedance: 4 –... -
Page 21: Making Connections
Subwoofer Easy Connection Making connections You can use a subwoofer without a power amplifier To a common ground (earth) point when it is connected to a rear speaker cord. First connect the black ground (earth) lead, then connect the yellow and red power supply leads. Front speaker ... -
Page 22: Installation
Mounting the unit in the dashboard Installation Before installing, make sure the catches on both sides of the bracket are bent inwards 2 mm ( Removing the protection collar and the in). When mounting in a Japanese car, see “Mounting the unit in a Japanese car”... -
Page 23: Detaching And Attaching The Front Panel
replace the fuse. If the fuse blows to dashboard/center console again after replacement, there may be an internal malfunction. In such a case, consult your nearest Sony dealer. Bracket Bracket Existing parts supplied with your car NISSAN ... - Page 24 ©2015 Sony Corporation Printed in Thailand...