
Related Manuals for Dell ChromeBox For Meetings


Summary of Contents for Dell ChromeBox For Meetings
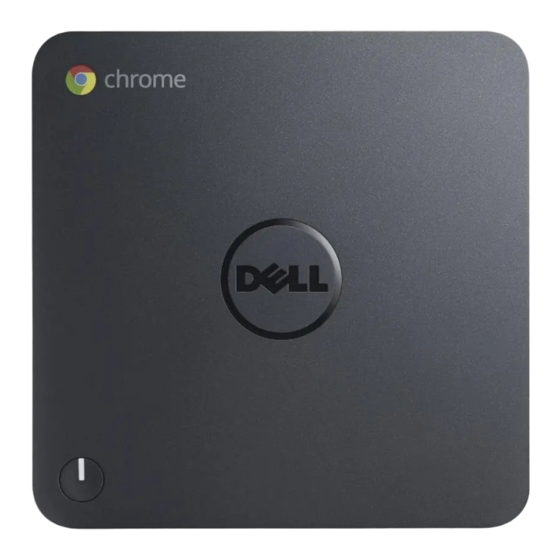
- Page 1 Dell Chromebox For Meetings 3010 User Guide Regulatory Model: Z01V Regulatory Type: Z01V001...
- Page 2 WARNING: A WARNING indicates a potential for property damage, personal injury, or death. Copyright © 2014 Dell Inc. All rights reserved. This product is protected by U.S. and international copyright and intellectual property laws. Dell ™...
-
Page 3: Table Of Contents
........................18 Editing the device name ..................... 19 Naming your Chromebox for meetings Associating your Chromebox for meetings with a different room, calendar or unassigning ........................20 the device from any room ..................20 Editing a room name, type, or description .................. - Page 4 6 Troubleshooting....................23 ..........................23 Fixing a problem ..........................23 Help and support 7 Contacting Dell....................24...
-
Page 5: Finding More Information And Resources
• Safety best practices • Regulatory certification • Ergonomics See www.dell.com for additional information on: • Warranty • Terms and Conditions (U.S. only) • End User License Agreement Additional information on your product is available at www.dell.com/support. -
Page 6: Features
Features Network connector Power Connector USB 3.0 connector HDMI connector Display port connector Headset connector USB 3.0 Port Power Button Memory-card reader Recovery button Secure Cable slot... -
Page 7: Requirements To Setup Your Chromebox For Meetings
Table/Other mounting requirements For the Chromebox for meetings, you must have a 50 mm x 145 mm x 145 mm or 1.97 inches x 5.71 inches x 5.71 inches. (H x W x L) space available to mount the device or place it in a table. -
Page 8: Display Requirements And Installation
Chromebox for meetings Display requirements and installation Your Chromebox for meetings can be setup to work with LCD, LED, plasma and projector-type monitors and televisions. The display must have an HDMI or DisplayPort input. The screen resolution must be at least 1280 x 720 pixels. -
Page 9: Setting Up Your Chromebox For Meetings
To connect a display panel to your Chromebox for meetings: Connecting a display cable either to the HDMI port or the DisplayPort. Connecting the Speaker Phone You can connect a speaker phone to any of the USB 3.0 ports on your Chromebox for meetings. -
Page 10: Connecting The Camera
NOTE: For information on speaker phones, you can refer to the following technical documentation: http://www.jabra.com/Products/PC_Headsets/Jabra_SPEAK__410_Series/Jabra_SPEAK_410 Connecting the camera You can connect a camera to any of the USB 3.0 ports in your Chromebox for meetings. NOTE: For information of the camera, you can refer to the following technical documentation: http://www.logitech.com/assets/45920/hd-pro-webcam-c920-quick-start-guide.pdf Placing your camera Place your camera on top of the display. -
Page 11: Connecting The Ac Power Adapter
Plug the AC power cord into a 100 V ~ 240 V power source. Connect the DC power connector into the power (DC) input port of your Chromebox for meetings. NOTE: Depending on the model the power adapter may vary in appearance. -
Page 12: Connectors And Accessories
Depending on your setup, you may need the following: • CAT5e Ethernet cable for wired network connection. • Chromebox for meetings wall mount for wall mounting. • USB extension cable for camera for distance exceeding 5 feet. • USB extension cable for speakerphone for distance exceeding 3 feet. -
Page 13: Mounting Your Chromebox For Meetings (Optional)
Mounting your Chromebox for meetings (Optional) You can mount your Chromebox for meetings behind the display. Use a mounting bracket to attach the Chromebox for meetings to your display or to any VESA (100 mm) - compatible location. A mounting... -
Page 14: Using Your Chromebox For Meetings
Using your Chromebox for meetings Enrolling Chromebox for meetings NOTE: We recommend connecting a USB keyboard and mouse to easily complete the enrolling your device. If you are using the remote here’s how to move around the screen: • Press right to move the next field. -
Page 15: Selecting Other Enrollment Options
Click through the screens to view tips on using Chromebox for meetings. At the end of enrollment, the screen displays a URL for this devices page in the Chromebox for meetings Admin console. Using this URL, an admin user must add the room’s online calendar to the device to enable schedule meetings. -
Page 16: Leaving A Video Call
NOTE: Chromebox for meetings uses the Google video conferencing solution. To manage Chromebox for meetings devices from the Admin console, make sure your time zone is set correctly. You can also choose to reboot your Chromebox for meetings at scheduled intervals. -
Page 17: Viewing Device Information
Google Admin console. Click Device management, then, to the right of Chromebox for meetings, click Devices. A screen appears showing active Chromebox for meetings devices. Click the device that you want to view. Click Hardware and OS. The right side of the screen displays devices information including the... -
Page 18: Editing The Device Name
Click Device management, then, to the right of Chromebox for meetings, click Devices. A screen appears showing active Chromebox for meetings devices. Click the device that you want to rename. Click the arrow to the right of the device name. -
Page 19: Naming Your Chromebox For Meetings
From a laptop or other device, sign in to the Google Admin console. Click Device management, then, to the right of Chromebox for meetings, click Devices. A screen appears showing active Chromebox for meetings devices. Click the device that you want to add information. Click Notes. -
Page 20: Associating Your Chromebox For Meetings With A Different Room, Calendar Or Unassigning The Device From Any Room
If you move your Chromebox for meetings to a different room, you must assign the device to that new room’s calendar. Alternatively, if you stop using Chromebox for meetings device, you can unassign the device from any room. -
Page 21: Editing A Room Name, Type, Or Description
Click Device management, then, to the right of Chromebox for meetings, click Devices. A screen appears showing active Chromebox for meetings devices. Click the device that is in the room whose information you want to edit. Click Add calendar resource. - Page 22 • To edit a different room or other resource, click the currently assigned room name and click Manage Resource. This takes you to the Calendar settings page where you can edit a resource name, type, or description; create a new resource; or delete a resource.
-
Page 23: Troubleshooting
Troubleshooting Fixing a problem The link to the content is at https:// Setup-During enrollment, I cannot get past the support.google.com/chromeboxformeetings/ language screen answer/3344700?hl=en&ref_topic=3368353 The link to the content is athttps:// How to wipe and re-enroll a device support.google.com/chromeboxformeetings/ answer/4580158?hl=en&ref_topic=3368353 I do not know how to identify the Chromebox for Manage devices and rooms meetings device I want on the device list screen. -
Page 24: Contacting Dell
Dell product catalog. Dell provides several online and telephone-based support and service options. Availability varies by country and product, and some services may not be available in your area. To contact Dell for sales, technical support, or customer service issues: Go to dell.com/support.