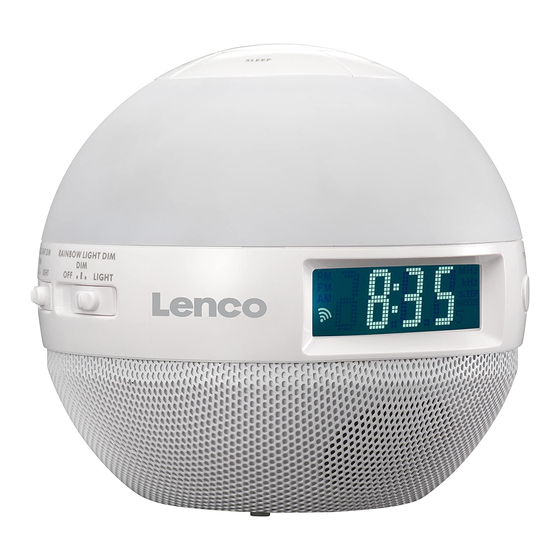
Summary of Contents for LENCO CRW-1
- Page 1 MODEL: CRW-1 Wellness Clock Radio User manual Lenco recommends attentive reading of the manual before operating the unit. For information and support, www.lenco.com...
-
Page 2: Table Of Contents
Table of content Instruction and warnings .................... 3 At a glance (features) ....................6 First time use........................ 8 Setting up and connecting the alarm clock ............. 8 Turning display illumination on/off ................9 Setting the time ......................10 Turning the mood light on/off .................. 10 Turning the radio on/off ................... -
Page 3: Instruction And Warnings
Instruction and warnings Read the safety warnings carefully and only use the articles as described in these instructions to avoid accidental injury or damage. Keep these instructions for future reference. If you pass this product on to another person, be sure to give them these instructions: This symbol warns you of the danger of injury. - Page 4 and splashes of water. Do not use the appliance in humid areas(such as the bath-room) or near any bodies of water (such as a pool or bathtub). Do not put any liquid-filled containers on or directly next to the appliance (such as vases or coffee cups). ...
- Page 5 When inserting the battery, ensure that the polarity is correct (+/-). If necessary, clean the contacts on the battery and appliance before inserting a battery. Risk of overheating! Protect the appliance from knocks, falls, dust, humidity, direct sunlight and extreme temperatures.
-
Page 6: At A Glance (Features)
At a glance (features) - Page 7 Operational controls around the ALARM circumference MELODY /RADIO /BUZZ VOLUME MELODY TUNING POWER RAINBOW LIGHT DIM OFF/DIM/LIGHT LCD BACKLIGHT DIM OFF/DIM/LIGHT TIME SET HOUR ALARM SET SNOOZE ALARM ON/OFF SLEEP Bottom Battery compartment Mains adapter connection VOLUME-/+ Set volume Tuning</> Tune radio LCD BACKLIGHT DIM Set display illumination...
-
Page 8: First Time Use
TIME SET Set time ALARM SET Set and show alarm time Pause alarm for approx. 5 minutes/ Press to show clock time SNOOZE in radio play mode (not alarm activated ) SLEEP Set sleep timer Turn alarm function on/off ALARM ON/OFF Stop alarm sounding Set minutes HOUR... -
Page 9: Turning Display Illumination On/Off
3. Insert the connection cable’s small connector plug into the alarm clock’s connection socket. Plug the mains adapter into an easily accessible socket. 0:00 will be displayed. The correct time must now be set. If you cannot see the display clearly, turn the display illumination on. Turning display illumination on/off △... -
Page 10: Setting The Time
Setting the time 1. Press TIME SET button, the clock is blinking △ Press HOUR to set the hours. Pressing the button once will change the time by one hour. If you press and hold the button, the hours will change until you let go. △... -
Page 11: Turning The Alarm Function On/Off/Stopping The Alarm
Set the volume level that you would like to wake you. The alarm will sound quietly and become increasingly louder until it reaches the set volume level. Please note: If you have turned the volume down completely, you will not hear the radio at the set alarm time;... -
Page 12: Fault/Remedy
Never use caustic chemicals, or aggressive or abrasive products for cleaning. △ Clean the casing as required with a soft, dry cloth. Technical specifications Model: CRW-1 Mains adapter: Input:100-240V~50/60Hz Output: 6V DC 500mA Back-up batteries: 2x AAA (UM-4) x 2 Batteries Max. -
Page 13: Service And Support
(both during and after the warranty period) you should contact your local dealer. Important note: It is not possible to send products that need repairs to Lenco directly. Important note: If this unit is opened or accessed by a non-official service center in any way, the warranty expires.


