Table of Contents
Advertisement
Quick Links
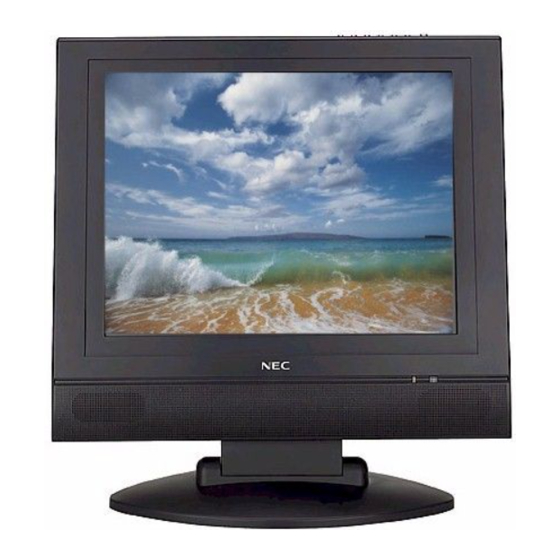
Owner's Manual
NLT-15
Model :
Contents
Before operating the set, please read this manual carefully.
Contents
On screen Language selection
TV, COMPONENT, VIDEO, S-VIDEO mode
Connecting external equipment
Product Specifications
1
2~3
4
5~7
5
6~7
8
9
9
9
9
9
9
9
10
11~13
11
12
13
14
14
14
15
16~17
16
16
16
17
17
18~19
18
18
18
19
20~21
20
20
20
21
21
22~23
24
25
1
Advertisement
Table of Contents

Summary of Contents for NEC NLT-15
-
Page 1: Table Of Contents
Owner's Manual NLT-15 Model : Contents Before operating the set, please read this manual carefully. Contents Warnings Supplied Accessories Controls Controller of panel Remote controller Installations Basic Operation Turning the TV On and off Programme selection Volume adjustment Q.View Mute Function... -
Page 2: Warnings
Warnings Service Never remove the back cover of the set as this can expose you to high voltage and other hazards. If the set does not operate properly, unplug it and call NEC service centre. Aerial Connect the aerial cable to the socket marked Ant. on the back. For the best reception an outdoor aerial should be used. -
Page 3: Supplied Accessories
SLEEP INDEX UPDA TE TIME REVEAL 5. Owner’s manual 6. PC IN cable Owner's Manual NLT-15 Model : 7. PC Audio IN cable Controls <<CONTROLLER OF PANEL>> 1. MENU Displays a menu. 2. y PR x (Programme Up/Down) Selects a programme or a menu item. -
Page 4: Remote Controller 6~7
Selects a screen mode.- 4:3,16:9 or ZOOM. TEXT/MIX SIZE SLEEP INDEX Only the ARC/* button is operated at LCD 17” Wide (NEC NLT-17W). UPDA TE TIME REVEAL Battery Installation uInserting batteries 1. Pull the battery cover upward in the arrow direction to remove. -
Page 5: Installations
Installation Installation Options * You can install the TV on a wall or place it on a table-like surface. * To eliminate any risk of injury from the TV falling, it should be mounted securely. 1. Wall Installation Caution: Do not install the TV on a weak wall surface, like plaster etc. It is not needed any bracket or installation accessory with the exception of 2 nails or screws. -
Page 6: On Screen Display
On Screen Display 1. Press the MENU button to display main menu. 2. Press the PR xy button to select menus-Picture, Sound, Special, Setup. 3. Adjust each menu with the VOLÏq button. 4. Press the MENU button to return to preceding menu. Equalizer 5. -
Page 7: Manual Programme
Setting up TV Programme Manual programme Manual programme Manual programme lets you manually tune and arrange System Channel the Programme in whatever order you desire. Also you Fine can assign a Programme name with five characters to Search each programme number. Name Storage 1. -
Page 8: Picture Control
Picture Control You can adjust picture Contrast, Brightness, Colour Sharpness and Tint to the levels you prefer. Picture Manual Picture Control Contrast Brightness 1. Press the MENU button. Colour 2. Select the Picture menu. Then press the VOLÏq button. Sharpness 3. -
Page 9: Other Functions
Other functions TV, COMPONENT, VIDEO and S-VIDEO modes Special (You can’t set PC mode in this menu. Use the TV/AV button) Input Auto sleep Inputs can be set for COMPONENT, VIDEO or S-VIDEO Blue back mode. The COMPONENT, VIDEO or S-VIDEO mode is used when a video cassette recorder (VCR), or other equipment is connected to the set. -
Page 10: Teletext
Teletext TEXT On/Off Press the TEXT/MIX button to switch to teletext. The initial POWER page or last selected page appears on the screen. Two page numbers, TV Programme name, date and time are displayed on the screen headline. The first page number indicates your selection, while the second shows the current page displayed. -
Page 11: Antenna Connection
External Equipment Connection When connecting to external equipment, please ensure you turn the main switch OFF to prevent any damage to the equipment. You can connect additional equipment, such as VCRs, camcorders etc. to your set. Examples are shown below. Antenna connection 1. -
Page 12: Connecting Pc As Monitor
Connecting PC as monitor VGA/DTV INPUT 1. Connect the VGA IN cable (D sub jack) from the monitor output socket of the PC to the PC/DTV input socket of the set. 2. Connect the Audio cable from the PC to the PC Audio IN of the set. -
Page 13: Troubleshooting
Product Spec. Model NLT-15 Horizontal size 455 mm Thickness Main body Height 405 mm Weight Power requirements DC 12V/3.0A Television system PAL/SECAM-B/G, I, D/K /NTSC-M Television programnme VHF: 2~13 UHF :14~69 Cable : 01~125 Display Panel LG Philips LCD 15.1" TFTLCD panel... - Page 14 84A Richmond Rd, Keswick, 5053 Western Australia Perth 45 Sarich Court, Osbome Park 6017 For Service in outer areas, please contact your NEC retailer for the address of the nearest Authorised NEC Service Centre NEC Australia Pty. Ltd. Home Electronics Group...


