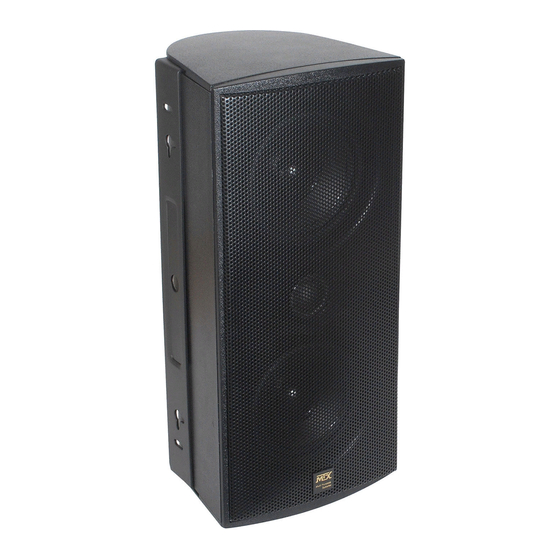
Summary of Contents for MTX MP52B
- Page 1 MODEL MP52B/MODEL MP52W Owners Manual 4545 E Baseline Rd Phoenix AZ 85040 Phone: (602)438-4545 Fax: (602)438-8692 21A2948...
- Page 2 ...on your purchase of MTX multi-purpose loudspeakers. Your new loudspeakers represent years of thorough research and development in the most modern techniques of speaker design and engineering. Using advanced technology and high quality electronics and components, MTX loudspeakers assure you of exceptional performance and value.
- Page 3 14.250”H x 6.625”W x 6.000”D Specifications subject to change without notice. INTRODUCTION About the MP52 Multi Purpose Speaker The MTX MP52 may be the most comprehensive loudspeaker design ever conceived. The unparalleled application flexibility afforded by this design gives you the freedom to listen to music almost anywhere and in just about any possible configuration.
- Page 4 8. Grill 9. Grill Adhesive MP52 SET UP GUIDE HOME THEATER Left/Center/Right Front Speaker Height One of the most Important parameters for the left/center/right/front speakers in a home theater system is height. Figure 2 shows the ideal arrangement of the speakers in relation to the viewing screen: all three speakers are aligned on the same horizontal plane.
- Page 5 MP52 SET UP GUIDE HOME THEATER Typical Loudspeaker Placement Figure 1 illustrates the most generally accepted speaker locations for a home theater system. Although there are an infinite number of set up options using Figure 1 as a template will certainly provide a great starting point.
- Page 6 MTX recommends using 18 gauge or heavier wire to connect your loudspeakers to your amplifier or receiver. Before cutting the speaker wire to the proper lengths, be sure to leave an extra two or three feet of surplus wire, just in case you have to move the components around.
- Page 7 PAINTING Carefully remove the spring clip on the back of the grill logo and remove the logo. Mask the baffle area of the speaker cabinet out to the grill mounting groove. If you are going to mount the MP52 using the supplied wall bracket it is best to also mask off the foam rubber bracket gaskets at the top and bottom of the speaker cabinet.
- Page 8 9) Adjust the MP52 cabinet for the desired angle and tighten the thumb screws. 10) Attach the B-Type end caps by inserting the cap mounting tab into the slot in the back of the speaker baffle. Then snap the cap down onto the brass thumb screws.


