Advertisement
Quick Links
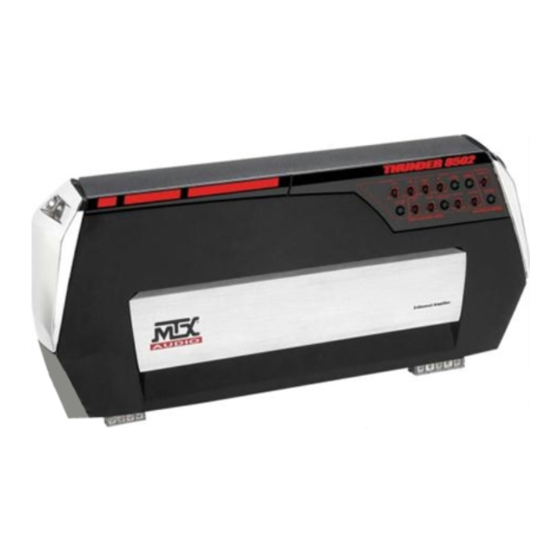
TA8502 Owner's Manual
Introduction
Thank you for choosing MTX to help reach the ultimate goal with your vehicle. Adding MTX amplifiers and
matching MTX speakers and subwoofers with StreetWires connections will put you in a better position to
hear, feel, and experience all of the music the artist intended.
Specifications
Primary Ratings:
Power Output: 125 watts RMS x 2-channels at 4 ohm and ≤ 1% THD+N
Signal-to-Noise Ratio (1 watt): 74dB
Secondary Ratings:
Power Output: 250 watts RMS x 2-channels at 2 ohm and ≤ 1% THD+N
Power Output: 375 watts RMS x 2-channels at 1 ohm and ≤ 1% THD+N
Power Output: 500 watts RMS x 1 bridged at 4 ohm and ≤ 1% THD+N
Power Output: 750 watts RMS x 1 bridged at 2 ohm and ≤ 1% THD+N
THD+Noise (Distortion) (1 watt): ≤ .1%
Frequency Response (-3dB): 20Hz-20kHz
Maximum Input Signal: 10V
Maximum Sensitivity: 100mV
Dimensions: 9-5/8" x 20-11/16" x 2-1/2" (245mm x 525mm x 65mm)
Smart Engage™ Auto-Turn-On (Patent No: US06556683)
Patented Pure N-Channel Technology (Patent No: US05631608, US05783970)
Patented Power Supply (US05598325)
Input Sensitivity Switch: 100mV-1V/1V-10V
Crossover: Hi, 12dB / Low, 24dB Mono @ 40Hz-350Hz, Defeat
Subsonic @ 30Hz, 12dB/oct, Defeat
Parametric EQ: Boost/Cut +/-12dB, Freq. 30Hz-80Hz, Q 0.5-4.0
ARC: Cut 0-15dB, Freq. 200Hz
Remote Subwoofer Level Control
Features
1. Prizm EFX – All MTX amplifiers include backlit adjustment controls on the top surface of the product.
• Color – The backlit controls offer unlimited colors on the display -- from RED, GREEN, and BLUE to any color
in between.
• EFX – You can switch Prizm EFX lighting to "pulsate" with the beat of the music.
2. Xtant Technology Cooling (XTC) – A thermal-regulated turbo-charged intercooler supplies fan forced cool air
evenly and constantly through tightly packed bonded fins. Fan speed is continuously variable and controlled
by the amplifier's output, temperature of the heatsink, and transformers. Exhaust from the internal heatsink is
strategically positioned to cool the transformers to maintain maximum performance at all volumes.
3. Bi-Level Inputs with Smart Engage™ – All MTX amplifiers feature RCA type input connections. All MTX
amplifiers allow both high level and line level input into the RCA type input connections.
• Low Level Input – Source units with an output signal level of 100mV–10V may be used. See "Input
Sensitivity" for proper voltage level setting.
• High Level Inputs with Smart Engage™ – All MTX amplifiers allow high level inputs through RCA type input
connections using provided high level adapters. Source units with an output signal level of 100mV–10V may
be used. See "Input Sensitivity" for proper voltage level setting.
• Smart-Engage™ Auto-Turn-On - An auto-turn-on circuit is included within the amplifier. A remote turn-on
wire is not necessary when connecting the amplifier's high-level input to a high-powered source unit (car
stereo). The amplifier will automatically turn on when music is received through this type of connection.
Note: Smart Engage™ is only active on the left input.
Advertisement

Related Manuals for MTX Thunder TA8502


Summary of Contents for MTX Thunder TA8502
-
Page 1: Features
TA8502 Owner’s Manual Introduction Thank you for choosing MTX to help reach the ultimate goal with your vehicle. Adding MTX amplifiers and matching MTX speakers and subwoofers with StreetWires connections will put you in a better position to hear, feel, and experience all of the music the artist intended. -
Page 2: Before Starting
4. Input Sensitivity – The Input Sensitivity switch is used to set the proper input voltage range: X1 POSITION: 100mV–1V (Typically for RCA Input) X10 POSITION: 1V–10V (Typically for Speaker Level Input) 5. Gain Control – This feature is used to fine-tune the input sensitivity of the amplifier to the source unit’s output level. -
Page 3: Installation Mounting
Installation Mounting Place your Thunder amplifier at the predetermined mounting location. Use a felt pen to mark the exact position of the mounting holes on the mounting surface. Set the amplifier aside. Then with a sharp, precise blade cut small circles in the carpet and padding around the four marks denoting your mounting holes to expose the metal underneath. - Page 4 • GND: This is the ground connection for the amplifier and must be connected directly to the metal chassis of the vehicle for the amplifier to operate properly. A properly grounded amplifier can be run harder and longer than a poorly grounded amplifier. The ground on the amplifier should be as short as possible and be connected directly to the vehicle’s metal chassis.
- Page 5 3. Adjusting the Hi, 12dB / Low, 24dB Mono @ 40Hz–350Hz Variable X-over Frequency Controls – • Setting for Subwoofers: First enable the electronic crossover by selecting the “ON” position of the X-OVER switch, and then select the “L-PASS” (Low pass) position on the L-PASS/H-PASS switch. Next, using “L- PASS FREQ”...
-
Page 6: Troubleshooting
7. Remote Subwoofer Level Control (Remote Gain) – Let’s say the amplifier’s gain is set at halfway. When the remote subwoofer level control is plugged in, you have external control of the gain from zero to halfway. The installation of this level control is NOT necessary to get full power from amplifier. Note: One Remote Subwoofer Level Control can control two or more amplifiers using a mini plug Y-adapter.