Sinclair QL User Manual
Hide thumbs
Also See for QL:
- User manual (422 pages) ,
- Beginner's manual (135 pages) ,
- Service manual (99 pages)

Related Manuals for Sinclair QL


Summary of Contents for Sinclair QL
- Page 1 User Guide Introduction Beginner’s Guide Reference Guide Keywords Concepts Applications Software QL Quill AL Abacus QL Archive QL Easel Information...
- Page 2 No part of this User Guide may be reproduced in any form whatsoever without the written permission of Sinclair Research Limited QL, QLUB, QL Net, Qdos and QL Microdrive are trade marks of Sinclair Research Limited. Quill, Archive, Easel and Abacus are trade marks of Psion Limited...
- Page 3 A Guided Tour Escape File Names Function Keys Help If You Have A Problem Introduction To The QL Introduction To The QL Programs Listing Files Loading Microdrive Cartridges Microdrive Use Microdrives Other Devices Screen Layout Setting Up Starting Work The Display...
- Page 4 Now look through the pages to identify the various sections, each begins with a title page with the Sinclair logo at the top. The pages within each section will be packed in the correct order, so be careful not to mix them up, the individual sections, however may be in a different order to that shown above if a section or sections have recently been reprinted.
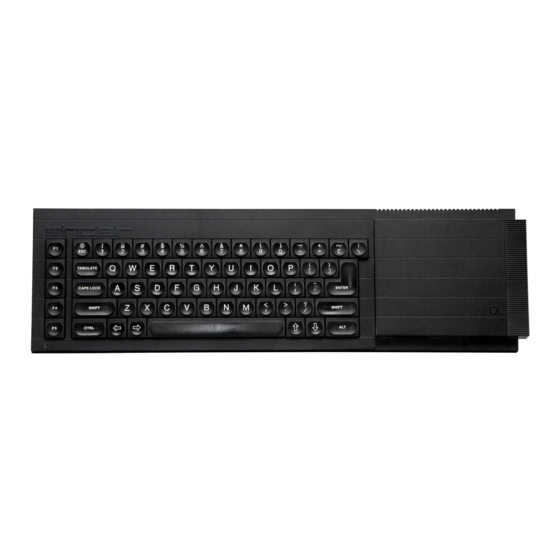
- Page 5 INTRODUCTION TO THE QL When you unpack your QL computer you will find: The QL computer The QL User Guide...
- Page 6 QL Abacus, QL Archive, QL Easel and QL Quill Three plastic feet these can be fitted under the QL to tilt the keyboard for more comfortable typing. The pips in the top of the legs should be fitted into the holes in the rubber feet, twisting them to...
-
Page 7: A Guided Tour
QL is switched on. On the right-hand end of the QL there is a slot covered by a plastic strip. This slot is for attaching up to six more QL Microdrives. ZX Microdrives are not suitable for use with the... - Page 8 The reset button is on the right hand end of the computer near the Microdrive expansion slot. It is used to reset' the QL to its original 'switch on' state Any programs in the machine will be lost if reset is pressed and sometimes data already recorded on Microdrive cartridges can be corrupted.
-
Page 9: The Power Supply
If necessary, get someone with electrical experience to help you. THE DISPLAY Although the QL will work once the power supply is connected, you will not be able to see what it is doing until you add a television set or a monitor. - Page 10 Microdrive cartridge (for details of how to do this see the Beginner's Guide and Concepts sections). If the QL is not going to be used for a while you should also switch the power supply off at the mains.
- Page 11 A coloured pattern will appear after you switch on or reset the computer, this is the QL testing its memory. The pattern will disappear after a few seconds to be replaced by the copyright screen.
- Page 12 (or reset) and pressed F1 or F2, the screen will look like this: The long thin window at the bottom is used to display commands typed into the computer and initially will display the flashing cursor. When the cursor is visible the QL is ready to...
- Page 13 The cartridge's name label, or the recess for its stick-on label, should face upwards. Cartridges should always be treated with care. You should never turn the QL on or off with a cartridge in the Microdrives. Take care when inserting or removing cartridges, wait until the Microdrive lights have gone out before removing the cartridge, be gentle but firm.
-
Page 14: Starting Work
STARTING WORK There are several ways of using your computer and the User Guide. You can use ready made programs such as those supplied with the QL, or you can write your own programs in SuperBASIC. To use the QL programs, first read the Introduction to the QL Programs later in this introduction and then the relevant section for each program concerned. - Page 15 - try out the examples and experiment with each new idea. MICRODRIVES Before you use any of the QL programs you should make at least one backup on a blank cartridge and use this copy only. Keep the original program cartridge in a safe place, and use it only for making copies.
-
Page 16: Screen Layout
Below this is the status area which reports on the current state of work. It displays things like the name of the data or document on which you are working how much unused memory remains, etc. FUNCTION KEYS Three of the five function keys have the same meaning in all the QL programs. These are:... - Page 17 You can use the line editor to change or correct a line of text that you have typed in. All the QL programs use the same line editor, but each program uses it in a way most suitable for that application In QL Quill you use the line editor, for example, for editing the text in commands and QL Archive uses the editor extensively for editing database programs.
- Page 18 This is an extension three letters long which identifies which program saved the file. The extensions used are: QL Quill _doc QL Abacus _aba QL Easel _grf QL Archive (data file) _dbf QL Archive (program file) _prg or _pro QL Archive (screen layout) _scn...
-
Page 19: Listing Files
For example, to load and save via the network Before loading a QL program, each computer on the network must be given a station number. Switch the computer on but do not insert a program cartridges; press F1 or F2... - Page 20 To set the station number type the command NET followed by the station number of your choice. For example, to set the QL to station 5 type the command: NET 5 ENTER Place the program cartridge in Microdrive 1 and load the program by typing:...