Table of Contents
Advertisement
Advertisement
Table of Contents

Related Manuals for Swann TEASMADE STM100N


Summary of Contents for Swann TEASMADE STM100N
- Page 1 teasmade instruction manual STM100N...
-
Page 2: Important Safeguards
Thank you for purchasing this Swan TEASMADE. With this iconic product, you are joining a unique group of people – going back some 70 years or more – who just have to be woken with a nice, hot cup of tea in the morning –... - Page 3 12. Do not allow the cord to touch hot surfaces and do not place on or near a hot gas or electric burner or in a heated oven. 13. Do not use the appliance on a gas or electric cooking top or over or near an open flame. 14.
- Page 4 Before first use Reading Light Remove all packaging from the product and connect to the 230-240V AC mains supply. 1. Fill the ceramic jug with water to 1” (25mm) below top. 2. Open the lid and remove the tank cap by turning it anti-clockwise 3.
- Page 5 Setting the alarm only The dot on the clock face indicates the alarm time. To set the alarm time press the ALARM SET button. Each press will advance the alarm time by 1 minute. To fast forward the alarm time, press and HOLD the ALARM SET button.
-
Page 6: Cleaning And Maintenance
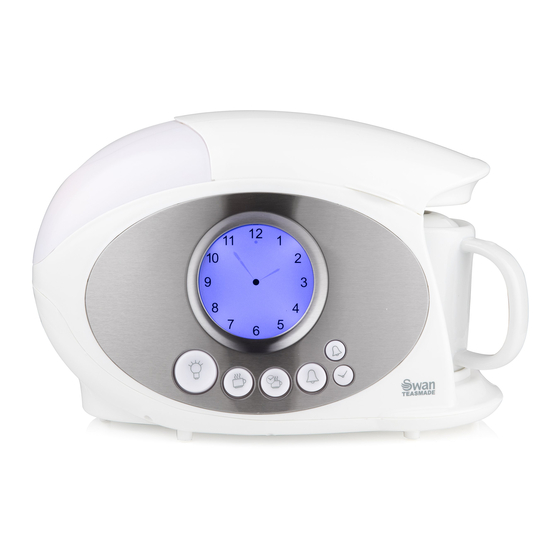
Reading light To operate the reading light simply press the reading light button Reading Automatic Alarm Alarm set Timer light Cleaning and maintenance Ensure the product is unplugged from the mains and completely cooled before cleaning. The pot should be cleaned daily with warm soapy water, then rinsed with clean water. Do not leave water in the tank for long periods. - Page 7 UK Plug wiring instructions The wires in the mains lead are coloured in accordance with the following code: BLUE NEUTRAL BROWN LIVE GREEN/YELLOW EARTH As the colours of the wire in the mains lead of this appliance may not correspond with the colour markings identifying the terminals on your plug, proceed as follows: The wire which is coloured BLUE must be connected to the terminal which is marked with the letter N or coloured black.
- Page 8 Wakey, wakey!! We’re on Search ‘Swan Teasmade’ Upload photos of your Teasmade to share with the rest of the gang Join the community! Visit www.swan-brand.co.uk for more great Swan products and history of the Swan Brand...