Toshiba E-STUDIO6506AC Manuals
Manuals and User Guides for Toshiba E-STUDIO6506AC. We have 13 Toshiba E-STUDIO6506AC manuals available for free PDF download: Imaging Manual, Software Installation Manual, Copying Manual, Operator's Manual, E-Filing Manual, Software Troubleshooting Manual, Hardware Troubleshooting Manual, Quick Start Manual, Scanning Manual, Template Manual
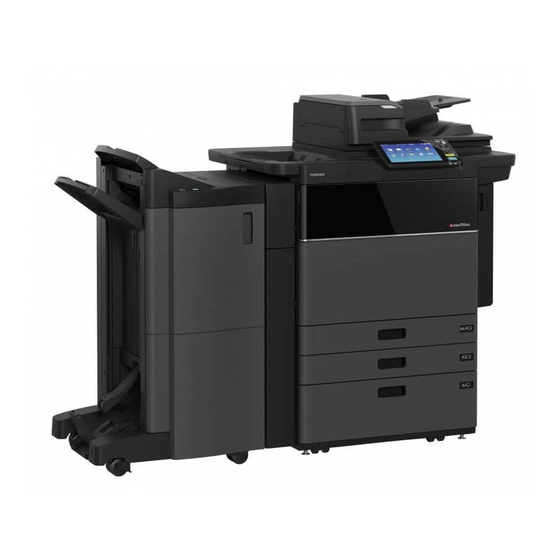
Toshiba E-STUDIO6506AC Imaging Manual (331 pages)
Brand: Toshiba
|
Category: All in One Printer
|
Size: 8.79 MB
Table of Contents
Advertisement
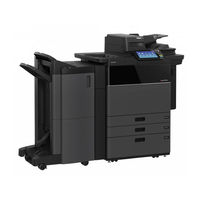
Toshiba E-STUDIO6506AC Software Installation Manual (164 pages)
e-Studio5005AC series;
e-Studio5008A series;
e-Studio7506AC series;
e-Studio8508A series.
Multifunctional digital colog system /
Multifunctional digital systems.
Brand: Toshiba
|
Category: All in One Printer
|
Size: 11.32 MB
Table of Contents

Toshiba E-STUDIO6506AC Software Installation Manual (164 pages)
e-Studio5005AC series;
e-Studio5008A series;
e-Studio7506AC series;
e-Studio8508A series;
e-Studio5008LP series.
Multifunctional digital colog system /
Multifunctional digital systems.
Brand: Toshiba
|
Category: All in One Printer
|
Size: 4.9 MB
Table of Contents
Advertisement
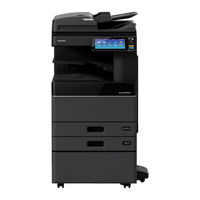
Toshiba E-STUDIO6506AC Copying Manual (132 pages)
multifunctional digital color systems / multifunctional digital systems
Brand: Toshiba
|
Category: All in One Printer
|
Size: 24.49 MB
Table of Contents

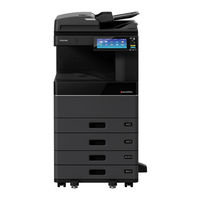
Toshiba E-STUDIO6506AC Operator's Manual (124 pages)
MULTIFUNCTIONAL DIGITAL COLOR SYSTEMS / MULTIFUNCTIONAL DIGITAL SYSTEMS
Brand: Toshiba
|
Category: TV DVD Combo
|
Size: 7.15 MB
Table of Contents

Toshiba E-STUDIO6506AC E-Filing Manual (108 pages)
Multifunctional Digital Systems, Multifunctional Digital Color Systems.
Brand: Toshiba
|
Category: All in One Printer
|
Size: 11 MB
Table of Contents

Toshiba E-STUDIO6506AC Software Troubleshooting Manual (82 pages)
Multifunctional digital colog system /
Multifunctional digital systems.
e-Studio5005AC series;
e-Studio5008A series;
e-Studio7506AC series;
e-Studio8508AC series
Brand: Toshiba
|
Category: All in One Printer
|
Size: 3.13 MB
Table of Contents

Toshiba E-STUDIO6506AC Software Troubleshooting Manual (82 pages)
e-Studio5005AC series;
e-Studio5008A series;
e-Studio7506AC series;
e-Studio8508A series;
e-Studio5008LP series.
Multifunctional digital colog system /
Multifunctional digital systems.
Brand: Toshiba
|
Category: All in One Printer
|
Size: 1.16 MB
Table of Contents
Toshiba E-STUDIO6506AC Quick Start Manual (76 pages)
MULTIFUNCTIONAL DIGITAL COLOR SYSTEMS /
MULTIFUNCTIONAL DIGITAL SYSTEMS
Brand: Toshiba
|
Category: All in One Printer
|
Size: 16.62 MB
Table of Contents

Toshiba E-STUDIO6506AC Hardware Troubleshooting Manual (80 pages)
MULTIFUNCTIONAL DIGITAL COLOR SYSTEMS /
MULTIFUNCTIONAL DIGITAL SYSTEMS e-STUDIO7506AC Series; e-STUDIO8508A Series
Brand: Toshiba
|
Category: All in One Printer
|
Size: 14.75 MB
Table of Contents

Toshiba E-STUDIO6506AC Scanning Manual (66 pages)
MULTIFUNCTIONAL DIGITAL COLOR SYSTEMS / MULTIFUNCTIONAL DIGITAL SYSTEMS
Brand: Toshiba
|
Category: All in One Printer
|
Size: 5.56 MB
Table of Contents

Toshiba E-STUDIO6506AC Template Manual (30 pages)
MULTIFINCTIONAL DIGITAL SYSTEMS
Brand: Toshiba
|
Category: All in One Printer
|
Size: 2.83 MB
Table of Contents
Toshiba E-STUDIO6506AC Operator's Manual (30 pages)
Operator's Manual for AirPrint, MULTIFUNCTIONAL DIGITAL COLOR SYSTEMS / MULTIFUNCTIONAL DIGITAL SYSTEMS
Brand: Toshiba
|
Category: All in One Printer
|
Size: 4.24 MB
Table of Contents
Advertisement