
Related Manuals for Miele TWC220WP


Summary of Contents for Miele TWC220WP
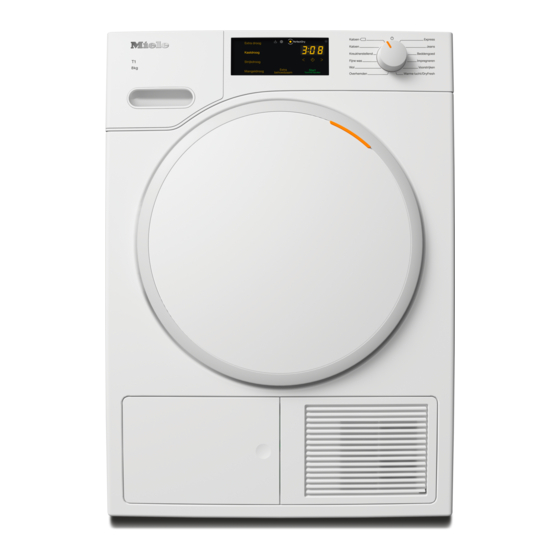
- Page 1 *INSTALLATION* 11946850-00 Installation Front view a Mains connection cable e Plinth filter flap b Control panel f 4 height-adjustable feet c Condensed water container g Cooling air grille d Door h Drain hose for condensed water...
- Page 2 *INSTALLATION* 11946850-00 Installation Rear view If the tumble dryer is being transpor- ted on its side, it must be tipped onto its left or right side. a Protruding lid for holding when mov- If the tumble dryer is being transpor- ing the appliance ted upright and you are using a hand b Drain hose for condensed water...
-
Page 3: Installation
- Air the room where the tumble dryer dryer must stand perfectly level. The is located. screw feet on the tumble dryer can be - Contact the Miele Customer Service adjusted to compensate for unevenness Department. in the floor. Downtime after installation ... - Page 4 *INSTALLATION* 11946850-00 Installation Ventilation The heat pump that is essential to the operation of this tumble dryer The cool air intake at the front of the generates a great deal of heat inside tumble dryer must not be blocked or its casing.
-
Page 5: Additional Installation Requirements
Optional accessories – Washer-dryer stack The tumble dryer can be combined with a Miele washing machine in a washer- dryer stack. The appropriate Miele washer-dryer stacking kit is required. – Plinth The tumble dryer can be fitted on a... -
Page 6: External Condensed Water Outlet
*INSTALLATION* 11946850-00 Installation Installation conditions requiring a External condensed water out- non-return valve Danger of condensed water Note back-flow. When drying is in progress, con- Water could flow back into the densed water is pumped into the con- tumble dryer or be drawn into it. densed water container through the Back-flow water could damage the drain hose which is located at the... - Page 7 *INSTALLATION* 11946850-00 Installation Arranging the drain hose Examples Drainage into a sink or floor gully Damage to the drain hose through incorrect handling. Use the hose holder to secure the drain hose. The drain hose can suffer damage and leak. Do not pull on the drain hose and do not stretch it or allow it to become kinked.
- Page 8 *INSTALLATION* 11946850-00 Installation Fit adapter 1 to the sink drain outlet Direct connection to a sink drain outlet using nut 2. Use the hose holder, the adapter, the The nut is usually fitted with a washer hose clips and the non-return valve which must be removed.
-
Page 9: Changing The Door Hinging
*INSTALLATION* 11946850-00 Installation Hold the door securely and pull it for- Changing the door hinging wards: to remove the door you will You can change the door hinging on need to pull the base plate of the this tumble dryer yourself. hinge with its 2 pins out of the dryer. - Page 10 *INSTALLATION* 11946850-00 Installation Turn the door lock through 180°. Use a T20 Torx screwdriver to remove screw on the lock catch. Press the door lock into openings on the opposite side of the door Pull off the lock catch together with opening.
- Page 11 *INSTALLATION* 11946850-00 Installation 4. Dismantle the door hinge from the door The door hinge cover must be un- clipped from position and then re- moved. Insert the lock catch into the new cover supplied with the dryer. Place this new cover to one side for now.
- Page 12 *INSTALLATION* 11946850-00 Installation 5. Change over the door hinge on the Tip: In some circumstances, the rods door can be difficult to dislodge. Moving the screwdriver with a levering action while The door hinge is secured to the door pulling at the same time may help to with 2 angled rods.
- Page 13 *INSTALLATION* 11946850-00 Installation You now need the new door hinge cover supplied with the tumble dryer. Fit new door hinge cover and clip it into position. 6. Change the lock catch on the door You now need the new lock catch cover supplied with the dryer which you have already fitted with the lock catch.
- Page 14 *INSTALLATION* 11946850-00 Installation Refitting Now that you have changed the door hinging the door will open from 7. Refit the door the opposite side. Press the rubber seal back into the grove on the door. Push the orange marker round to the other side so that you will see at ...
-
Page 15: Electrical Connection
Miele product must also be maintained in isolated operation or in operation that The electrical system must comply with is not synchronised with the mains...