Miele PDR 914 Operating And Installation Instructions
Commercial tumble dryers
Hide thumbs
Also See for PDR 914:
- Quick start manual (144 pages) ,
- Operating and installation instructions (80 pages) ,
- Quick start manual (156 pages)

Related Manuals for Miele PDR 914


Summary of Contents for Miele PDR 914
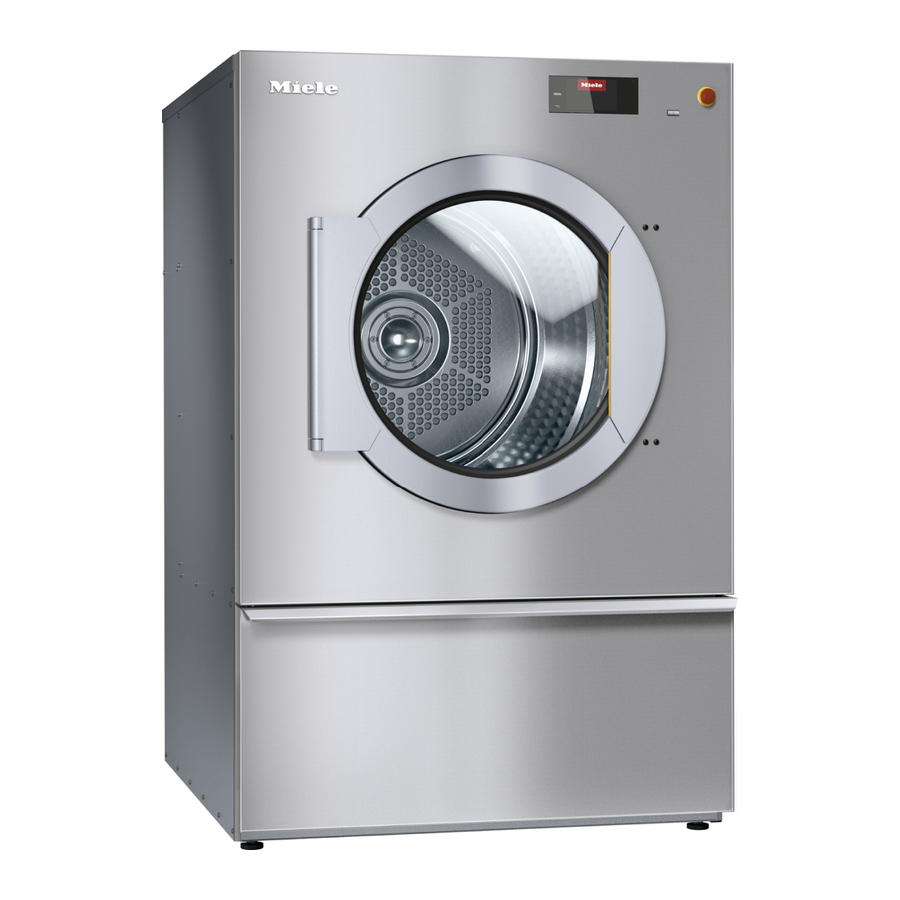
- Page 1 Operating and Installation Instructions Commercial Tumble Dryers PDR 914/918/922/928/944 To prevent accidents and machine damage, en-US, CA read these instructions before installation or use. M.-Nr. 11 786 010...
-
Page 2: Caring For The Environment
Caring for the environment Disposal of the packaging material The packaging material protects the dryer from transport damage. The packaging materials used are selected from materials which are environmentally friendly for disposal and can therefore be recycled. Recycling the packaging material reduces the use of raw materials in the manufacturing process and also reduces the amount of waste in landfill sites. -
Page 3: Table Of Contents
Contents Caring for the environment .................... IMPORTANT SAFETY INSTRUCTIONS ................. Appropriate use ......................... Preventing misuse ......................Technical safety......................... Correct use........................Accessories ........................10 Operating the tumble dryer .................... 11 Control panel ........................11 Sensor buttons and touch display with sensor buttons............ 12 Main menu......................... - Page 4 Contents Changing the program sequence .................. 26 Changing a program once it has started................26 Canceling a program ......................26 Reselecting a canceled program................... 26 Cleaning and care ......................27 Cleaning the lint filter......................27 Cleaning the drum and the outside of the casing ............. 28 Additional annual cleaning ....................
- Page 5 Additional fan ........................ 47 Pressure sensor......................47 Peak load signal ......................47 Peak load prevention..................... 48 Select KOM module ...................... 48 Availability of Miele digital products ................48 WiFi / LAN ........................48 Remote .......................... 49 Remote Update ......................49 Machine parameters......................50 Legal Information......................
-
Page 6: Important Safety Instructions
In accordance with standard UL 60335-1, CAN/CSA-C22.2 No. 60335-1, IEC 60335-1, Miele expressly and strongly advises that you read and follow the instructions in the chapter on installing the tumble dryer as well as the IMPORTANT SAFETY INSTRUC- TIONS. -
Page 7: Preventing Misuse
IMPORTANT SAFETY INSTRUCTIONS Preventing misuse Do not make any alterations to the tumble dryer, unless authorized to do so by Miele. Do not lean on the dryer door. Otherwise, the tumble dryer may tip over, causing injury to yourself or others. - Page 8 Unauthorized repairs could result in unforeseen dangers for the user, for which Miele cannot accept liability. Repairs should only be carried out by a Miele authorized technician, otherwise any subsequent damage will not be covered by the warranty. ...
-
Page 9: Correct Use
Ensure that no closeable door, sliding door, or an oppositely hinged door is installed that would hinder the drum door being opened in any way. If the power cord is damaged, it must be replaced by a Miele authorized technician in order to protect the user from harm. Correct use ... -
Page 10: Accessories
Only use genuine Miele spare parts and accessories with this machine. Using parts or accessories from other manufacturers may invalidate the warranty, and Miele cannot ac- cept liability. Miele cannot be held liable for damage caused by failure to comply with these IM- PORTANT SAFETY INSTRUCTIONS. -
Page 11: Operating The Tumble Dryer
For starting the selected drying program and canceling a program once it has started. The program selected can be started as soon as the sensor button starts flashing. Optical interface For Miele Service button For switching the tumble dryer on and off. The tumble dryer switches off automatically to save energy. -
Page 12: Sensor Buttons And Touch Display With Sensor Buttons
Operating the tumble dryer Sensor buttons and touch display with sensor buttons The , , and Start/Stop sensor buttons and the sensor buttons in the display react to finger-tip contact. Every tap of a sensor button is confirmed with an audible keypad tone. You can adjust the volume of the keypad tone or switch it off (see “Supervisor level”). The control field with sensor buttons and the touch display can be scratched by pointed or sharp objects, e.g., pens. -
Page 13: Setting Numerical Values
Operating the tumble dryer To scroll through the menu, place your finger on the touch display and move it left or right. The orange scroll bar in the bottom display area shows that there are further options to choose from. To select the required drying program, touch the program name with your finger. -
Page 14: Pull-Down Menu
Operating the tumble dryer The numeric block will flash. Clock display 12:00 To enter the numerical value, touch the numbers on the right-hand side and then confirm with OK. Pull-down menu The pull-down menu can be used to display information (e.g., about a drying program). ... -
Page 15: Before Using For The First Time
Some settings can only be modified during the initial commissioning process. After that, they can only be changed by Miele Service. These settings are also described under “Supervisor level”. Switching on the tumble dryer Press the button. -
Page 16: Setting The Display Brightness
Before using for the first time A reference to optional external hardware appears. Confirm the infor- mation with the sensor button. Setting the display brightness You will be asked to select the brightness of the display. Display brightness Darker Brighter Touch the segment bar for the required level of brightness. -
Page 17: Selecting Program Packages
“Supervisor level” chapter. These settings can only be changed during the initial commissioning process. If you wish to change the settings after the commissioning process, please contact Miele Service. If you do not wish to set up a payment system, you can skip this stage. - Page 18 Before using for the first time If the power is interrupted prior to the start of the first drying pro- gram (e.g., if the machine is switched off with the button), the ini- tial commissioning process can be completed again. Once a drying program has been running for over 10 minutes, the initial commis- sioning process cannot be performed again.
-
Page 19: Drying
Drying 1. Notes on correct laundry care Washing Heavily soiled laundry must be washed particularly thoroughly. Use sufficient detergent and select a high wash temperature. If in doubt, wash the items several times. New, colored items must be washed thoroughly and separately. Do not dry these items with light-colored garments. -
Page 20: Loading The Tumble Dryer
Drying 2. Loading the tumble dryer Loading laundry Textiles may be damaged. into the tumble Before loading, read chapter “1. Notes on correct laundry care” dryer first. Open the door. Load laundry into the tumble dryer. Do not overload the drum. Overloading can cause unnecessary wear and tear to the laundry and cause a disappointing drying result. -
Page 21: Selecting Program Settings
Drying Programs 11:02 Cottons Cottons Woolens Cottons PRO Minimum iron Delicates Swipe to the left until you reach the required program. Touch the sensor button for that program. The display will change to the standard menu for that drying program. Alternatively, you can select a program from the Favorites list. - Page 22 Drying 11:02 Overview Weight Drying level Normal Cottons Drying temp. Extras 0:57 °C not selected Touch the Extras sensor button. Extras 11:02 Gentle tumble Anti-crease Touch the sensor button for the option you want. ...
-
Page 23: Starting A Program
Drying 5. Starting a program Payment system If your machine is connected to a payment system, the amount of (optional) payment required will appear in the display. Money may be lost if the drum door is opened or the program is canceled. -
Page 24: Program End
Drying The tumble dryer’s electronic adapts during the ongoing drying pro- gram. The displayed program duration becomes more and more ac- curate. When using the programs for the first time, the displayed time sometimes deviates significantly from the real time left. The differ- ence between the estimated and achieved time becomes smaller if the corresponding program is run more often. -
Page 25: Timer
Drying Timer Prerequisite for The Delay start must be activated in the Supervisor level in the Con- setting the timer trols / Display menu so that the Timer can be selected. Before the program starts, the Timer can be used to select a program start time or program end time. -
Page 26: Changing The Program Sequence
Changing the program sequence Changing a program once it has started You cannot change to another program once a program has started (this prevents uninten- tional alterations). You will need to cancel the current program before you can select a new one. -
Page 27: Cleaning And Care
Cleaning and care Cleaning the lint filter Risk of fire if the tumble dryer is operated without a lint filter. If there is no lint filter, the air channels, heating elements, and ducting can become clogged during drying and may catch fire. The lint filter must not be removed for cleaning. -
Page 28: Cleaning The Drum And The Outside Of The Casing
Keep the area around the tumble dryer – in particular the air intake – clear of lint. Additional annual cleaning Miele Technical Service or a trained specialist must check the interior of the tumble dryer and the ducting for lint deposits once per year and clean the machine if necessary. In the case of electrically-heated tumble dryers, the heater bank and the heating shaft must also be checked by Miele Technical Service Department. -
Page 29: Technical Service
Technical Service Contact in case of fault In the event of a fault which you cannot remedy yourself, please contact your Miele dealer or Miele Technical Service. Contact information for Miele Technical Service can be found at the end of this docu- ment. -
Page 30: Installation
*INSTALLATION* Installation Installation requirements The tumble dryer must only be installed and commissioned by Miele Service or an authorized dealer. The tumble dryer should be installed in accordance with all rele- vant regulations and standards. The dryer must only be operated in a room that has sufficient venti- lation and which is frost-free. - Page 31 *INSTALLATION* Installation (19 11/16") > 300 (24 13/16") (> 11 13/16") PDR 514/518/522/914/918/922 PDR 528/544/928/944 55 1/8" (1,400 mm) 64 9/16" (1,640 mm) 35 11/16" (906 mm) 47 1/2" (1,206 mm) PDR 514/914: 33 9/16" (852 mm) PDR 528/928: 40 1/16" (1,018 mm) PDR 518/918: 40 3/4" (1,035 mm) PDR 544/944: 54 1/2" (1,384 mm) PDR 522/922: 45 13/16"...
-
Page 32: Securing The Machine
*INSTALLATION* Installation Tip: Use a level to ensure correct alignment. Securing the machine The tumble dryer must be secured to the floor by installing the ten- sioning strips supplied over the machine feet. The material provided is intended for use in bolting the machine to a concrete floor. -
Page 33: Electrical Connection
If more than one voltage is specified on the data plate, the tumble dryer can be con- verted for connection to the relevant input voltage. This conversion must be performed by Miele Service or by an authorized dealer only. The wiring instructions on the wiring diagram must be followed. -
Page 34: Supply Air/Exhaust Air
If the gas family is changed, a conversion kit must be requested from Miele Service (please specify the machine type, serial number, gas family, gas group, gas connection pressure, and country of installa- tion). -
Page 35: Optional Accessories
Optional accessories Only use genuine Miele spare parts and accessories with this machine. Using parts or accessories from other manufacturers will invalidate the warranty, and Miele cannot accept liability. Connector box The optional Connector box allows external hardware from Miele and other suppliers to be connected to the Miele Professional Machine. -
Page 36: Copyrights And Licenses
The programming required for connecting a payment system must be carried out by Miele Customer Service or an authorized Miele dealer only. An external power supply is not re-... -
Page 37: Supervisor Level
Supervisor level Opening the Supervisor level 11:02 Programs Favorites Supervisor Help Touching the sensor button takes you to the Supervisor level. Access via code The supervisor level is accessed using a code. Factory default: The code is 000. Change code You can alter the supervisor-level access code to protect the tumble dryer from unautho- rized access. -
Page 38: Set Languages
Supervisor level International 6 languages are available. The sensor button is not active. Note the setting Set lan- guages Language setting The sensor button can be used to select a language. All languages are available (fac- tory default). You can change the order of the first 4 languages. These slots are allocated to the most commonly used languages. -
Page 39: Volume
Supervisor level The date is set. Volume The volume for various sounds can be changed. The volume can be changed for the following tones: Finish tone The finish tone signals the end of the drying program. Keypad tone Welcome tone Fault alarm The fault tone signals a fault and can be switched off. -
Page 40: Machine Off Status
Supervisor level On after 10 min. - Factory default: The display is switched off after 10 minutes. On (30 min.) Not curr.prog. The display will remain on while the program is running but will go out 30 minutes after the end of the program. Logo (30 min.) Not curr.prog. -
Page 41: Change Code
Supervisor level Change code You can alter the access code to the supervisor level. Enter the current code. Enter a new code. Program selection Controls You can select whether the tumble dryer is operated as a “laundromat” machine. Short- cuts are the easiest way to operate the machine. -
Page 42: Program Packages
Supervisor level * The maximum program duration is specified during initial commissioning. Laundromat Logo int. time 4 timed-drying programs* with different temperature levels are time-controlled via the tumble dryer’s electronic. The set value indicates the maximum program duration and can be modified by the user. * The maximum program duration is specified during initial commissioning. -
Page 43: Sort Programs
Supervisor level You can now enter the parameters for a Res. moisture program or Timed drying. The 5 special programs are pre-programmed at the factory. You can change these special programs. The special programs are added to the program packages. Enter the name and settings of your special program into the “Special programs”... -
Page 44: Program Color Allocation
Supervisor level Moving programs/favorites You can move/change the order of the programs (program menu – single option list). You can also move and change the order of the favorites that you edit in the Supervisor level under Favorite programs. Touch the program that you wish to move. ... -
Page 45: Service
Supervisor level Changing this setting leads to increased energy consumption. The setting can be changed from 104-131°F (40°C–55°C). Factory default: 131°F (55°C) Service Clean out the airways The tumble dryer's electronic calculates the degree at which lint or detergent residue in the lint filters and air ducts are impairing performance. - Page 46 Supervisor level - By time You can then select a time interval from 1–9999 hours. - By date You can enter a date. Message text Enter your message for your planned maintenance work. You can edit one, two, or all three of the 1/2/3 messages.
-
Page 47: External Applications
Supervisor level External applications External exhaust flap External hardware is connected via the Miele XCI Box. The time delay between the external exhaust-air flap's activation point and the switch-on time for the drum/fan motor is regulated. A message appears in the display while the exhaust-air flap is open. -
Page 48: Peak Load Prevention
An XKM module or RS232 module is inserted into the module slot. Availability of Miele digital products The ability of Miele digital products depends on the availability of the services in your country. The different services are not available in all countries. -
Page 49: Remote
WiFi network. Miele’s RemoteUpdate function can only be used if the tumble dryer is connected to a WiFi network and you have an account in the Miele Professional app. The tumble dryer must be registered in the app. -
Page 50: Machine Parameters
You can view information here. Copyrights and licenses For the purpose of operating and controlling the machine, Miele uses proprietary or third- party software that is not covered by open-source licensing terms. This software/these software components are protected by copyright. The copyright powers of Miele and third parties have to be respected. -
Page 51: Technical Data
Technical data PDR 914 PDR 918 PDR 922 PDR 928 PDR 944 Height 55 1/8" 55 1/8" 55 1/8" 64 9/16" 64 9/16" (1,400 mm) (1,400 mm) (1,400 mm) (1,640 mm) (1,640 mm) Width 35 11/16" 35 11/16" 35 11/16" 47 1/2" 47 1/2" (906 mm) (906 mm) (906 mm) (1,206 mm) (1,206 mm) Depth 33 9/16"... - Page 52 Miele Professional Technical proservice@mieleusa.com Service | Service Technique Phone | Tél. : 1-888-325-3957 serviceprofessional@miele.ca Manufacturer | Fabricant : Miele & Cie. KG Carl-Miele-Straße 29, 33332 Gütersloh, Germany | Allemagne Alteration rights reserved / Publication date: 11.22 M.-Nr. 11 786 010 / 01...