Table of Contents
Advertisement
Quick Links
Advertisement
Table of Contents

Related Manuals for Bosch HGJ9A8Q50I


Summary of Contents for Bosch HGJ9A8Q50I
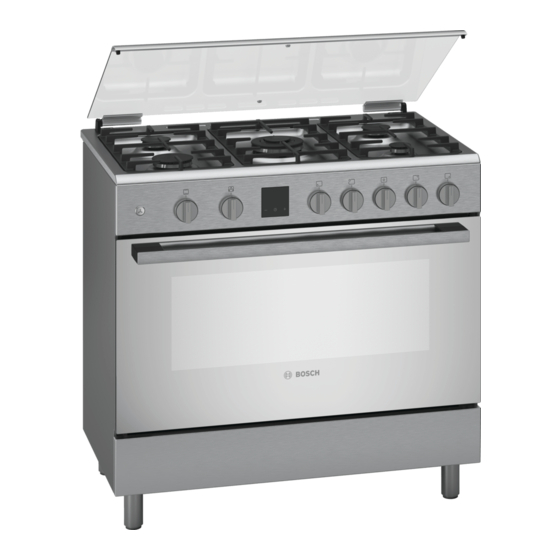
- Page 1 Free standing cooker HGJ9A8Q50I [en] Instruction manual...
-
Page 3: Table Of Contents
Storage compartment ......7 replacement parts and services can be found at www.bosch-home.com and in the online shop Installation and connection....8 www.bosch-eshop.com... -
Page 4: Intended Use
Intended use Warning – WHAT TO DO IF YOU SMELL 8Intended use GAS! Escaping gas may cause an explosion. R ead these instructions carefully. Only then If you smell gas or notice any faults in the I n t e n d e d u s e will you be able to operate your appliance gas installation: safely and correctly. -
Page 5: Important Safety Information
Important safety information Never place flammable objects on the (Important safety ■ burners or store them in the cooking information compartment. Never open the appliance door if there is smoke inside. Switch off the appliance. Pull out the mains plug or switch Warning –... - Page 6 Important safety information The hinges on the appliance door move Risk of injury! Warning – Risk of scalding! ■ when opening and closing the door, and The accessible parts become hot during ■ you may be trapped. Keep your hands away operation.
-
Page 7: Causes Of Damage
Causes of damage Very dirty door seal: If the door seal is very dirty, the ]Causes of damage ■ appliance door will no longer close properly when the appliance is in use. The fronts of adjacent units could be damaged.Always keep the door seal clean. H ob C a u s e s o f d a m a g e Appliance door as a seat, shelf or worktop: Do not... -
Page 8: Installation And Connection
Installation and connection Positioning and levelling 5Installation and connection Positioning the appliance M easures to be noted during transport When installing the appliance, make sure that there is I n s t a l l a t i o n a n d c o n n e c t i o n enough space in the final installation location to pull the Secure all mobile parts in and on the appliance using appliance forwards for cleaning and maintenance work. -
Page 9: Gas Connection
Installation and connection Gas connection Moving the appliance by the gas line or door handle Do not move the appliance while holding the gas line; Installation must only be performed by an approved the gas pipe could be damaged. There is a risk of a gas expert or a licensed after-sales service engineer in leak! Do not move the appliance while holding it by the accordance with the instructions specified under "Gas... -
Page 10: Environmental Protection
Environmental protection Notes *Getting to know your The mains plug fits the socket. ■ The cable cross section is adequate. appliance ■ The earthing system is properly installed. ■ The mains cable is only replaced by a qualified ■ electrician (if this is necessary).Spare mains cables I n this chapter, we will explain the indicators and G e t t i n g t o k n o w y o u r a p p l i a n c e can be ordered from our after-sales service. -
Page 11: The Control Panel
Getting to know your appliance The control panel The hob Description Fan button Warning – Risk of burns! Hot air flows out from the ventilation opening on the Control knob for the oven hob. Never touch the ventilation opening. Control knob for the oven light and rotisserie spit Please note that, in the case of appliances with a hob Electronic clock cover, the burners in the oven must also only be... -
Page 12: Oven
Getting to know your appliance Oven Precautions for use The following advice is intended to help you save energy and prevent pan damage: Use pans which are the right size for each burner. Do not use small pans on large burners. The flame must not touch the sides of the pan. -
Page 13: The Cooking Compartment
Accessories The cooking compartment _Accessories The oven light is located in the cooking compartment. Y our appliance is accompanied by a range of Steam outlet A c c e s s o r i e s accessories. Here, you can find an overview of the The hot air from the cooking compartment escapes at accessories included and information on how to use the rear of the hob. -
Page 14: Before Using For The First Time
Before using for the first time KBefore using for the first 1Operating the appliance time Y ou have already learnt about the controls and how O p e r a t i n g t h e a p p l i a n c e they work. -
Page 15: Oven
Operating the appliance Oven Operating the grill The appliance door must be closed during grilling. Operating the oven When using the grill, a cooking time of Note: Note that, in the case of appliances with a hob cover, 60 minutes must not be exceeded. the burners in the oven must only be switched on if the hob cover is open. - Page 16 Operating the appliance Inserting the rotisserie spit Removing the rotisserie spit Warning – Risk of burns! Warning – Risk of burns! Never touch the hot surfaces of the cooking Never touch the hot surfaces of the cooking compartment or the heating elements. Children must be compartment or the heating elements.
-
Page 17: Time-Setting Options
Time-setting options OTime-setting options DCleaning W ith good care and cleaning, your appliance will retain S etting the clock T i m e - s e t t i n g o p t i o n s C l e a n i n g its appearance and remain fully functioning for a long Once the appliance has been connected to the mains time to come. - Page 18 Cleaning Zone Cleaning agent Zone Cleaning agent Control panel Hot soapy water: Glass hob* Care: Protective/care products for glass Clean with a dish cloth and dry with a soft Cleaning: Cleaning agents for glass. (depending on appli- cloth. Do not use glass cleaner or glass scrap- Follow the cleaning instructions on the packag- ance model) ers for cleaning.
-
Page 19: Detaching And Refitting The Rails
Cleaning Detaching and refitting the rails Zone Cleaning agent Accessories Hot soapy water: The rails can be removed for cleaning. The oven must Soak and then clean with a dish cloth or a have cooled down. brush. Unhooking the rails Aluminium baking tray*: (depending on appliance model) Hold the bottom of the rail and pull it towards you a... -
Page 20: Appliance Door
Appliance door Attaching the door qAppliance door Reattach the oven door in the reverse sequence to removal. W ith good care and cleaning, your appliance will retain A p p l i a n c e d o o r When attaching the oven door, ensure that both its appearance and remain fully functional for a long hinges are inserted straight into the opening... -
Page 21: Trouble Shooting
Trouble shooting 3Trouble shooting Warning – Risk of injury! Incorrect repairs may cause serious hazards. Repairs to the appliance must only be carried out by a qualified F aults often have simple explanations. Refer to the technician. If repairs are required, contact the after- T r o u b l e s h o o t i n g table before calling the after-sales service, as you may sales service. -
Page 22: Customer Service
Customer service 4Customer service O ur after-sales service is there for you if your appliance C u s t o m e r s e r v i c e needs to be repaired. We will always find an appropriate solution, also in order to avoid after-sales personnel having to make unnecessary visits. - Page 24 Robert Bosch Hausgeräte GmbH Carl-Wery-Straße 34 81739 München, GERMANY www.bosch-home.com *9001346231* 9001346231 07099701...