
Related Manuals for Cuisinart TOB-135N


Summary of Contents for Cuisinart TOB-135N
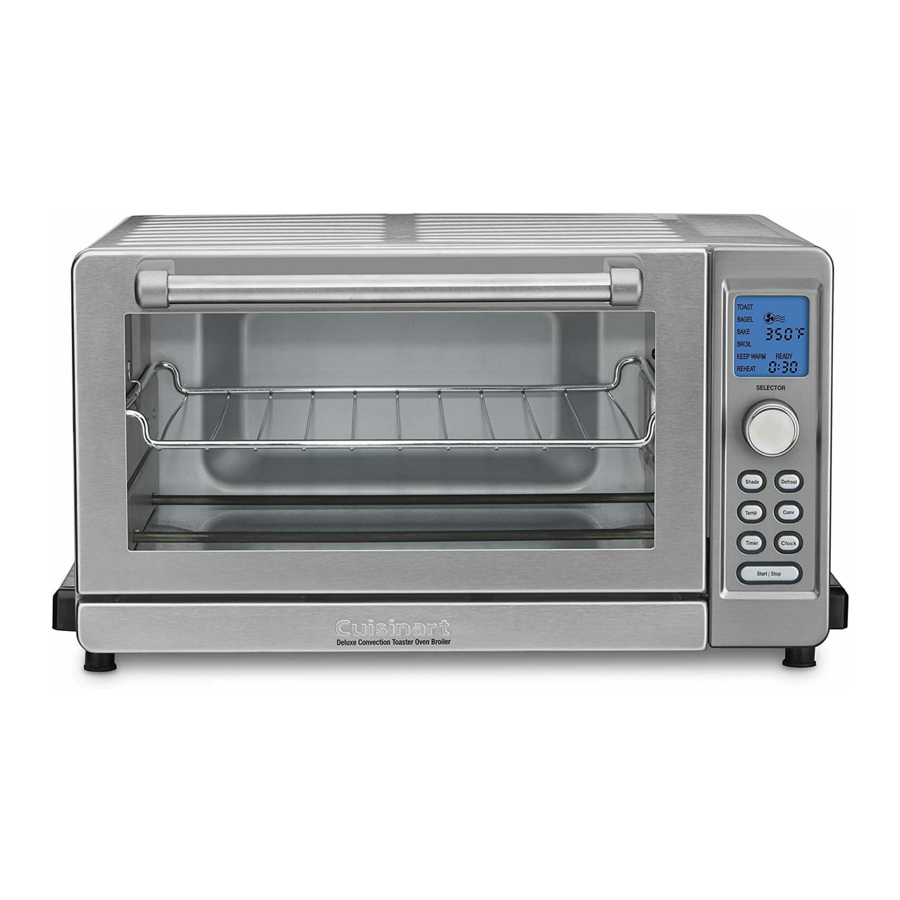
- Page 1 INSTRUCTION AND RECIPE BOOKLET INSTRUCTION AND RECIPE BOOKLET Deluxe Convection Toaster Oven Broilers TOB-135N...
-
Page 2: Important Safeguards
To 7. The use of accessory attachments not recommended by Cuisinart disconnect, press the START/STOP button to cancel the cooking cycle, may cause injury. -
Page 3: Table Of Contents
TABLE OF CONTENTS NOTICE This appliance has a polarized plug (one blade is wider than the other). As Important Safeguards......... . . 2 a safety feature, this plug will fit in a polarized outlet only one way. -
Page 4: Features And Benefits
FEATURES AND BENEFITS 9. Clock Button Use to set the displayed time of day. 1. Blue Backlit LCD Digital Display 10. Oven Rack Shows selected function, shade setting, temperature, and cooking time. Has 3 positions: The Upper position has a 50% stop feature so the rack Includes PREHEATING and READY readouts. -
Page 5: Oven Rack Position Guide
BEFORE THE FIRST USE 15. Cord Storage (not shown) Takes up excess cord and keeps countertop neat. Place your oven on a flat surface. Remove any packaging and promotional 16. BPA-free (not shown) labels in or on the oven. Unwind the power cord. Check that the crumb tray All materials that come in contact with food are BPA free. -
Page 6: Operation
Keep Warm: Maintains the oven at a low temperature using only the facing up. Make sure the oven rack is in the Upper rack position, as indicated bottom heating elements to keep foods warm without drying out. in the diagram on page 5. If toasting two bagel halves, center them in the middle of the rack. -
Page 7: Bake
BROIL When toasting raisin or other fruit breads and muffins, remove any loose fruit, etc. from the surface of the bread before placing into the oven. This Turn Selector dial to Broil. The Timer button will begin flashing. will help prevent pieces from falling and baking onto the crumb tray. Temperature To prevent overtoasting of a single slice, set browning control to a lighter The preset broil temperature is fixed at 500°F, so the Temperature button... -
Page 8: Reheat
REHEAT and the heating elements will turn off. You may stop and turn off the heating elements at any time by pushing the Start/Stop button. Reheat function is programmed to reheat food that has already been cooked. To begin, turn Selector dial to Reheat. The Timer and Temperature buttons will DEFROST BUTTON begin flashing. -
Page 9: Cleaning And Maintenance
(A) to the store where etc. on interior of oven. it was purchased or (B) to another retail store that sells Cuisinart products 4. To remove crumbs, slide out the crumb tray and discard crumbs. - Page 10 Please pay by check or money order. NOTE: For added protection and secure handling of any Cuisinart product that is being returned, we recommend you use a traceable, insured delivery service.
- Page 11 NOTES...
- Page 12 ©2016 Cuisinart 150 Milford Road East Windsor, NJ 08520 Printed in China 16CE019691 Any other trademarks or service marks of third parties used herein are the trademarks or service marks of their respective owners. IB-14259-ESP...
- Page 13 INSTRUCCIONES Y LIBRO DE RECETAS UCCIONES Y LIBRO DE RECETAS TOB-135N Horno de convección tostador/asador de lujo...
-
Page 14: Medidas De Seguridad Importantes
Presione el botón START/STOP antes de desconectar el 7. El uso de accesorios no recomendados por Cuisinart puede provocar aparato. heridas. - Page 15 AVISO ÍNDICE El cable de este aparato está dotado de una clavija polarizada (una pata es Medidas de seguridad importantes ....... . 2 más ancha que otra).
-
Page 16: Piezas Y Características
PIEZAS Y CARACTERÍSTICAS 9. Botón CLOCK (reloj) Permite fijar la hora. 1. Pantalla digital con retroiluminación azul 10. Rejilla del horno Muestra la función, el grado de tostado, la temperatura y el tiempo La rejilla puede posicionarse de 3 maneras. En la posición superior, se de cocción programados. -
Page 17: Posiciones De La Rejilla
15. Espacio para guardar el cable (no ilustrado) ANTES DEL PRIMER USO Mantiene la encimera ordenada. Coloque el horno sobre una superficie plana. Quite el material de 16. Sin BPA (no ilustrado) embalaje del horno y las etiquetas promocionales pegadas en su Ninguna de las piezas en contacto con los alimentos contiene bisfenol cuerpo. -
Page 18: Funcionamiento
las paredes del horno. Elija el grado de tostado Nunca cubra la bandeja recogemigas con papel de aluminio. Presione el botón SHADE y gire el SELECTOR para elegir el grado de tostado deseado, desde claro (1 punto) hasta oscuro (7 puntos). Función CONV (convección): Para activar el modo de convección con las funciones BAKE (horneado) y BROIL (asado/gratinado), simplemente Empiece a tostar... -
Page 19: Función Bake (Hornear)
IMPORTANTE Función BAKE (hornear) Ponga el SELECTOR en BAKE. Los botones TIMER y TEMP empezarán a Nivel deseado Ajuste parpadear. Claro 1 ó 2 Programe la temperatura Medio 3, 4 ó 5 La temperatura por defecto de la función BAKE es 350 °F (180 °C). Para cambiar la temperatura, presione el botón TEMP;... -
Page 20: Función Keep Warm (Mantener Caliente)
Función KEEP WARM (mantener caliente) horno. El temporizador se pondrá en marcha. Cuando el tiempo llegue a cero, el horno emitirá un pitido y se apagará. Puede apagar el horno en cualquier La función KEEP WARM (mantener caliente) ha sido diseñada para la momento, presionando el botón START/STOP. -
Page 21: Cómo Fijar La Hora
Garantía limitada de tres años Esta garantía es para los consumidores que residen en los EE.UU. solamente. Usted es un consumidor si ha comprado su aparato Cuisinart ® en una tienda, para uso personal o casero. A excepción de los estados donde la ley lo... - Page 22 Cuisinart no será responsable por los daños www.cuisinart.com a fin de facilitar la verificación de la fecha de compra ocurridos durante el transporte o por los paquetes mandados a una dirección original.
- Page 23 NOTAS:...
- Page 24 ©2014 Cuisinart 150 Milford Road East Windsor, NJ 08520 Impreso en China 14CE005386 Todas marcas registradas o marcas de comercio mencionadas en ésta G IB-12057-ESP pertenecen a sus titulares respectivos.