Advertisement
Quick Links
Thank you for purchasing this Panasonic product.
■ Please read these operating instructions and the projector operating
instructions carefully, and then use this product correctly.
■ Before using this product, be sure to read "Read this first!" ( x page 3).
■ Please save this manual for future use.
Operating Instructions
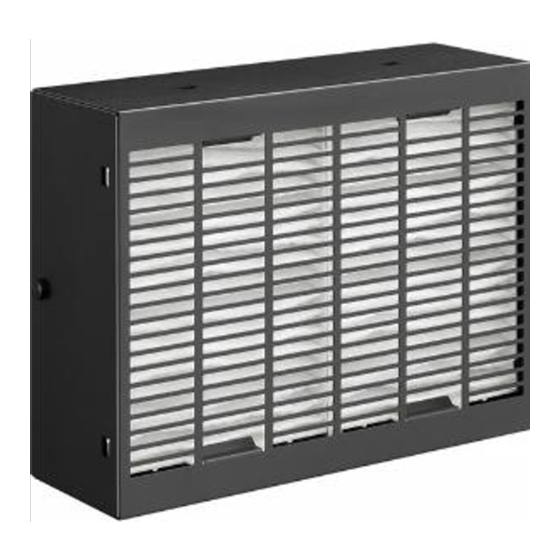
Long Life Filter Unit
Model No.
Commercial Use
ET-EMFU330
ENGLISH
FRANÇAIS
日本語
ENGLISH
DPQX1154ZB
Advertisement

Related Manuals for Panasonic ET-EMFU330


Summary of Contents for Panasonic ET-EMFU330
- Page 1 ENGLISH FRANÇAIS 日本語 Thank you for purchasing this Panasonic product. ■ Please read these operating instructions and the projector operating instructions carefully, and then use this product correctly. ■ Before using this product, be sure to read “Read this first!” ( x page 3).
-
Page 2: Table Of Contents
Contents Contents Read this first! Structure of the Long Life Filter Unit Attaching the Long Life Filter Unit Removing the air filter unit Attaching the long life filter mount clasp Attaching the air filter unit Attaching the long life filter cover Setting the filter 2 - ENGLISH... -
Page 3: Read This First
Read this first! Read this first! WARNING: Do not place the accessories in a location that a child can reach. Accidentally swallowing them can cause a physical harm. f Seek a medical advice immediately if a child might have swallowed an accessory. -
Page 4: Structure Of The Long Life Filter Unit
Structure of the Long Life Filter Unit Structure of the Long Life Filter Unit The Long Life Filter Unit is preassembled at the time of purchase. It is necessary to disassemble the Long Life Filter Unit while referring to the procedure in “Attaching the long life filter cover”... -
Page 5: Attaching The Long Life Filter Unit
Attaching the Long Life Filter Unit Attaching the Long Life Filter Unit The Long Life Filter Unit (Model No.: ET‑EMFU330) uses two of the same standard air filter unit attached to the projector. The interval to perform maintenance/replacement of filters is extended roughly two times by attaching the Long Life Filter Unit instead of the standard air filter unit attached to the projector. -
Page 6: Removing The Air Filter Unit
Attaching the Long Life Filter Unit Removing the air filter unit First, remove the standard air filter unit attached to the projector. Air filter cover fixing screw Air filter cover Fig. 1 Fig. 2 Fig. 3 Grip on the air filter unit (a) Air filter unit compartment and Tabs on the the projector’s air intake port... - Page 7 Attaching the Long Life Filter Unit Remove the drop-prevention string. f Remove the hook at the tip of the drop-prevention string attached to the air filter cover. (Fig. 3) Pull out the air filter unit. i) Pull out the air filter unit from the tabs on the projector body (c) while slightly pressing the grip on the air filter unit (a) inward as described with the arrow.
-
Page 8: Attaching The Long Life Filter Mount Clasp
Attaching the Long Life Filter Unit Attaching the long life filter mount clasp Remove the long life filter mount clasp from the preassembled Long Life Filter Unit while referring to the procedure in “Attaching the long life filter cover” (x page 10). Attach the long life filter mount clasp in the area the standard air filter unit attached to the projector was removed. -
Page 9: Attaching The Air Filter Unit
Attaching the Long Life Filter Unit Attaching the air filter unit Cross section Air filter unit Guide on the long life filter cover (e) Long life filter cover Grip on the air filter unit (a) Air filter unit Fig. 1 Grip on the air filter unit (b) Guide on the long life filter cover (f) Fig. -
Page 10: Attaching The Long Life Filter Cover
Attaching the Long Life Filter Unit Attaching the long life filter cover Attach the long life filter cover with the air filters to the long life filter mount clasp on the projector body. Long life filter cover fixing screws Fig. 1 Fig. - Page 11 Attaching the Long Life Filter Unit Press the <ENTER> button. f The [FILTER SETTING] screen is displayed. Press as to select [FILTER TYPE]. Press qw to select [LONG LIFE]. Press as to select [FILTER COUNTER RESET], and press the <ENTER> button. 10) When the confirmation screen is displayed, press qw to select [OK], and press the <ENTER>...
- Page 12 Panasonic Corporation Web Site : https://panasonic.net/cns/projector/ © Panasonic Corporation 2016 SS1216NK1048 ‑PJ Printed in Japan...