Pioneer AVIC-F500BT Hardware User Manual
Advanced multimedia navigation system
Hide thumbs
Also See for AVIC-F500BT:
- Operation manual (20 pages) ,
- Connection diagram (8 pages) ,
- Quick start (3 pages)
Table of Contents
Advertisement
Quick Links
Advertisement
Table of Contents
Troubleshooting

Related Manuals for Pioneer AVIC-F500BT


Summary of Contents for Pioneer AVIC-F500BT
- Page 1 AVIC-F500BT ADVANCED MULTIMEDIA NAVIGATION SYSTEM Hardware User Manual...
- Page 2 Trademarks The Bluetooth word mark and logo are owned by the Bluetooth SIG, Inc. All other brand and product names are trademarks or registered trademarks of their respective companies.
- Page 3 Note The information in this document is subject to change without notice.
- Page 5 Table of Contents Notice ....................ii Getting Started ................3 1.1 Understanding Hardware Features ........... 3 Front Components ................3 Back Components ................4 Right-Side Components ..............5 Left-Side Components ............... 5 1.2 Installing the Battery ................6 1.3 Connecting to AC Power and Charging the Battery ......7 1.4 Using Your Device in a Vehicle ............
- Page 6 Notice Before using this product, read “Important Information for the User” (a separate manual) which contains warnings, cautions, and other important information that you have to follow. This manual provides only the hardware information. For information on the GPS navigation software and other software operations, see the “Software Operation Manual.”...
-
Page 7: Getting Started
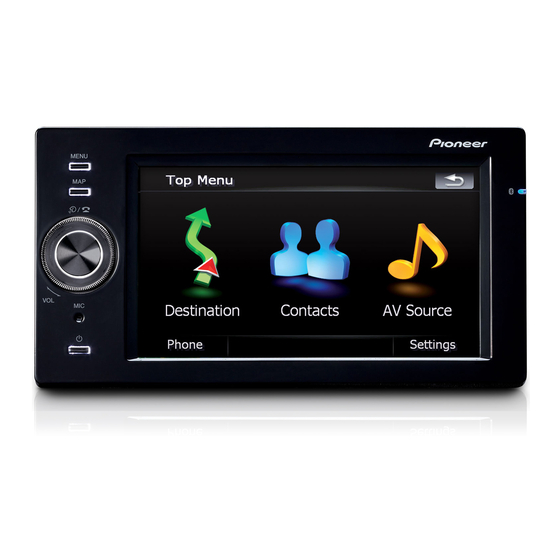
Getting Started 1.1 Understanding Hardware Features Front Components Component Description Menu Button Press to open the Main Menu. Map Button Press to open the Map Menu. Scroll Wheel Rotate to adjust the volume. Control Button Map zoom in and zoom out by pressing up and down. Audio track up and down by pressing left and right. -
Page 8: Back Components
GPS antenna which may be positioned on top of connector the vehicle for better signal reception in areas with poor reception. (Contact Pioneer Support Center for recommendations on available third party products.) Speaker For voice prompts, system operation tones, and hands free telephone calls. -
Page 9: Right-Side Components
Right-Side Components Component Description SD slot Accepts an SD (Secure Digital) card for data and future software updates. Left-Side Components Component Description Headphone Connects to stereo headphones. Connector Microphone Connects to an external microphone (under rubber dust Connector cover). Power Connects to the AC adapter. -
Page 10: Installing The Battery
Component Description Mini-USB Connects to the mini-USB cable for iPod or the convertible Connector cable for USB device (under rubber dust cover). AV IN Connects to AV jack for iPod or an external video source Connector (under rubber dust cover). 1.2 Installing the Battery 1. -
Page 11: Connecting To Ac Power And Charging The Battery
1.3 Connecting to AC Power and Charging the Battery Please fully charge your device before using it the first time. 1. Connect the AC adapter to the power connector on your device ( ). 2. Connect one end of the power cable to the AC adapter ( ) and the other end to a wall outlet ( ). -
Page 12: Using Your Device In A Vehicle
Using Your Device in a Vehicle Connections TMC Antenna (optional) -
Page 13: Using The Device Cradle
Using the Device Cradle NOTE: Depending upon the specific model available in your country/region, the device cradle supplied with your device may not look exactly the same as the picture shown. If the windshield of your vehicle is tinted with a reflective coating, an external antenna (optional) may be needed to route the antenna to the top of the car through a window. -
Page 14: Connecting The Car Charger
1. Connect one end of the car charger directly to the power connector on your device. If you are using the ND-G500 (supplied with AVIC-F500BT), you need to connect to the black cradle cable. (See the “Connections” section for details.) 2. -
Page 15: Turning Your Device On And Off
1.5 Turning Your Device On and Off Press and hold the power button for at least 2 seconds to turn on and off your device. When you press the power button to turn off the unit, your device actually enters into a suspend state and the system stops operating. - Page 16 1.7 Using a SD Card NOTE: Please ensure that no foreign objects enter the card slot. Your device features a SD slot where you can insert an optional storage card. To use a storage card, insert it into the card slot, with the connector pointing to the slot and its label facing the front of the device.
-
Page 17: Troubleshooting And Maintenance
This chapter gives you solutions to some problems you may encounter. It also provides guidelines on how to care for your device. NOTE: If you encounter a problem you cannot solve, contact Pioneer Customer Service for assistance. 2.1 Resetting Your System Occasionally, you may need to reset your device. -
Page 18: Hard Reset
Hard Reset If your device still does not respond after a soft reset, you can use the following steps to perform a “hard reset.” 1. Disconnect all the cables, including the AC adapter, from your device. 2. Slide the battery lock to the unlock ( ) position and remove the battery cover. -
Page 19: Troubleshooting
2.2 Troubleshooting Power Problems Power does not turn on when using battery power The remaining battery power may be too low to run your device. Connect the AC adapter to your device and then to AC power. Then, turn on your device. - Page 20 Bad weather Dense overhead obstacles (e.g. trees and tall buildings) Other wireless device in the vehicle Reflective window tint and heated screens...
-
Page 21: Maintaining Your Device
2.3 Maintaining Your Device Taking good care of your device will ensure trouble-free operation and reduce the risk of damage to your device. Keep your device away from excessive moisture and extreme temperatures. Avoid exposing your device to direct sunlight or strong ultraviolet light for extended periods of time. - Page 22 Federal Communication Commission Interference Statement This equipment has been tested and found to comply with the limits for a Class B digital device, pursuant to Part 15 of the FCC Rules. These limits are designed to provide reasonable protection against harmful interference in a residential installation.
- Page 23 Industry Canada statement: This device complies with RSS-210 of the Industry Canada Rules. Operation is subject to the following two conditions: (1) This device may not cause harmful interference, and (2) this device must accept any interference received, including interference that may cause undesired operation.