Table of Contents
Advertisement
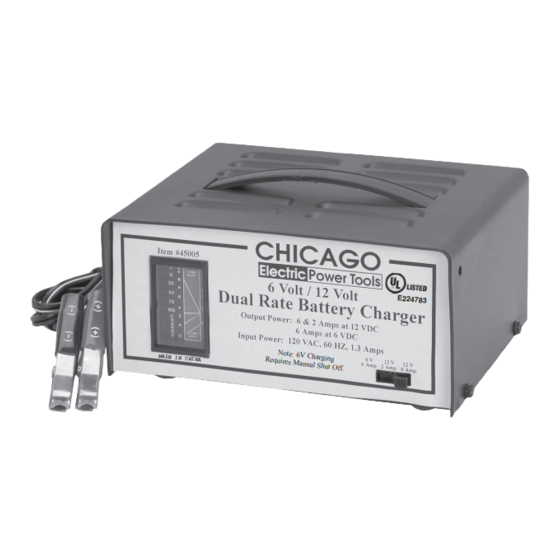
6 / 2 AMP
6 / 2 AMP
6 / 2 AMP , DUAL RA
6 / 2 AMP
6 / 2 AMP
Due to continuing improvements, actual product may differ slightly from the product described herein.
Visit our Web site at http://www.harborfreight.com
TO PREVENT SERIOUS INJURY, READ AND UNDERSTAND
ALL WARNINGS AND INSTRUCTIONS BEFORE USE.
©
Copyright
this manual or any artwork contained herein may be reproduced in any shape or
form without the express written consent of Harbor Freight Tools.
For technical questions and replacement parts, please call 1-800-444-3353.
BA
BA
TTER
TTER
BA TTER
TTER Y CHARGER
BA
BA
TTER
OPERATING INSTRUCTIONS
3491 Mission Oaks Blvd., Camarillo, CA 93011
2005, 2006 by Harbor Freight Tools
, DUAL RA
, DUAL RA
, DUAL RA TE
, DUAL RA
Y CHARGER
Y CHARGER
Y CHARGER
Y CHARGER
45005
®
. All rights reserved. No portion of
TE TE
TE TE
E224783
®
Advertisement
Table of Contents

Summary of Contents for Chicago Electric 45005
- Page 1 2005, 2006 by Harbor Freight Tools this manual or any artwork contained herein may be reproduced in any shape or form without the express written consent of Harbor Freight Tools. For technical questions and replacement parts, please call 1-800-444-3353. , DUAL RA...
-
Page 2: Specifications
Keep bystanders, children, and visitors away while operating equipment. Distractions can cause you to lose control. Grounded equipment must be plugged into an outlet properly installed and grounded in accordance with all codes and ordinances. Never remove SKU 45005 For technical questions, please call 1-800-444-3353. Specifications &... -
Page 3: Personal Safety
EQUIPMENT USE AND CARE 13. Do not force the equipment. Use the correct equipment for your application. The correct equipment will do the job better and safer at the rate SKU 45005 For technical questions, please call 1-800-444-3353. PERSONAL SAFETY... - Page 4 Dry-cell batteries may explode causing personal injury or property damage. Do not use the Battery Charger as a low voltage system power supply except in automotive applications. Do not try to start the automobile engine when the Battery Charger is connected to the battery.
- Page 5 Do not attempt to charge a battery with frozen battery fluid. Be careful not to drip any battery fluids in or around the Battery Charger. Damage to the charger can occur. Never touch the Battery Charger cable clamps together when the charger is plugged in;...
-
Page 6: Grounding
Tools marked “Double Insulated” do not require grounding. They have a special double insulation system which satisfies OSHA requirements and complies with the applicable standards of Underwriters Laboratories, Inc., the Canadian Standard Association, and the National Electrical Code. (See Figure B.) SKU 45005 For technical questions, please call 1-800-444-3353. GROUNDING WARNING! -
Page 7: Extension Cords
Always replace a damaged extension cord or have it repaired by a qualified electrician before using it. Protect your extension cords from sharp objects, excessive heat, and damp or wet areas. SKU 45005 For technical questions, please call 1-800-444-3353. EXTENSION CORDS Page 7... -
Page 8: Operation
When unpacking, make sure that the Battery Charger is intact and undamaged. If any parts are missing or broken, please call Harbor Freight Tools at the number on the cover of this manual. Place the Battery Charger about six feet from the battery being charged. - Page 9 With the Battery Clamps in place, and the Mode Switch correctly set, plug the 3-prong line cord into a grounded electrical outlet or extension cord. The Battery Charger is now supplying charging current to the battery. View the Ammeter to see the amount of charging current.
-
Page 10: Troubleshooting
When the battery is fully charged, the Battery charger will automatically shut off. Note: When set in 6 volt mode, the Battery Charger will not automatically shut off; it must be manually turned off. Remove the negative (black) Cable Clamp from the battery.


