Advertisement
Quick Links
Download this manual
See also:
User Manual
Firmware Update Instruction Manual
This manual explains the procedures for downloading the GX200 firmware from the Ricoh
website and updating the camera's firmware.
Perform the following operations to update the firmware.
1. Check the firmware version
Caution
Before updating, be sure to check the firmware version through the following method. If the installed firmware is the latest
version, there is no need to update.
1.
Making sure that the camera's power is
turned off, switch the mode dial to SCENE.
2.
While pressing the N (Macro) button, hold
down the 6 (Playback) button for 2-3
seconds.
• The firmware version will be displayed on the
picture display for about 20 seconds.
3.
Check the firmware version displayed on
the picture display.
• e.g. When the firmware version is V1.00, the
version will be shown as [MAIN : V 1.00] as follows:
MAIN : V 1.00
BKUP : V X.XX
MONI : V X.XX
ADJD : V X.XX
EXTD : V X.XX
CPU1 : V X.XX
SH : XXXXXX
ST : XXXXXX
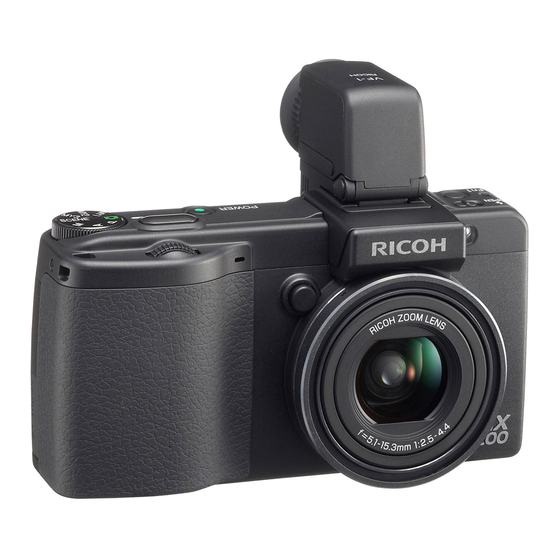
6 (Playback) Button Mode dial
1
N (Macro) Button
Advertisement

Related Manuals for Ricoh GX200


Summary of Contents for Ricoh GX200
- Page 1 Firmware Update Instruction Manual This manual explains the procedures for downloading the GX200 firmware from the Ricoh website and updating the camera’s firmware. Perform the following operations to update the firmware. 1. Check the firmware version Caution Before updating, be sure to check the firmware version through the following method. If the installed firmware is the latest version, there is no need to update.
- Page 2 If RICOH Gate La is active, right-click on the RICOH Gate La icon in the task bar, and click [Exit]. • If the RICOH Gate La icon is not displayed in the task bar, you do not need to perform Step 2. Load a battery with adequate remaining power into the camera.
- Page 3 • The camera turns on automatically. If the camera does not turn on automatically, press the POWER button and turn the power on. • If Caplio Software is installed in your Windows PC, RICOH Gate La may automatically start up. In this case, exit RICOH Gate La.
-
Page 4: For Macintosh
For Windows When the copying of the firmware is completed, double-click the [Safely Remove Hardware] icon in the task bar. For Macintosh Drag and drop the [RICOHDCX] icon to the [Trash] icon. Once the icon has disappeared, proceed to Step 14. Caution If you skip the procedures in Step 10, the firmware copy may not be successful. -
Page 5: Update The Firmware
4. Update the firmware Making sure that the camera’s power is 6 (Playback) Button Mode dial turned off, switch the mode dial to SCENE. While pressing the ! button, hold down the 6 (Playback) button for 2-3 seconds. • A confirmation message for the firmware update is ! Button displayed on the picture display.