Table of Contents
Advertisement
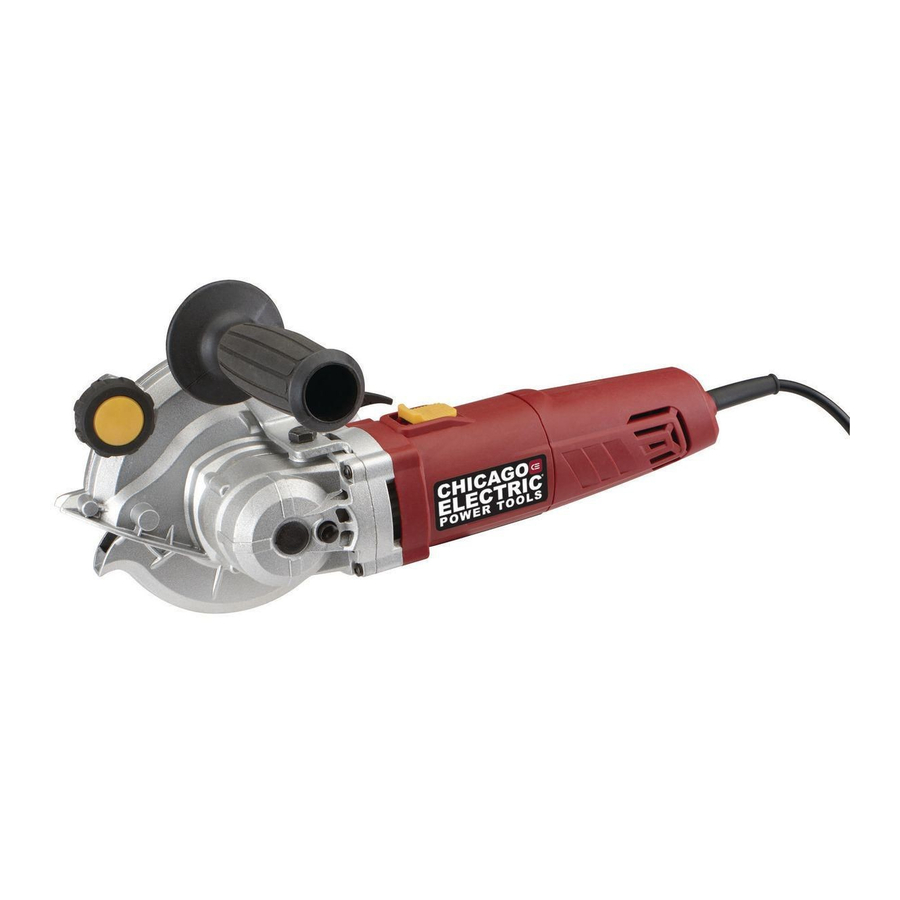
Owner's Manual & Safety Instructions
Save This Manual
inspection, maintenance and cleaning procedures. Write the product's serial number in the back of the manual
near the assembly diagram (or month and year of purchase if product has no number). Keep this manual and
the receipt in a safe and dry place for future reference.
REV 12b
When unpacking, make sure that the product is intact
and undamaged. If any parts are missing or broken,
please call 1-800-444-3353 as soon as possible.
©
Copyright
2010 by Harbor Freight Tools
No portion of this manual or any artwork contained herein may be reproduced in
any shape or form without the express written consent of Harbor Freight Tools.
Diagrams within this manual may not be drawn proportionally. Due to continuing
improvements, actual product may differ slightly from the product described herein.
Tools required for assembly and service may not be included.
Keep this manual for the safety warnings and precautions, assembly, operating,
Visit our website at: http://www.harborfreight.com
Email our technical support at: tech@harborfreight.com
®
. All rights reserved.
Read this material before using this product.
Failure to do so can result in serious injury.
SAVE THIS MANUAL.
ITEM 68316
Advertisement
Table of Contents

Related Manuals for Chicago Electric Double Cut Saw 68316


Summary of Contents for Chicago Electric Double Cut Saw 68316
- Page 1 Owner’s Manual & Safety Instructions Save This Manual Keep this manual for the safety warnings and precautions, assembly, operating, inspection, maintenance and cleaning procedures. Write the product’s serial number in the back of the manual near the assembly diagram (or month and year of purchase if product has no number). Keep this manual and the receipt in a safe and dry place for future reference.
-
Page 2: Table Of Contents
Table of Contents Safety ............2 Maintenance ..........16 Specifications ..........8 Parts List and Diagram ......18 Setup ............8 Warranty ............ 20 Operation ........... 10 WARNING SYMBOLS AND DEFINITIONS This is the safety alert symbol. It is used to alert you to potential personal injury hazards. Obey all safety messages that follow this symbol to avoid possible injury or death. -
Page 3: Personal Safety
Electrical safety (cont.) 5. When operating a power tool outdoors, use 6. If operating a power tool in a damp location an extension cord suitable for outdoor use. is unavoidable, use a Ground Fault Circuit Use of a cord suitable for outdoor use Interrupter (GFCI) protected supply. -
Page 4: Circular Saw Safety Warnings
Service Have your power tool serviced by a qualified repair person using only identical replacement parts. This will ensure that the safety of the power tool is maintained. Circular Saw Safety Warnings • If the blades become twisted or misaligned DANGER: Keep hands away from cutting in the cut, the teeth at the back edge of the area and the blades. - Page 5 Circular Saw Safety Warnings (cont.) 10. Check lower guard for proper closing before 17. Do not use blades made from high-speed steel, each use. Do not operate the saw if lower abrasive blades, metal-cutting blades or masonry- guard does not move freely and close instantly. cutting blades.
-
Page 6: Vibration Safety
Circular Saw Safety Warnings (cont.) 30. WARNING: Handling the cord on this product will 32. People with pacemakers should consult their expose you to lead, a chemical known to the State physician(s) before use. Electromagnetic fields in of California to cause cancer, and birth defects or close proximity to heart pacemaker could cause other reproductive harm. -
Page 7: Extension Cords
Grounding TO PREVENT ELECTRIC SHOCK AND DEATH FROM INCORRECT GROUNDING WIRE CONNECTION: Check with a qualified electrician if you are in doubt as to whether the outlet is properly grounded. Do not modify the power cord plug provided with the tool. Do not use the tool if the power cord or plug is damaged. -
Page 8: Specifications
Specifications DB5703 Electrical Rating 120V~ / 60Hz / 7.5A Motor No Load Speed 4200 RPM 5″ (125mm) Maximum 3114052 Blade Diameter Use ONLY blades specifically designed for this Double Cut Saw PVC Pipe up to 1″ Copper Pipe up to 1″ Steel Pipe up to 1″ Cutting Corrugated Sheet Standard Thickness Capacities... - Page 9 3. Use the Hex Wrench to tighten Side 4. Attach Side Handle to top of Side Handle Support securely into place. Handle Support using nut. Functions Lubrication Unit Front Grip Switch Upper Guard Lower Guard Spindle Lock SKU 68316 For technical questions, please call 1-800-444-3353. Page 9...
-
Page 10: Important Safety Information
Operating Instructions Read the ENTIRE IMPORTANT SAFETY INFORMATION section at the beginning of this manual including all text under subheadings therein before set up or use of this product. Tool Set Up – Blade Installation TO PREVENT SERIOUS INJURY FROM ACCIDENTAL OPERATION: Turn the Power Switch of the tool off and unplug the tool from its electrical outlet before adjusting tool or installing accessories. - Page 11 5. Place new Blade A onto the Flange 7. Thread Lock Nut onto Spindle shaft with the “A” clearly visible. and tighten Lock Nut until secure. 6. Place Blade B onto Spindle with “B” clearly visible. 8. Inspect the blades to make sure that the teeth point in opposite directions.
-
Page 12: Work Piece And Work Area Set Up
Using Lubrication Unit 1. The blades for the Double Cut Saw are 2. To use Lubrication Unit, use cutter paste “dry cut” teeth. This mean the blades only that is in rod form which can be inserted need to be lubricated in extreme cutting into the center of the Lubrication Unit. -
Page 13: General Operating Instructions
General Operating Instructions 1. Make sure that all guards are in place and in Cutting Capacities proper working order and that all adjustment PVC Pipe up to 1″ knobs are tight before operation. Copper Pipe up to 1″ Do NOT operate Saw without blade guard or if Steel Pipe up to 1″... - Page 14 Cutting Techniques Rectangular Pipe U-Section Feed blade from corner to corner. Feed blade from corner to corner (where opposite corner would be). Pipes Flat Bar Iron Feed blade through object Feed blade at a 90º angle until it reaches lower edge, to the work surface.
- Page 15 Spiral Tube And Longitudinal Cutting Shaped Plate Feed blade through material so only Rest plate on three mounts, making sure one is on either about 3/8″ shows through. Do not drive side of cut. it as far as entire cutting edge. Corner Piece Aluminum/Copper Feed blade diagonally Use Lubrication Unit whenever cutting aluminum through the work surface.
-
Page 16: Maintenance
Maintenance and Servicing Procedures not specifically explained in this manual must be performed only by a qualified technician. TO PREVENT SERIOUS INJURY FROM ACCIDENTAL OPERATION: Turn the Power Switch of the tool off and unplug the tool from its electrical outlet before performing any inspection, maintenance, or cleaning procedures. -
Page 17: Troubleshooting
Troubleshooting Problem Possible Causes Likely Solutions Tool will not start. 1. Cord not connected. 1. Check that cord is plugged in. 2. No power at outlet. 2. Check power at outlet. If outlet is unpowered, turn off tool and check circuit breaker. If breaker is tripped, make sure circuit is right capacity for tool and circuit has no other loads. -
Page 18: Parts List And Diagram
Parts List and Diagram PLEASE READ THE FOLLOWING CAREFULLY THE MANUFACTURER AND/OR DISTRIBUTOR HAS PROVIDED THE PARTS LIST AND ASSEMBLY DIAGRAM IN THIS MANUAL AS A REFERENCE TOOL ONLY. NEITHER THE MANUFACTURER OR DISTRIBUTOR MAKES ANY REPRESENTATION OR WARRANTY OF ANY KIND TO THE BUYER THAT HE OR SHE IS QUALIFIED TO MAKE ANY REPAIRS TO THE PRODUCT, OR THAT HE OR SHE IS QUALIFIED TO REPLACE ANY PARTS OF THE PRODUCT. -
Page 19: Assembly Diagram
Assembly Diagram Record Product’s Serial Number Here: Note: If product has no serial number, record month and year of purchase instead. Note: Some parts are listed and shown for illustration purposes only, and are not available individually as replacement parts. SKU 68316 For technical questions, please call 1-800-444-3353. -
Page 20: Warranty
Limited 90 Day Warranty Harbor Freight Tools Co. makes every effort to assure that its products meet high quality and durability standards, and warrants to the original purchaser that this product is free from defects in materials and workmanship for the period of 90 days from the date of purchase.