Table of Contents
Advertisement
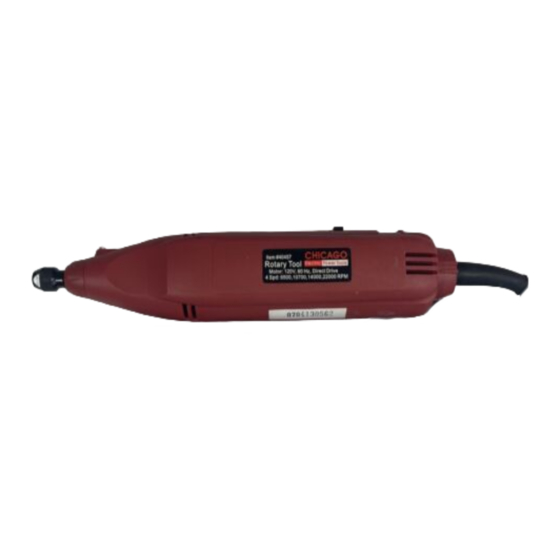
ROTARY TOOL KIT - 4 SPEED
ASSEMBLY AnD OPERATIng InSTRucTIOnS
Visit our website at: http://www.harborfreight.com
Read this material before using this product.
Failure to do so can result in serious injury.
SAVE ThIS MAnuAL.
©
Copyright
1999 by Harbor Freight Tools
contained herein may be reproduced in any shape or form without the express written consent of Harbor
Freight Tools. Diagrams within this manual may not be drawn proportionally. Due to continuing improvements,
actual product may differ slightly from the product described herein.
For technical questions or replacement parts, please call 1-800-444-3353.
Revised Manual 10c
Model
40457
®
. All rights reserved. No portion of this manual or any artwork
Advertisement
Table of Contents

Summary of Contents for Chicago Electric 40457
- Page 1 ROTARY TOOL KIT - 4 SPEED Model 40457 ASSEMBLY AnD OPERATIng InSTRucTIOnS Visit our website at: http://www.harborfreight.com Read this material before using this product. Failure to do so can result in serious injury. SAVE ThIS MAnuAL. © ® Copyright 1999 by Harbor Freight Tools .
- Page 2 cAuTIOn, without the SAVE ThIS MAnuAL safety alert symbol, is used to address Keep this manual for the safety warnings practices not related to personal and precautions, assembly, operating, inspection, injury. maintenance and cleaning procedures. Write the product’s serial number in the back of the manual general Power Tool Safety Warnings near the assembly diagram (or month and year of purchase if product has no number).
- Page 3 outdoor use. Use of a cord suitable for breathing protection must be NIOSH- outdoor use reduces the risk of electric approved for the specific hazards in the work shock. area. If operating a power tool in a damp Power tool use and care location is unavoidable, use a ground Do not force the power tool.
- Page 4 Service position yourself and bystanders away from the plane of the rotating accessory have your power tool serviced by a and run the power tool at maximum qualified repair person using only no-load speed for one minute. Damaged identical replacement parts. This will accessories will normally break apart during ensure that the safety of the power tool is this test time.
- Page 5 Do not operate the power tool near construction activities, contains chemicals flammable materials. Sparks could ignite known [to the State of California] to cause these materials. cancer, birth defects or other reproductive harm. Some examples of these chemicals Do not use accessories that require are: liquid coolants.
-
Page 6: Vibration Safety
you are in doubt as to whether the Vibration Safety outlet is properly grounded. Do not modify the power cord plug This tool vibrates during use. Repeated or long-term exposure to vibration may cause provided with the tool. never temporary or permanent physical injury, remove the grounding prong from the plug. - Page 7 inadequately sized wire causes a serious Symbology drop in voltage, resulting in loss of power and possible tool damage. Double Insulated (See Table A.) The smaller the gauge number of the wire, Canadian Standards Association the greater the capacity of the cord. For example, a 14 gauge cord can carry a higher Underwriters Laboratories, Inc.
-
Page 8: Specifications
SPEcIFIcATIOnS Power Source 120V, 60 Hz 6500-10700-14000- RPM - 4 Speeds 22000 RPM Collett Sizes 1/8” & 3/32” diameter Power Cord 7 Ft., 18 AWG x 2C, DBL 30 Pieces Accessories Carrying Case Your Rotary Tool Kit can be used as a drill, carver, grinder, polisher and sharpener. -
Page 9: Operating Instructions
With the Shaft locked in place, use the Collet Set-up wrench to loosen the Collet Nut and remove the accessory. Your Rotary Tool will require some set-up prior to operation. To assist you with set-up, please refer to Work Piece and Work Area Set up the following instructions. -
Page 10: Maintenance And Servicing
control of the tool. Before starting on your position and unplug the tool from its actual workpiece, practice a similar action electrical outlet before performing (drilling, cutting, polishing) on a scrap piece. any inspection, maintenance, or cleaning procedures. Apply only slight pressure. Let the tool do the work. -
Page 11: Troubleshooting
Troubleshooting Problem Possible causes Likely Solutions Tool will not start. Cord not connected. Check that cord is plugged into 120V outlet. Check power at outlet. If outlet is No power at outlet. unpowered, turn off tool and check circuit breaker. If breaker is tripped, make sure circuit is right capacity for tool and circuit has no other loads. -
Page 12: Please Read The Following Carefully
PLEASE READ ThE FOLLOWIng cAREFuLLY THE MANUFACTURER AND/OR DISTRIBUTOR HAS PROvIDED THE PARTS LIST AND ASSEMBLY DIAGRAM IN THIS MANUAL AS A REFERENCE TOOL ONLY. NEITHER THE MANUFACTURER OR DISTRIBUTOR MAkES ANY REPRESENTATION OR WARRANTY OF ANY kIND TO THE BUYER THAT HE OR SHE IS qUALIFIED TO MAkE ANY REPAIRS TO THE PRODUCT, OR THAT HE OR SHE IS qUALIFIED TO REPLACE ANY PARTS OF THE PRODUCT. -
Page 13: Parts List - Diagram
PARTS LIST - DIAgRAM Part Description Qty. Part Description Qty. Collet Nut Cord Strain Release Collet v-Speed PCB Shaft Pusher Bearing Switch Bushing Left Shell Bearing Coupling 2 Shaft Lock Coupling 1 Cord Right Shell Motor Self Screw Cord Protector Washer Self Screw Name Plate... -
Page 14: Limited 90-Day Warranty
LIMITED 90 DAY WARRAnTY Harbor Freight Tools Co. makes every effort to assure that its products meet high quality and durability standards, and warrants to the original purchaser that this product is free from defects in materials and workmanship for the period of 90 days from the date of purchase. This warranty does not apply to damage due directly or indirectly, to misuse, abuse, negligence or accidents, repairs or alterations outside our facilities, criminal activity, improper installation, normal wear and tear, or to lack of maintenance.


