Behringer PRO MIXER DX1000 User Manual
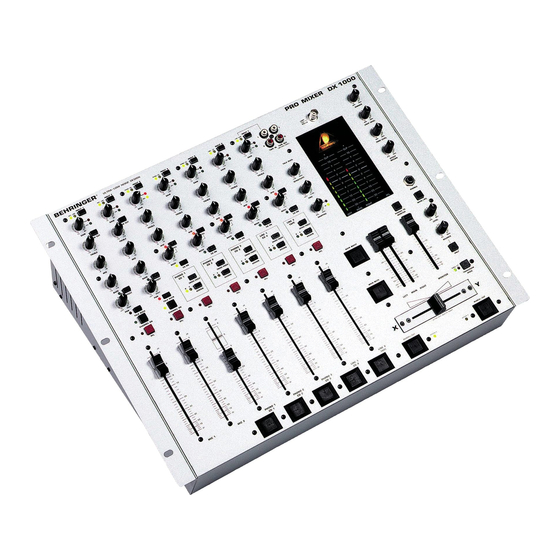
Professional dj mixer with a total of 10 stereo sources on 5 dual-input channels
Hide thumbs
Also See for PRO MIXER DX1000:
- User manual (19 pages) ,
- User manual (29 pages) ,
- User manual (29 pages)
Table of Contents
Advertisement
Advertisement
Table of Contents

Related Manuals for Behringer PRO MIXER DX1000


Summary of Contents for Behringer PRO MIXER DX1000
- Page 1 User’s Manual Version 1.1 February 2001 www.behringer.com...
-
Page 2: Safety Instructions
PRO MIXER DX1000 SAFETY INSTRUCTIONS CAUTION: To reduce the risk of electric shock, do not remove the cover (or back). No user serviceable parts inside; refer servicing to qualified personnel. WARNING: To reduce the risk of fire or electric shock, do not expose this appliance to rain or moisture. - Page 3 It is our philosophy to share our joy with you, because you are the most important member of the BEHRINGER family. With your highly competent suggestions for new products you’ve greatly contributed to shaping our company and making it successful.
-
Page 4: Block Diagram
PRO MIXER DX1000 BLOCK DIAGRAM... - Page 5 PRO MIXER DX1000 s Two professional high-class microphone channels with peak indicator and effects send facility s High-precision phono preamps for bass power and crystal clean sound s Ultra-musical 3-band EQ with independent defeat switch on all channels s Kill switch attenuates the bass for more creativity s Ultra low-noise design comparable to studio-grade consoles s Replaceable and high-quality crossfader s Fully adjustable talkover function automatically attenuates the main output...
-
Page 6: Table Of Contents
PRO MIXER DX1000 TABLE OF CONTENTS 1. THE MANUAL ........................7 1.1 Nomenclature ..........................7 2. PRO MIXER OVERVIEW ....................... 7 2.1 Highly accurate main and PFL peak—reading bargraph meters ............8 2.2 How will You use your DX1000? ...................... 8 2.3 PSU (Power Supply Unit) ........................ -
Page 7: The Manual
Otherwise you’ll never know what possibilities you might be missing out on! The following operational manual will introduce you to the BEHRINGER PRO MIXER DX1000 and its various functions. After reading the manual carefully, make sure it is always on hand for future reference. -
Page 8: Highly Accurate Main And Pfl Peak-Reading Bargraph Meters
Internet at www.behringer.com. 2.6 Packing Your BEHRINGER PRO MIXER DX1000 was carefully packed in the factory and the packaging was designed to protect the unit from rough handling. Nevertheless, we recommend that you carefully examine the packaging and its contents for any signs of physical damage, which may have occurred in transit. -
Page 9: Mono Input Channel
Noise gates shut off mics automatically when not in use— useful for keeping out music spillage which can muddy the sound of your mix. Often a compressor/gate combination is best. Check out the excellent BEHRINGER range of interactive dynamics products. -
Page 10: Equalizer
PRO MIXER DX1000 3.4 Equalizer The mic channel EQ section comprises three control knobs and one switch. Depressing the LOW CUT switch rolls off the bass end (-18 dB/oct @ 75 Hz). We recommend using this feature with microphones to eliminate “popping”... -
Page 11: Gain Setting
PRO MIXER DX1000 Channel Input 1 Input 2 PHONO 1 CD 1 PHONO 2 CD 2 PHONO 3 CD 3 LINE 1 CD 4 LINE 2 TAPE* Tab. 4.1: Stereo channel configuration * Channel 7’s TAPE input is parallel-wired to the TAPE IN on the top panel. -
Page 12: Equalizer
PRO MIXER DX1000 4.3 Equalizer The channel EQ section comprises three control knobs and two switches. The EQ ON switch activates the tone controls which enable cut and boost of TREBLE , MID and BASS frequencies respectively (see below for specs.) EQ can sweeten or effect a track, with the fading out and in of frequency bands being very popular. -
Page 13: Master Audio Outputs
PRO MIXER DX1000 Take care to ensure that SENSITIVITY is not set too high, otherwise spill from loudspeakers into the mic could trigger the talk over system, and the music volume will just keep going up and down! (You have set up an intermittent negative feedback loop.) Once SENSITIVITY has been set so that talk over is only being activated by speech, it’s time to fine-tune the system with the other two controls again, according to taste. -
Page 14: Main/Tape Outputs
PRO MIXER DX1000 This is the first time we have come across any really BIG buttons on the DX1000. At this point it’s worth pointing out that all the smaller switches on your DX1000 are latching. This means they stay down until you hit them again. Big buttons are all non-latching, or momentary in operation. -
Page 15: Headphones, Monitors & Pfl
PRO MIXER DX1000 7. HEADPHONES, MONITORS & PFL 7.1 Monitoring A separate stereo MONITOR output is provided. Level is controlled by a single 60 mm MONITOR stereo fader . The monitor signal is taken directly from the main mix. Engaging PFL anywhere on the board changes the monitor source to PFL. -
Page 16: Sub Bass
PRO MIXER DX1000 Another way to keep the monitors fixed on PFL is to make sure a PFL button is always left engaged somewhere on the desk. You could simply leave a PFL button depressed on an unused, unassigned channel. If your channel fader is always brought up to +6 dB (i.e. -
Page 17: Connections
PRO MIXER DX1000 10. CONNECTIONS 10.1 PRO MIXER DX1000 connections Follow us on a walk along the rear panel of your PRO MIXER, starting left: Channel inserts. For inserting into the channel signal, pre-EQ and pre-fader. Unbalanced, send and return on a single 1/4" jack socket, wired tip = send (out), ring = return (in) and sleeve = ground/screen. Line input. - Page 18 PRO MIXER DX1000 Unbalanced use of Balanced use of mono 1/4" jack plugs stereo 1/4" jack plugs Tip = Tip = Signal hot (+ve) Ring = cold (-ve) Sleeve = Ground / Shield Sleeve = Ground / Shield Ring Sleeve Sleeve Strain relief clamp Strain relief clamp...
-
Page 19: Crossfader Adjustment
These potentiometers are identified as OVERLAP and SLOPE. You can unscrew the bottom of your mixer to reach the main motherboard. Please be aware that the BEHRINGER warranty becomes discretionary when you start disas- sembling your DX1000! Don’t even think of it, if you make much of your warranty privileges. -
Page 20: Specifications
PRO MIXER DX1000 Fig. 11.1: Volume curve I (SLOPE potentiometer completely left) Fig. 11.2: Volume curve II (SLOPE potentiometer completely right) 12. SPECIFICATIONS MONO INPUT CHANNELS Mic input Electronically balanced, discrete input configuration Gain +10 to +60 dB Frequency response 10 Hz to 100 kHz, +/-3 dB 0.06 % typ. - Page 21 6.5 kg BEHRINGER is constantly striving to maintain the highest professional standards. As a result of these efforts, modifications may be made from time to time to existing products without prior notice. Specifications and appearance may differ from those listed or illustrated.
-
Page 22: Warranty
(user included) will void the warranty. at its sole discretion, either repair or replace the product. 6. If an inspection of the product by BEHRINGER shows that the 2. If the warranty claim proves to be justified, the product will be defect in question is not covered by the warranty, the inspection returned to the user freight prepaid.