Advertisement
Thank you for having chosen our appliance.
Remove all the packaging and protective films. Before setting up your video recorder,
you should have all the following elements in your possession.
Remote control and batteries
Scart cable
(audio-video)
Set up and user manuals
These documents have been printed on
environmentally-friendly recycled,
non-bleached paper.
BEFORE YOU START
Mains lead
(Continental Europe)
R.F. lead
EN
1
Editing cable
or
Mains lead
(United Kingdom, Ireland)
U
s
e
m
a
n
u
a
M
a
n
u
e
d ' u t i l i s a t i o n
B
e
d
i
e
n
u
n
g
a
n
l
e
i
t
u
n
M
a
n
u
a
l
d
u
t
i
l
i
z
a
c
i
ó
M
a
n
u
a
l
e
d
u t i l i z z a z i o n e
G
e
b
r
u
i
k
a
a
n
w
i
j
z
i
n
B
r
u
k
s
a
v
i
s
n
i
n
I
n
s
t
r
u
k
c
j
o
b
s
ł
u
g
N
á
v
o
d
p
o
u
ž
i
t
H
a
s
z
n
á
l
a
t
k
é
z
i
k
ö
n
y
M
a
n
u
a
l
d
u
t
i
l
i
z
a
ç
ã
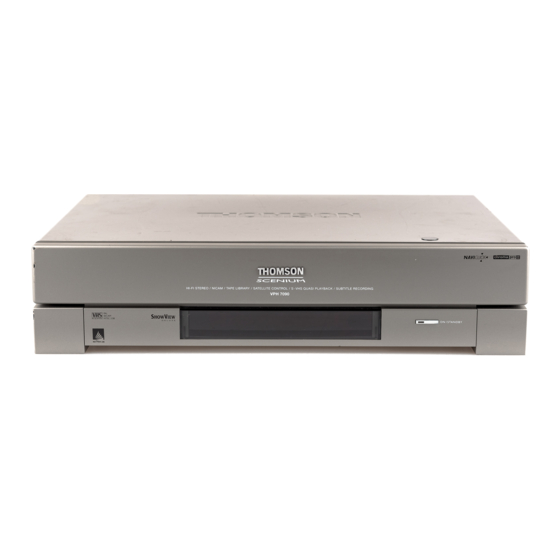
V
P
H
7
0
9
r
l
l
s
g
e
n
i
s
g
n
g
a
i
k
í
i
v
e
o
0
2
Advertisement
Table of Contents

Related Manuals for THOMSON VPH7090


Summary of Contents for THOMSON VPH7090
-
Page 1: Before You Start
Thank you for having chosen our appliance. BEFORE YOU START Remove all the packaging and protective films. Before setting up your video recorder, you should have all the following elements in your possession. Editing cable Remote control and batteries Mains lead... - Page 2 CONNECTIONS This symbol indicates that there may be a help message in the grey margin on the right-hand page. Existing aerial cable. United Kingdom, Ireland 220-240 V/50 Hz Continental Europe These two cables must be Power supply cable. connected...
- Page 3 TV set. W i t h t h e h e l p o f t h e s u p p l i e d Euroconnector cable, connect the AUDIO/VIDEO 1 socket on the video recorder to the Euroconnector socket on your TV set.
-
Page 4: The Remote Control
Replace the cover. Make use of the remote control to display the menus on your TV screen. Please respect the environment! Before throwing any batteries away, consult your distributor who may be able to take them back for specific recycling. -
Page 5: Navigation Principles
1 - To choose a function, select a line with 2 - To validate your choice, press 3 - To make an adjustment (i.e. to select an option, increase or decrease a given value), you must use key 4 - To exit a menu, press key... - Page 6 You are informed by a message that your VCR is now scanning the channels which can be received in your region and is storing them. You'll have to wait a fairly long time (up to 10 minutes) until a message informs you that channel storage is completed.
- Page 7 To help identify the programmes, we suggest that you have to hand a TV guide or daily newspaper. In the case of an error or to exit, press the key. If the menu does not appear, select the AV socket of your TV set.
- Page 8 In most countries, channels (TF1, ARD, RAI UNO, BBC1, ARTE) broadcast signals to set • THE DAY The time will normally be set correctly after the automatic installation. Take care that the time corresponds to your time zone if you receive foreign channels.
- Page 9 Make sure that the time you take as the refer ence is pr ecise, as the c o r r e c t p r o g r a m m i n g o f y o u r recordings depends on it if you do...
-
Page 10: Sorting Your Channels
. Programme 4 now moves up to N° 1, while the former N° 1 is now ranked N° 4 in the list. DELETING A STATION When you find a channel you want to delete, set the cursor on the line Delete Pr. and then press... - Page 11 In the case of an error or to exit, press the key. CHANNEL NAME You can also change the channel name by yourself: By means of key 1 or 2, display the desired character, then use key to switch over to the next character. Press to validate.
- Page 12 SETTING UP A SATELLITE / CABLE RECEIVER CONNECTIONS WE RECOMMEND THAT YOU ADOPT THIS CONNECTION SCHEME. Connect your satellite receiver with a SCART cable to the AV2 socket of your VCR (the VCR is then the master and the satellite receiver the slave). Satellite...
- Page 13 Satellite receivers do not all have the same connection These connections affect the possibilities. It depends on the sockets available and on setting-up procedure the connection cables you own or that are supplied. explained on the next page. Place the satellite receiver on top of the VCR.
- Page 14 Adjusting the video recorder involves teaching it to recognise the appliance to which it is connected. Refer to the previous page for the connections to be made. Make sure your satellite dish is correctly oriented and that the reception of channels is possible.
- Page 15 00 in the first screen. The video r e c o r d e r t r i e s a l l t h e c o d e s i n memory (approximately 150). This procedure can take a certain amount of time.
- Page 16 D e p e n d i n g o n y o u r s a t e l l i t e r e c e i v e r SATELLITES/CABLES TABLES m o d e l , i t m a y b e p o s s i b l e t h a t y o u r v i d e o c a n n o t c o n t r o l i t .
-
Page 17: Important Note
Important note: This list was complete at the time of going to press. If the Make or Model number of your Satellite or Cable Receiver is not listed above it may still be controllable. If it is not, you can still record from satellite or cable using the video recorder but you will be restricted to one channel only whist in timer mode. -
Page 18: New Channel
OK key, otherwise continue with the next step. Set the cursor to Store on Pr and assign a number to the channel with key C or B. To resume channel search, set the cursor with key V on Auto search and start again... - Page 19 Czech Republic, Poland DK, BG Other countries * BG, DK, L, I * FRENCH OVERSEAS TERRITORIES - SCANDINAVIA - CENTRAL EUROPE - AFRICA - MIDDLE EAST - NETHERLANDS - LUXEMBOURG - PORTUGAL CHANNEL NAME You can also change the channel...
-
Page 20: Other Units
Other video recorder Video disk player Decoder Display the control screen with key status and select socket AV1, AV2 or AV4 with the AV key on the remote control. Pictures from an appliance switched on play AV 1 mode and connected to the AV2 socket are transferred to the AV1 socket. - Page 21 Connect your camcorder on the Audio L (Left), Audio R (Right), Video, and Cam./Assemble sockets (if your camcorder is fitted with them), as in the diegram above. Select Au3 on your video recorder. With compatible camcorders, the pause socket makes copying easy by triggering off recording of the video recorder when the camcorder goes from PAUSE to PLAY.
- Page 22 HI- F I VIDEO RECORDER AND STEREO EFFECT The yellow Phono sockets allow you to record or view pictures. The red and white Phono sockets are for sound recording and viewing. For further information concerning AV units connected to your video recorder, consult their user manual or your dealer.
- Page 23 CHANNEL IDENTIFICATION TABLE FOR THE FEATURE TABLEAU D’IDENTIFICATION DES CHAÎNES POUR LA FONCTION SENDERIDENTIFIKATIONSTABELLE FÜR DIE FUNKTION TABLA DE IDENTIFICACIÓN DE CANALES PARA LA FUNCIÓN PROSPETTO D’IDENTIFICAZIONE DEI CANALI PER LA FUNZIONE IDENTIFICATIETABEL VAN DE KANALEN VOOR DE FUNCTIE KANALIDENTIFIERINGSTABELL FÖR FUNKTIONEN TABELA IDENTYFIKACJI KANAŁÓW DLA FUNKCJI...