Advertisement
Quick Links
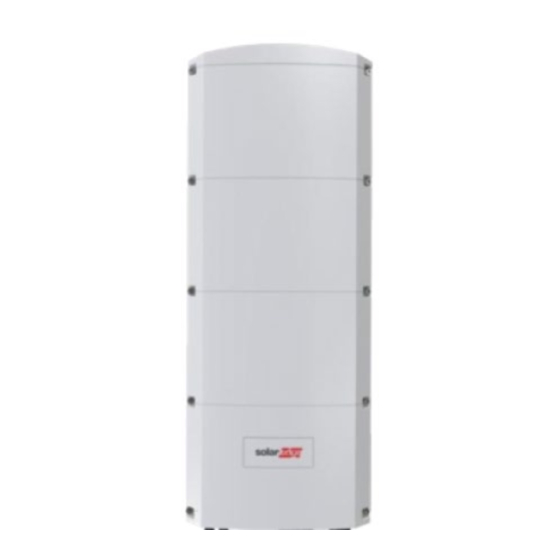
SolarEdge Home Hub Three Phase Inverter ON/OFF/P Switch
Replacement - Support Kit
This manual describes the procedure for replacing the Home Hub Single Phase Inverter ON/OFF/P Switch.
Revision History
Version 1.0, August 2023 – Initial release.
Kit Contents
Home Hub Single Phase Inverter ON/OFF/P Switch PN FLD-JP-SW-3WAY-48-KIT
Required Tools
Torque screwdriver for 4mm hex bit
4mm hex bit
14mm socket with socket wrench
Removing the Inverter Cover
1.
Set the ON/OFF/P Switch to "0" (OFF).
2.
Turn OFF the main circuit breaker in the power distribution panel.
3.
Wait at least five minutes for the voltage to drop to a safe level.
4.
Using a 4mm hex bit, loosen the cover's captive screws in the sequence shown below.
5.
Release all the screws and remove the cover.
Home Hub Three Phase Inverter ON/OFF/P Switch Replacement - Support Kit
ON/OFF/P Switch
Version 1.0 August 2023
1
Advertisement

Related Manuals for SolarEdge FLD-JP-SW-3WAY-48-KIT


Summary of Contents for SolarEdge FLD-JP-SW-3WAY-48-KIT
- Page 1 This manual describes the procedure for replacing the Home Hub Single Phase Inverter ON/OFF/P Switch. Revision History Version 1.0, August 2023 – Initial release. Kit Contents Home Hub Single Phase Inverter ON/OFF/P Switch PN FLD-JP-SW-3WAY-48-KIT Required Tools Torque screwdriver for 4mm hex bit 4mm hex bit...
- Page 2 Version 1.0 August 2023 Removing the Inverter Cover Removing the Damaged ON/OFF/P Switch Follow the cables from the ON/OFF/P switch to its connector on the Power Board. Disconnect the ON/OFF/P Switch power connector from the socket on the Power Board. NOTE The connector is fitted with a locking mechanism.
- Page 3 Version 1.0 August 2023 Remove the ON/OFF/P switch and cables. Installing the Replacement ON/OFF/P Toggle Switch and Cables Insert the new switch into position from the inside of the inverter. Ensure that the seal is between the switch and the wall of the inverter.
- Page 4 Version 1.0 August 2023 Using a 4mm hex bit and a torque wrench, tighten the screws to a torque of 4N·m (35.4lbf·in). Tighten the screws in the following sequence: Turn ON the main AC circuit breaker. Set the ON/OFF/P Switch to “1” (ON). Home Hub Three Phase Inverter ON/OFF/P Switch Replacement - Support Kit...