TP-Link Tapo C400S2 - Smart Wire-Free Security Camera System Manual
- User manual (23 pages) ,
- Quick start manual (39 pages)
Advertisement
About This Guide
This guide provides a brief introduction to the Smart Wire-Free Security Camera System and the Tapo app, as well as regulatory information.
Please note that features available in Tapo may vary by model and software version. Tapo availability may also vary by region. All images, steps, and descriptions in this guide are only examples and may not reflect your actual Tapo Camera experience.
Conventions
In this guide, the following convention is used:
| Convention | Description |
| Blue | Key information appears in blue, including management page text such as menus, items, buttons and so on. |
| Underline | Hyperlinks are in blue and underlined. You can click to redirect to a website. |
 Note: Note: | Ignoring this type of note might result in a malfunction or damage to the device. |
More Info
- Specifications can be found on the product page at https://www.tapo.com.
- Our Technical Support and troubleshooting information can be found at https://www.tapo.com/support/.
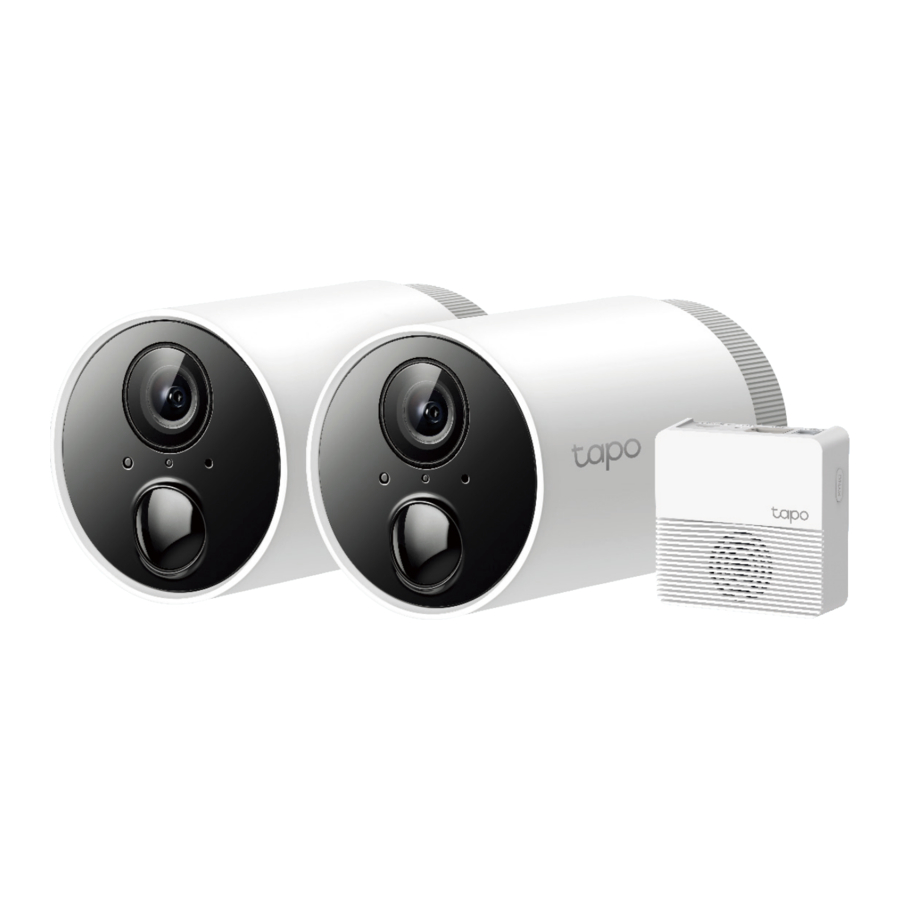
Introduction
Install anywhere with long battery life.
Tapo Wire-Free Security Camera System is designed to be used outdoors. Its rechargeable and removable battery with a low-power protocol extends your usage. No wires means you can place the camera wherever you like.
- 1080p Full HD Live View – Check 24hrs clear live view through the Tapo app.
- 180 Day Long Battery Life* – The rechargeable and removable battery with a low-power protocol extends your usage.
*180-day battery life is based on TP-Link's laboratory testing with 10-20 triggered events per day. Actual battery life may vary based on device settings, use, and environmental factors. - Wire-Free Placement – No wires means you can place the cameras almost anywhere inside or outside - whatever works for you.
- Smart AI Detection – Detect multiple event types with smart AI algorithms. Adjust the sensitivity according to your needs.
- Sound Alarm – Trigger sound as an alarm when motion is detected.
- Motion Detection – Get instant notifications when your camera detects motion.
- Weatherproof – Helps Tapo cameras perform well even in harsh environments with rain and dust.
- Two-Way Audio – Communicate with others with the built-in microphone and speaker.
- Activity Zone – Notify you when activity is detected in your specific zone.
- Flexible Storage Choices – Save recorded videos on the hub-installed microSD* card (up to 256 GB) or by using Tapo Care** cloud storage services.
*microSD card needs to be purchased separately.
**Subscribe for cloud storage at https://www.tapo.com/tapocare/.
Appearance-Camera

- Lens
- Light Sensor
- Motion Sensor
- Status LED
Indicate the status of your camera. - Microphone
- SYNC/RESET Button
While the camera is powered on: Press for 1 second: Pair with the hub
Press and hold for at least 5 seconds: Reset the camera
Appearance-Hub

- SYNC
Press to pair with the camera, or silence the hub when it rings. - RESET
Press and hold for at least 5 seconds until the hub LED quickly blinks red to reset the hub. - microSD Card Slot
Insert a microSD card to record camera videos locally. Initialize the microSD card within the Tapo app first.
*microSD card not included. - Status LED
Indicate the status of your hub.
Hub Status LED
| Solid red | Starting up |
| Blinking red and green | Ready for setup |
| Solid amber | Connected to router |
| Solid green | Connected to the cloud |
| Blinking green slowly | Pairing |
| Blinking red quickly | Hub resetting |
| Blinking green quickly | Hub updating |
Camera Status LED
| Solid Red | Starting up |
| Blinking red and green | Ready for pairing |
| Blinking green slowly | Pairing |
| Solid amber | Connected to the hub |
| Solid green | Connected to the cloud |
| Blinking red quickly | Camera resetting |
| Blinking green quickly | Camera updating |
| Blinking red once a minute | Low battery |
| Blinking red slowly | Offline |
Charge the Battery
Method 1:
Connect the battery to a power source.

- Charging: Solid amber
- Fully charged: Solid green
Method 2:
Insert the battery into the camera, and then connect the camera to a power source.

Set Up Your Camera
Follow the steps below to get started with your new hub and camera.
- Download Tapo App
Get the Tapo app from the App Store or Google Play, or by scanning the QR code below.
![www.apple.com]()
![play.google.com]()
OR
![]()
![]()
- Log In
Open the app, and log in with your TP-Link ID.
If you don't have an account, create one first.
![]()
- Add Your Hub First
Tap the![]() button in the app and select your model. Follow app instructions to set up your hub.
button in the app and select your model. Follow app instructions to set up your hub.
![]()
- Add Your Camera
Tap the![]() button in the app and select your model. Follow app instructions to set up your camera.
button in the app and select your model. Follow app instructions to set up your camera.
![]()


 button in the app and select your model. Follow app instructions to set up your camera.
Install a microSD Card
If you want the camera to record videos locally, insert a microSD card to your hub.
Initialize the microSD card within the Tapo app.
You can go to Camera Settings > microSD Card in the Tapo app to check the card status or format your card.

Installation Options
When you finish adding your camera in the Tapo app, you can place your camera on a flat surface, or mount it on a wall or ceiling with the provided mounting template and screws.
Option 1. Set on a Table

Option 2. Mount to the Wall

Mount Your Camera
When you finish adding your camera in the Tapo app, you can place your camera on a flat surface, or mount it on a wall or ceiling with the provided mounting template and screws.
- Drill Holes
Stick the mounting template to the desired mounting place. Drill 3 screw holes according to the template.
![]()
- Install the Bracket
Insert three anchors into the holes and use the screws to affix the bracket over the anchors.
![]()
- Mount Camera
Install the camera to the mounting bracket, and adjust the camera angle.
![]()


Documents / Resources
References
Tapo Smart | Smart Devices for Smart Living
Support | Tapo
Tapo Care | Tapo
![www.apple.com]() App Store - Apple
App Store - Apple![play.google.com]() Google Play
Google Play
Download manual
Here you can download full pdf version of manual, it may contain additional safety instructions, warranty information, FCC rules, etc.
Download TP-Link Tapo C400S2 - Smart Wire-Free Security Camera System Manual
Advertisement
Thank you! Your question has been received!


Need Assistance?
Do you have a question about the Tapo C400S2 that isn't answered in the manual? Leave your question here.