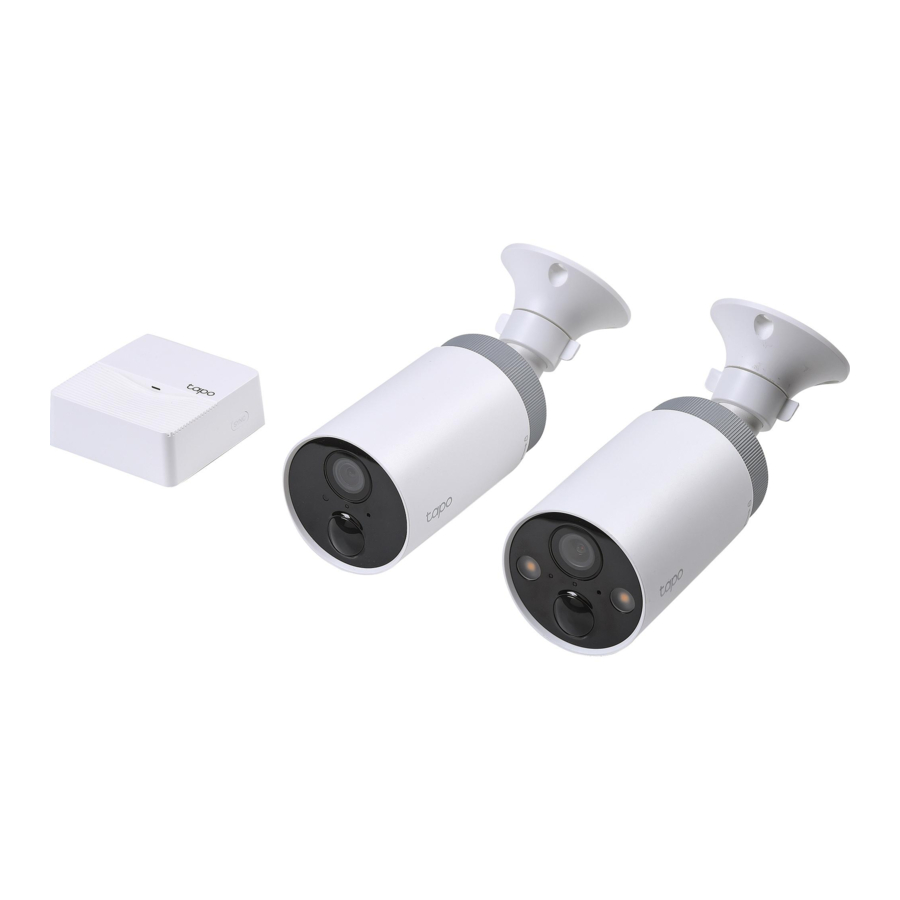
TP-Link Tapo C400 - Smart Wire-Free Security Camera Quick Start
Also See for Tapo C400:
- Instructions manual (14 pages)
Advertisement
Table of Contents
Contents
TP-Link Tapo C400 - Smart Wire-Free Security Camera Quick Start
Battery
Method 1: Battery

- Charging: Solid amber
- Fully charged: Solid green
Method 2: Battery Inside Camera
*Check the battery status in the Tapo app after setup.

Note:
- Charge the battery before use. It will take about 5~6 hours.
- If you want to use the camera while charging the battery, we recommend purchasing another battery for your convenience.
Insert the Battery
- Twist anti-clockwise and then pull to remove the cover of the camera. Insert the battery.

- Align the indicator line on the cover with the arrow icon on the camera body.
Press and rotate clockwise to the lock position to replace the cover.


Set Up Hub and Camera
- Get the Tapo app from the App Store or Google Play.
![]()


- Follow the instructions in the Tapo app to set up your hub.
![]()
- Follow the instructions in the Tapo app to set up your camera.
![]()


Options
Option 1. Set on a Table

Option 2. Mount to the Wall

Mount to the Wall
- Drill Holes
Stick the mounting template to the desired mounting place. Drill 3 holes according to the template.

- Install the Bracket
Insert three anchors into the holes and use the screws to affix the bracket over the anchors.

- Install the Camera
Install the camera on the mounting bracket, and adjust the camera angle.


Camera Appearance
Front
 '
'
- Lens
- Light Sensor
- Motion Sensor
- Status LED
Indicate the status of your camera. - Microphone
Back

- SYNC/RESET Button
While the camera is powered on
Press for 1 second: Pair with the hub
Press and hold for about 5 seconds: Reset the camera
Hub Appearance

- SYNC Button
Press to pair with the camera, or silence the hub when it rings. - RESET
Use a pin to press and hold for about 5 seconds until the hub LED quickly blinks red to reset the hub. - microSD Card Slot
Insert a microSD card to record camera videos locally. Initialize the microSD card within the Tapo app first.
▲microSD card not included. - Status LED
Indicate the status of your hub.
Light Indications
Hub Status LED
| Solid red | Starting up |
| Blinking red and green | Ready for setup |
| Solid amber | Connected to router |
| Solid green | Connected to the cloud |
| Blinking green slowly | Pairing |
| Blinking red quickly | Hub resetting |
| Blinking green quickly | Hub updating |
Camera Status LED
| Solid Red | Starting up |
| Blinking red and green | Ready for pairing |
| Blinking green slowly | Pairing |
| Solid amber | Connected to the hub |
| Solid green | Connected to the cloud |
| Blinking red quickly | Camera resetting |
| Blinking green quickly | Camera updating |
| Blinking red once a minute | Low battery |
| Blinking red slowly | Offline |

For technical support, user guides, FAQs, warranty and more, please visit
www.tapo.com/support/

Documents / Resources
References
Download manual
Here you can download full pdf version of manual, it may contain additional safety instructions, warranty information, FCC rules, etc.
Download TP-Link Tapo C400 - Smart Wire-Free Security Camera Quick Start
Advertisement
Thank you! Your question has been received!


Need Assistance?
Do you have a question about the Tapo C400 that isn't answered in the manual? Leave your question here.